Conversations
Every channel your contacts use — SMS, email, web chat, Facebook DMs — arrives here as a single, continuous thread per contact.
Your customers don’t care which channel is “most convenient for your team.” They text, email, and DM whenever they want — often all three at once. The Conversations inbox is built around that reality. Instead of hopping between apps or losing context every time a contact switches from email to SMS, you get one thread per person that captures everything. You read, reply, assign, and follow up from a single screen.
This page covers how the inbox is organized, how to navigate it efficiently, and two powerful tools — Snippets and Trigger Links — that help you respond faster and do more with every message you send.
Understanding the unified inbox
Section titled “Understanding the unified inbox”When a contact sends you a message — regardless of channel — it lands in the inbox and is automatically linked to their existing contact record. If you’ve already texted back and forth with someone and they later email you, both conversations appear in the same thread. You always have the full picture.
Supported channels typically include:
- SMS / MMS — standard text and picture messaging
- Email — inbound and outbound email tied to your connected account
- Web Chat — messages from a chat widget on your website
- Facebook Messenger — DMs from your connected Facebook page
- Instagram DMs — direct messages from your Instagram account
- Google Business Chat — messages via your Google Business Profile
The channel icon next to each message in a thread tells you exactly which medium that exchange happened on, so there’s never any confusion about how a contact reached out.
Navigating the inbox
Section titled “Navigating the inbox”Filters: unread, recents, and starred
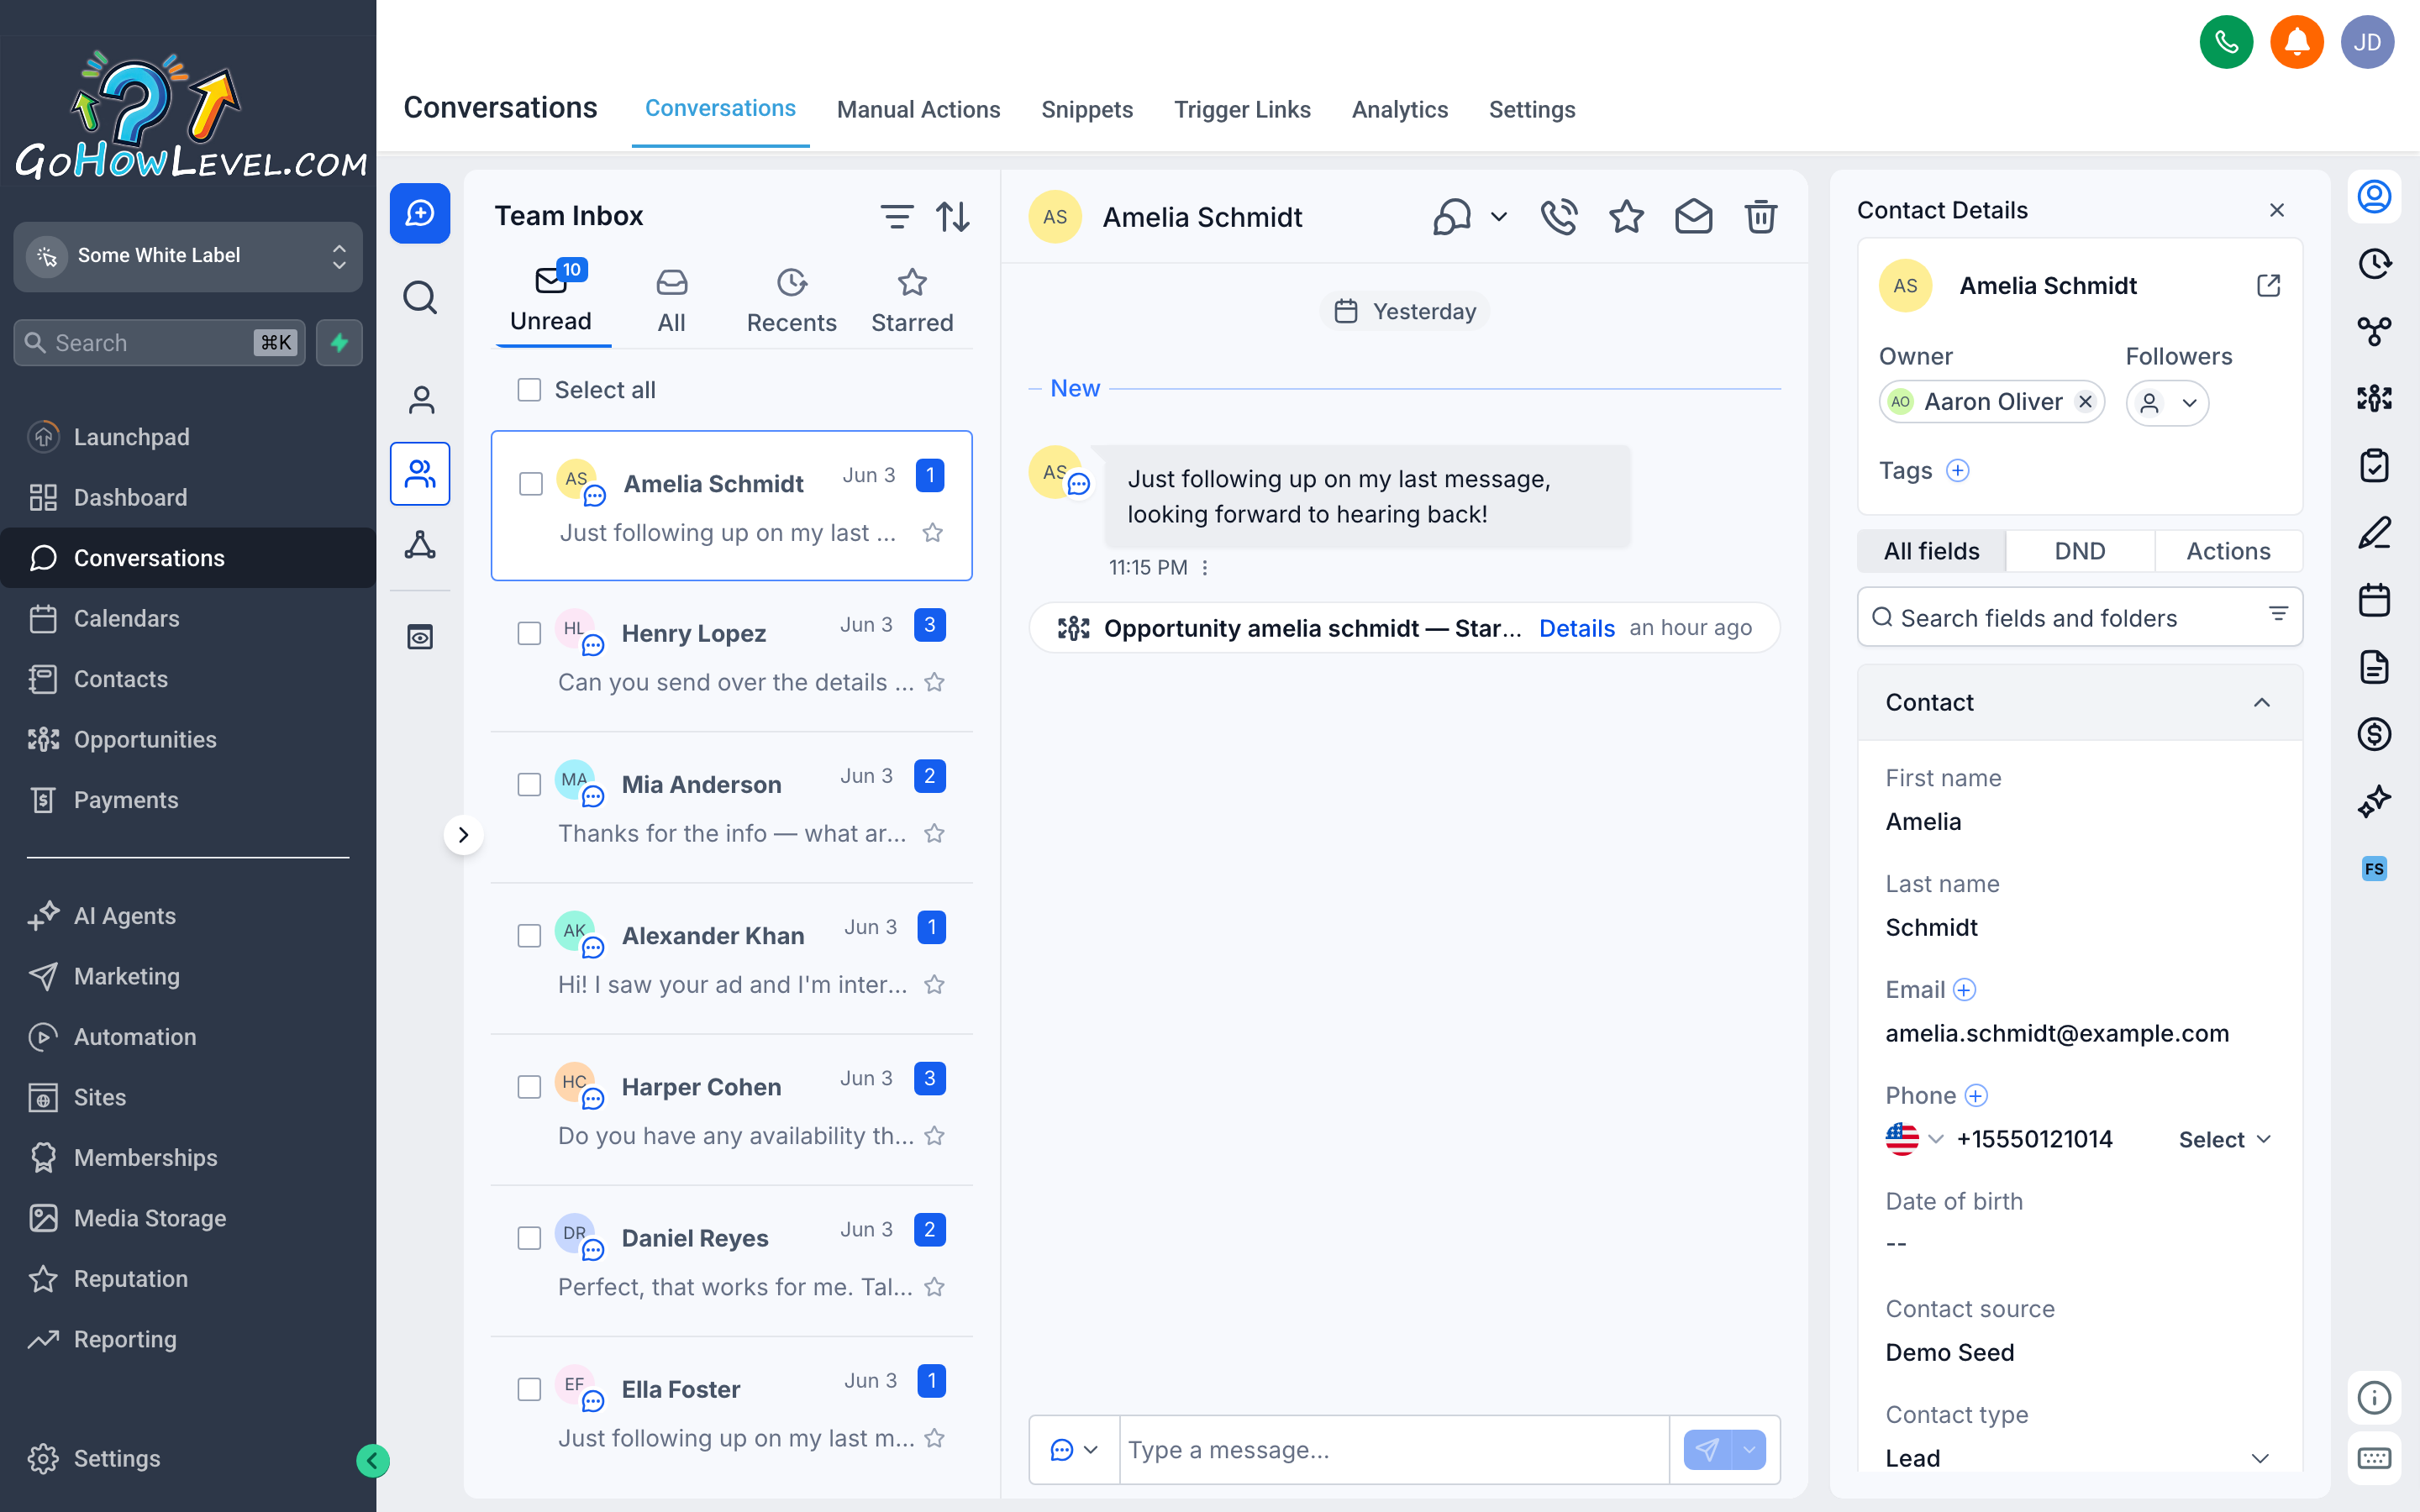
Section titled “Filters: unread, recents, and starred”The left panel lists your conversations. By default you see the most recent threads, but the inbox is easier to manage when you use the built-in filters:
- Unread — shows only threads with at least one message you haven’t opened yet. This is your starting point every morning.
- Recents — all conversations sorted by the time of the last message, newest first.
- Starred — conversations you’ve explicitly starred to follow closely. Useful for hot leads or open issues that need your attention today.
To star a conversation, open the thread and click the Star icon (typically in the upper-right corner of the thread panel). The thread immediately appears in your Starred filter.
Assigning conversations
Section titled “Assigning conversations”If your team has multiple users, you can route conversations to the right person. Open a thread, look for the Assigned To field (usually near the top of the thread or in the right-hand contact panel), and select the team member who should own this conversation.
Assigned conversations appear in that user’s inbox view. This keeps accountability clear and prevents two people from unknowingly responding to the same contact.
Searching for a specific conversation
Section titled “Searching for a specific conversation”Type in the Search bar at the top of the inbox to find a conversation by contact name, phone number, email address, or keyword from the message body. This is faster than scrolling when you know who you’re looking for.
Opening a thread and replying
Section titled “Opening a thread and replying”- Click any conversation in the left panel to open it on the right.
- Read the thread from top to bottom — older messages are at the top, newest at the bottom.
- Look at the channel selector above the reply box. It shows the channel you’re about to reply on. Confirm it’s what you want (see Switching channels below if you need to change it).
- Type your message in the reply box.
- (Optional) Attach a file, image, or use a Snippet or Trigger Link before sending.
- Click Send.
The message appears in the thread immediately, and your contact receives it through the selected channel.
Switching channels within a conversation
Section titled “Switching channels within a conversation”Sometimes a conversation that started on one channel needs to continue on another. A contact might text you first, but you want to follow up with a more detailed email, or vice versa.
- Open the conversation thread.
- Click the channel selector — typically a dropdown above the reply box showing the current channel (e.g., SMS).
- Select the channel you want to use for this reply: Email, SMS, Facebook Messenger, and so on.
- Compose your message. The interface may adapt slightly — for example, switching to Email will add Subject and From fields.
- Click Send.
The reply is logged in the same thread so the full history stays together, but the delivery goes through the channel you selected. The channel icon next to the sent message confirms which medium was used.
Snippets — saved replies at your fingertips
Section titled “Snippets — saved replies at your fingertips”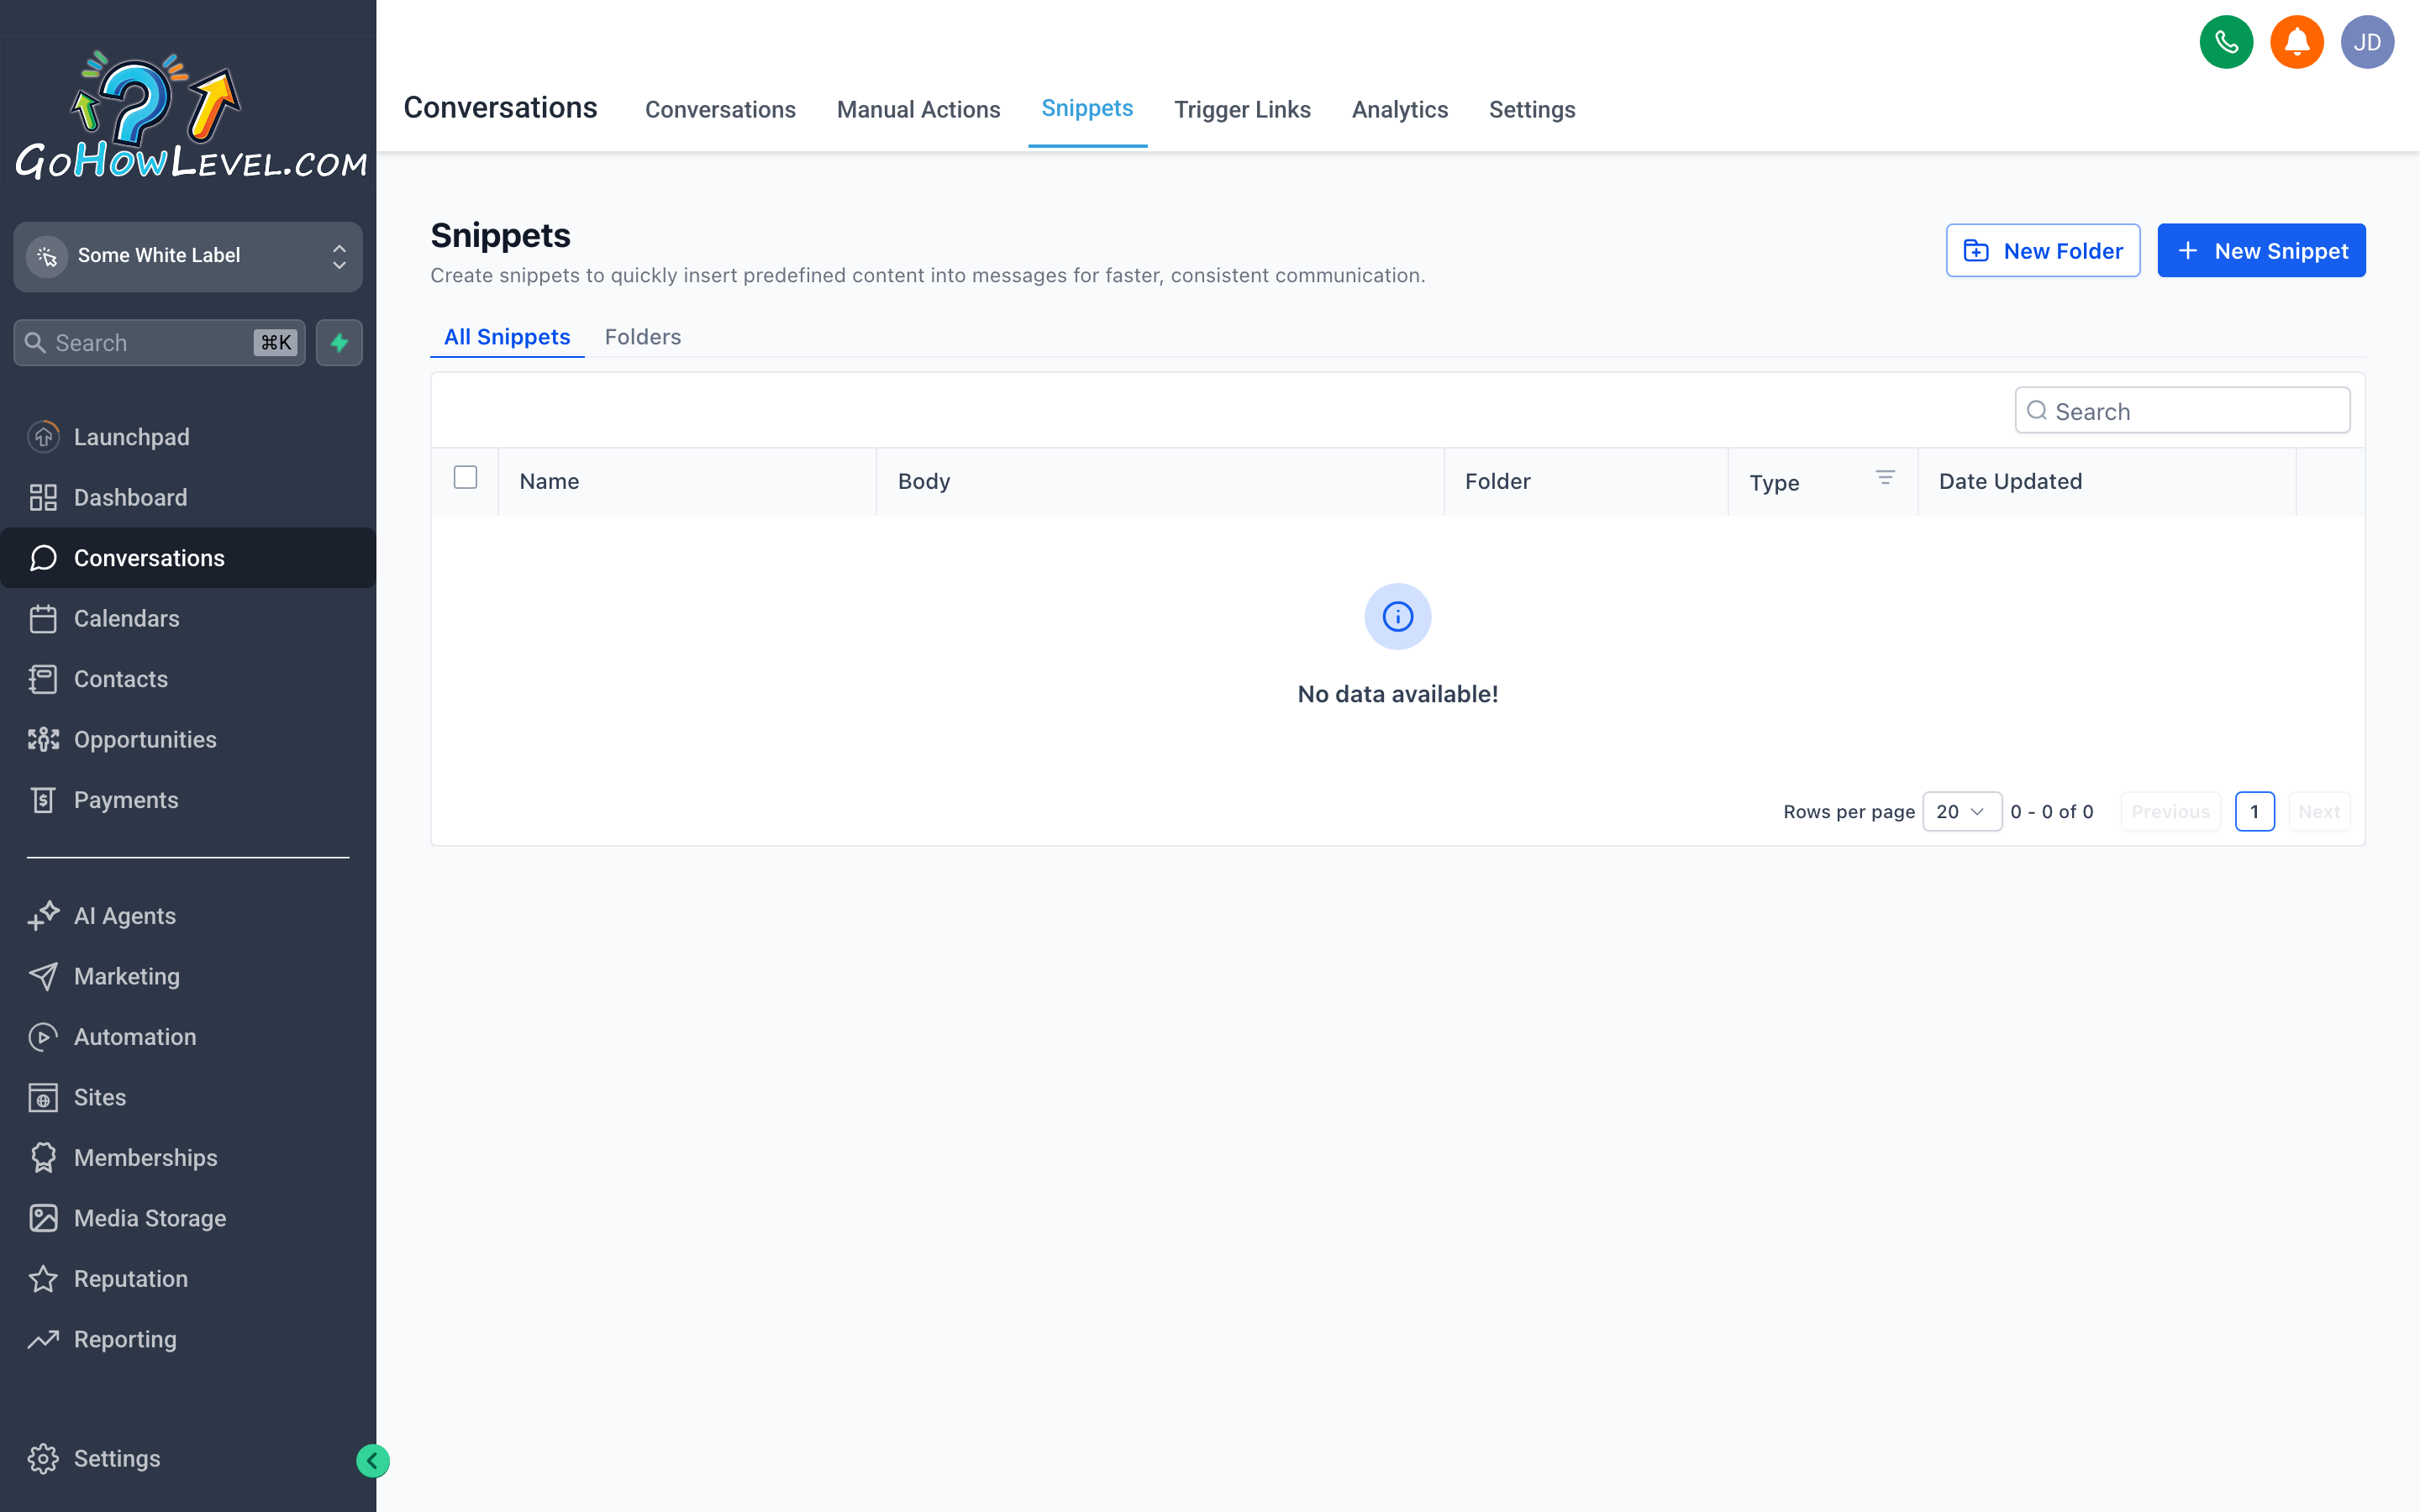
Snippets let you insert a pre-written reply in seconds — no retyping the same answer to the same question.
Snippets are saved blocks of text you can drop into any reply with a couple of clicks. Think of them as your personal library of go-to responses for frequently asked questions, standard greetings, appointment confirmations, or anything else your team types over and over.
Why use Snippets?
Section titled “Why use Snippets?”- Speed — inserting a Snippet takes two to three clicks instead of typing thirty words from scratch.
- Consistency — every team member delivers the same accurate answer to common questions, in the same voice.
- Fewer mistakes — pre-written and reviewed copy doesn’t get misspelled or garbled in a hurry.
Inserting a Snippet
Section titled “Inserting a Snippet”- Open a conversation thread and click in the reply box.
- Look for the Snippets icon — usually a speech bubble, bookmark, or lightning bolt icon in the reply toolbar.
- Click the icon to open the Snippets panel. You’ll see a searchable list of saved replies.
- Type a keyword to filter the list if you have many Snippets.
- Click the Snippet you want to use. Its text inserts directly into your reply box.
- Edit the text if needed (personalize names, dates, or details), then click Send.
Creating a new Snippet
Section titled “Creating a new Snippet”Snippets are typically created in the Settings area under a section like Snippets or Canned Responses.
- Go to Settings and find the Snippets section.
- Click Add Snippet (or New).
- Give the Snippet a short, descriptive name — something you’ll recognize quickly when scanning the list.
- Type or paste the body text. You can usually include merge fields (like
{{contact.first_name}}) to personalize the message automatically. - Click Save.
The Snippet is immediately available in the reply panel for all users on your account.
Trigger Links — trackable links that do more than link
Section titled “Trigger Links — trackable links that do more than link”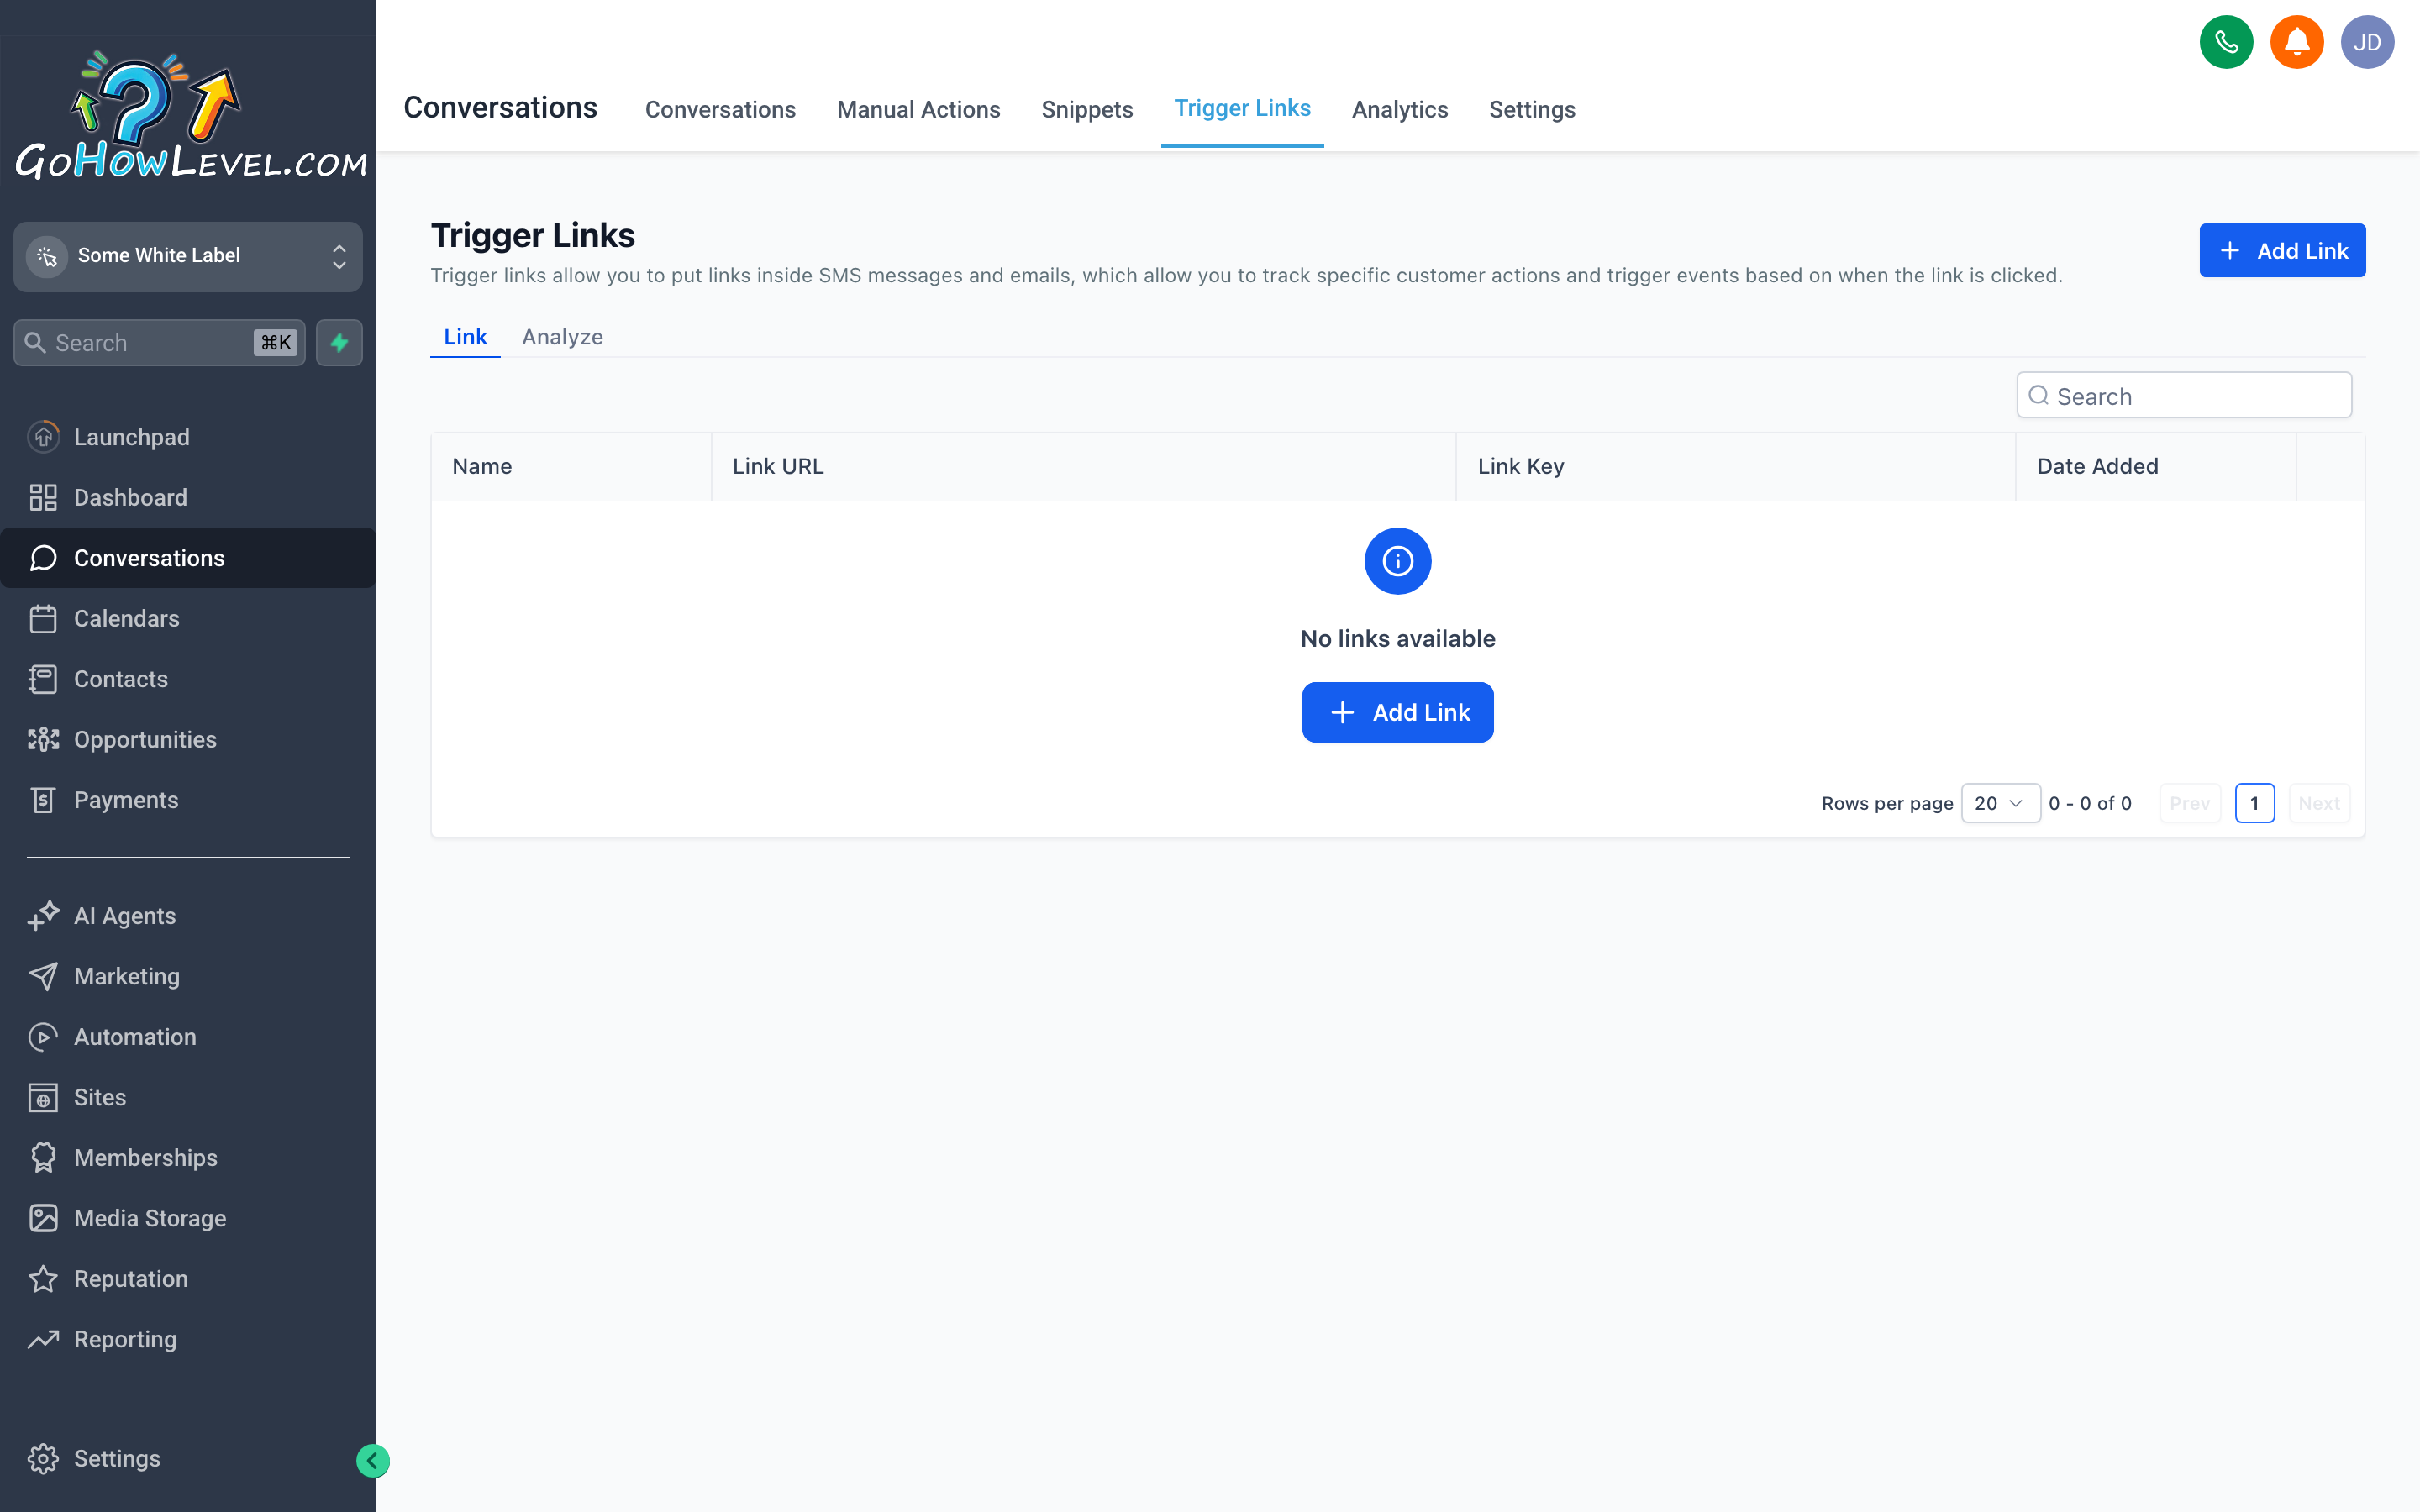
A Trigger Link looks like a normal URL to the contact, but clicking it tells your CRM who clicked, when, and can kick off an automation.
A Trigger Link is a special URL you embed in a message. When your contact clicks it, two things happen simultaneously:
- Tracking — your CRM records that this specific contact clicked this specific link, and at what time.
- Automation (optional) — the click can trigger a workflow: apply a tag, move a contact to a different pipeline stage, enroll them in a follow-up sequence, send them an automatic reply, or anything else your automations support.
This transforms an ordinary link — say, a link to your pricing page or a booking page — into a live signal about contact intent.
Example use cases
Section titled “Example use cases”- Send a link to your service menu. Contacts who click “Premium Package” automatically get tagged
interested-premiumand enter a targeted follow-up sequence. - Share a document link. Anyone who clicks it gets moved to a “Document Viewed” stage in your pipeline so sales can follow up immediately.
- Include a “Schedule Now” link in a reminder SMS. Clicking it tags the contact
scheduling-intentso you know they’re ready.
Inserting a Trigger Link into a message
Section titled “Inserting a Trigger Link into a message”- Open a conversation and click in the reply box.
- Find the Trigger Links icon in the reply toolbar (often a chain link or flag icon — different from a standard hyperlink button).
- Click it to open the Trigger Links panel. You’ll see a list of links you or your admin have set up.
- Select the Trigger Link you want to insert. The trackable URL drops into your message body.
- Optionally, wrap it in anchor text by editing the message manually (e.g., “Click here to see pricing: [URL]”).
- Send the message.
When the contact clicks the link, your CRM registers the event and fires any automations attached to it.
Creating a Trigger Link
Section titled “Creating a Trigger Link”Trigger Links are created in Settings or in the Marketing area:
- Navigate to Settings → Trigger Links (the exact path may vary by account configuration).
- Click Add Trigger Link.
- Enter a name for the link (internal reference only — contacts won’t see this).
- Paste the destination URL — the actual webpage the contact will land on.
- Optionally configure what should happen when the link is clicked: apply a tag, start a workflow, update a field.
- Click Save.
Tips for staying on top of your inbox
Section titled “Tips for staying on top of your inbox”Set a response-time standard and stick to it. For most service businesses, a goal of replying to inbound messages within five to fifteen minutes during business hours makes a measurable difference in conversion and customer satisfaction. Build a team habit around checking the Unread filter at consistent intervals.
Use assignments to create ownership. Don’t let conversations sit in a shared inbox with nobody responsible. Assign every inbound conversation to a specific team member. When everyone owns something, nothing gets dropped.
Combine Snippets and Trigger Links. A well-crafted Snippet can include a Trigger Link. For example, a “Here’s our pricing” Snippet already contains the trackable pricing-page link — one click from you becomes a tracked, automation-ready interaction.
Archive or close conversations you’ve resolved. Most inbox views have a way to mark a conversation as Done, Closed, or to archive it. Use this consistently so your active inbox only shows live conversations that need attention.