Automation & Workflows
The workflow builder lets you map out an entire automation visually — each node is a step, and you connect them in whatever order makes sense for your process.
Workflows are how your CRM does the work you’d otherwise forget to do. Instead of relying on anyone to manually send a follow-up text, add a tag, or remind a team member about a new lead, you define the logic once and let the system run it automatically — every time, for every contact, at exactly the right moment.
This page explains how workflows are built, walks you through creating your first one from scratch, and gives you a set of proven recipes you can adapt for common situations. It also covers testing and publishing, plus some honest guidance on where automation helps and where it can backfire.
What a workflow actually is
Section titled “What a workflow actually is”A workflow is a sequence that starts with a trigger — something that happens — and then executes a series of actions in response. The trigger fires for a specific contact, and then that contact moves through the workflow step by step.
Think of it like a flowchart your CRM runs automatically:
Contact submits a form → wait 2 minutes → send a welcome text → wait 1 day → send a follow-up email → add tag
follow-up-sent
You define that logic once. After that, every contact who submits that form gets the exact same experience — whether it’s 2 PM on a Tuesday or 11 PM on a Sunday.
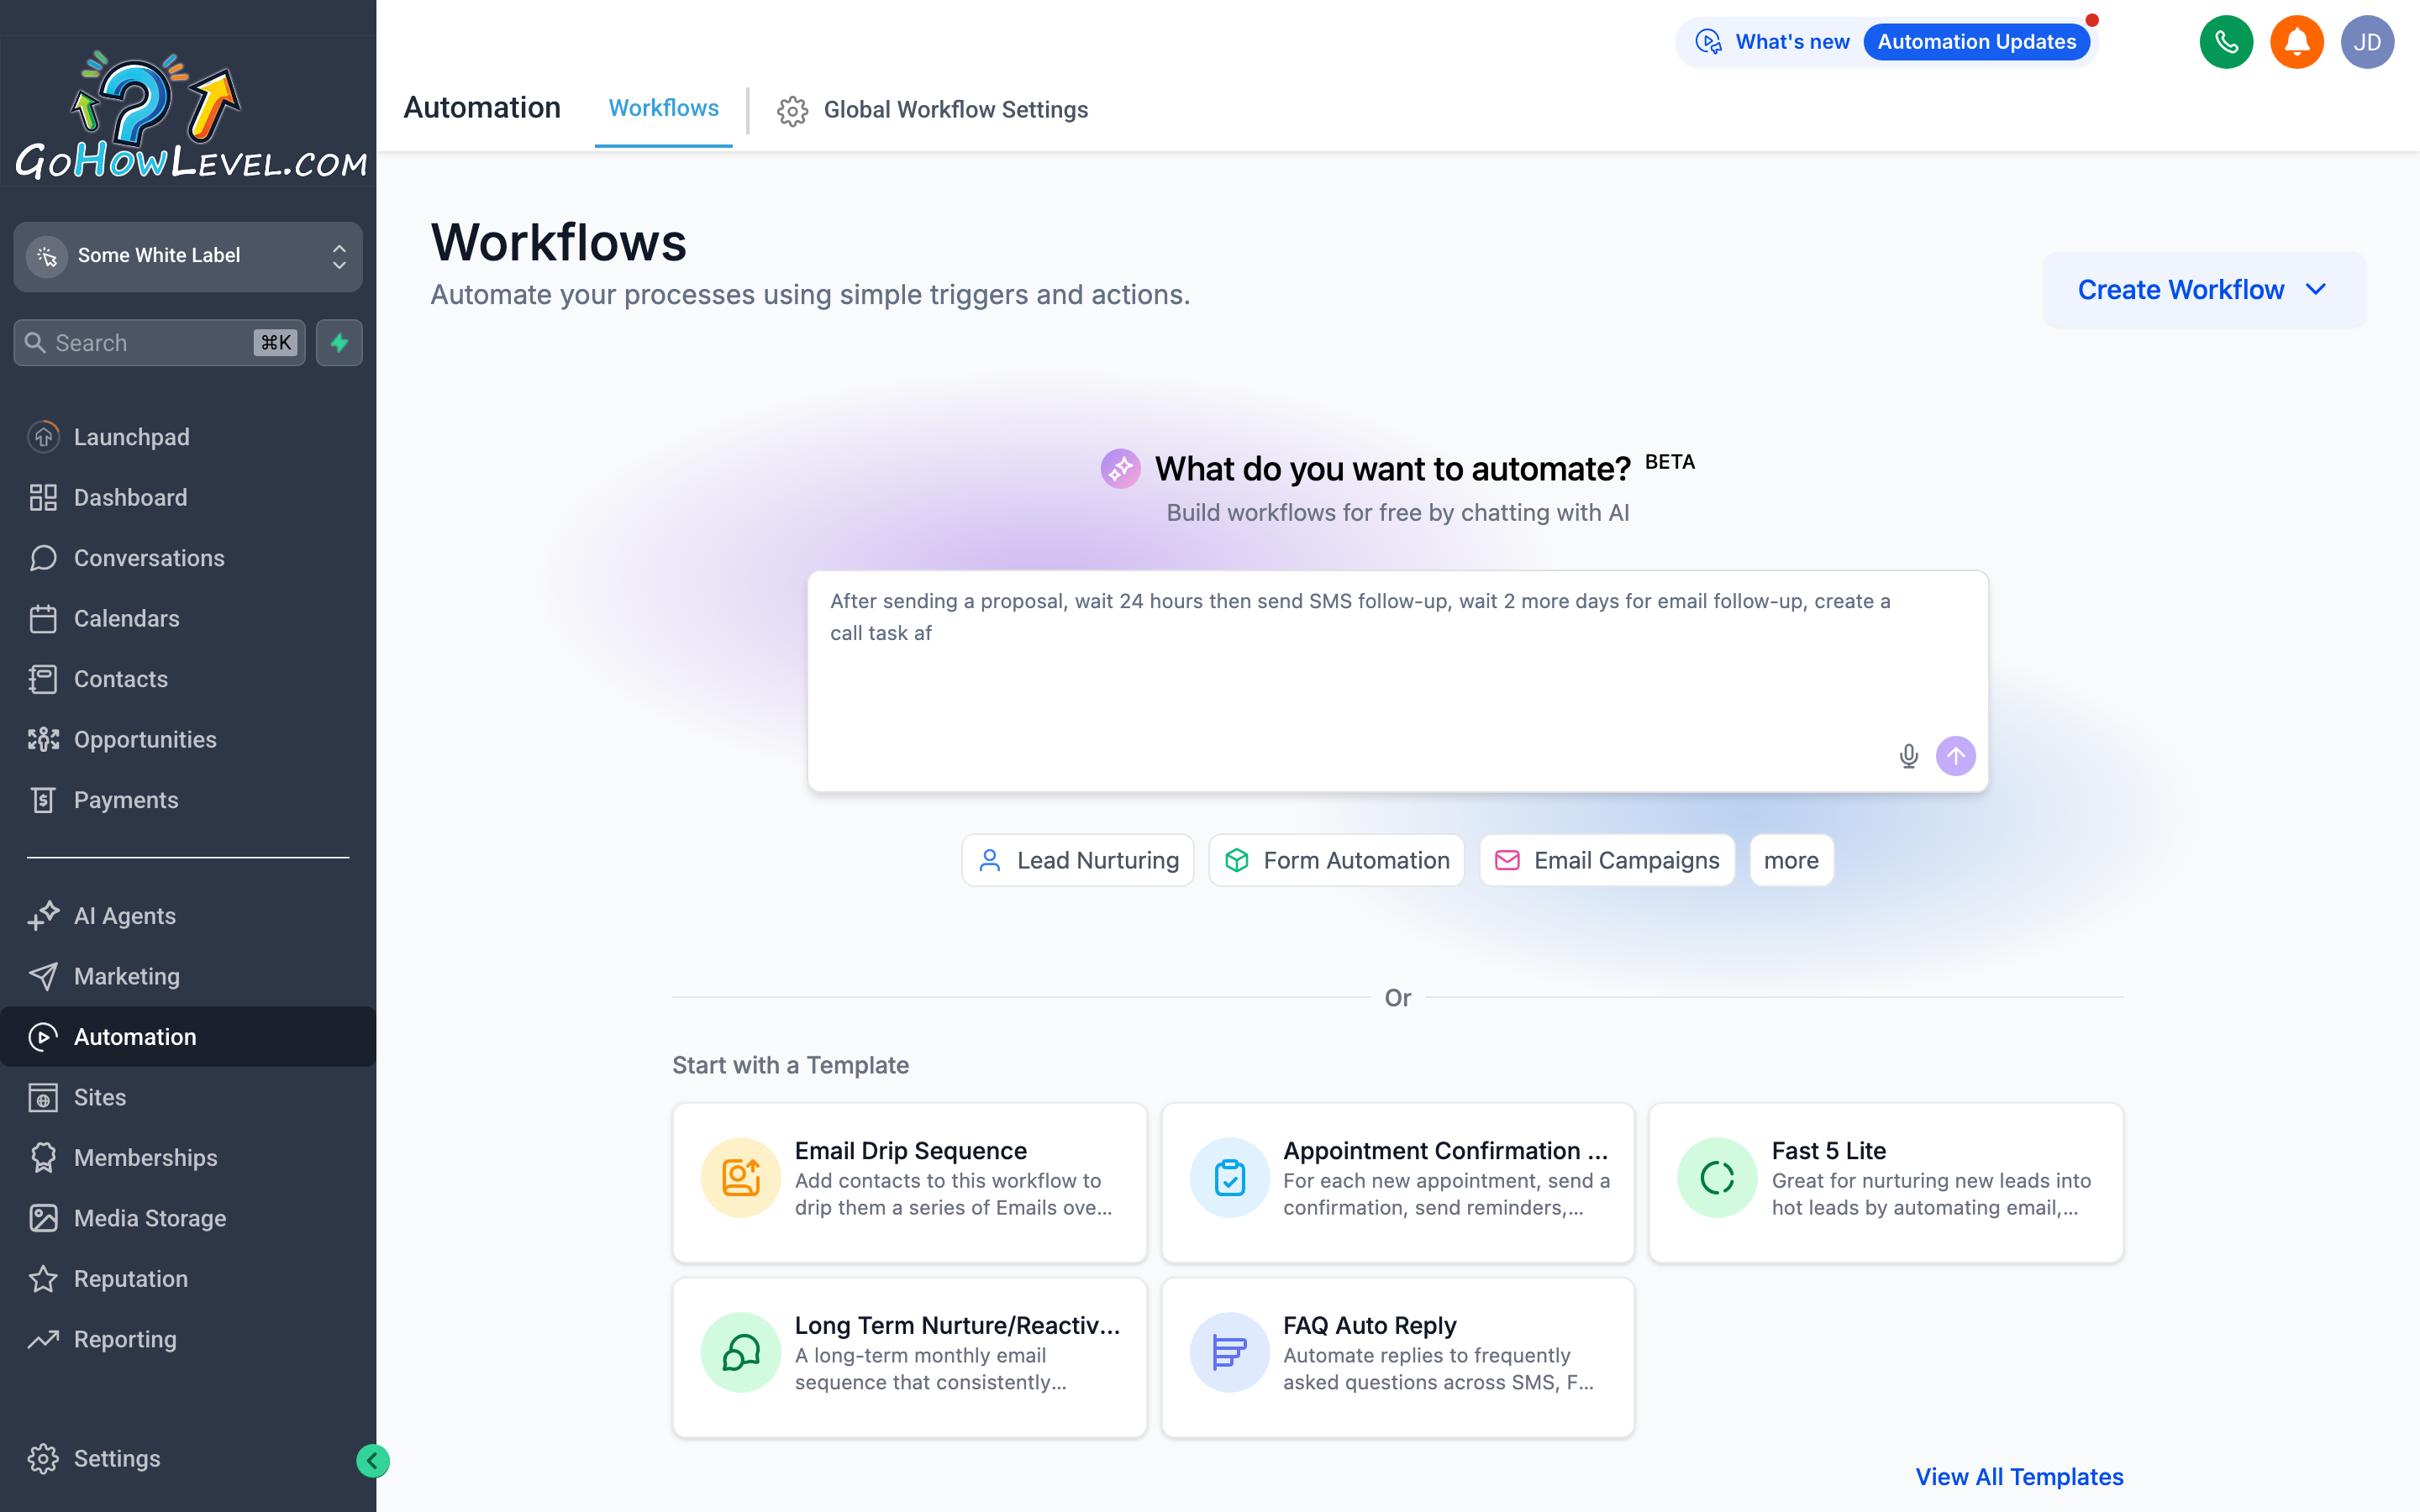
The workflow builder layout
Section titled “The workflow builder layout”When you open a workflow (or create a new one), you’re working in the visual builder. Here’s what you’re looking at:
- Canvas — the main work area where you place and connect nodes (triggers and actions). Drag to pan, scroll or pinch to zoom.
- Node library / sidebar — a panel where you browse and select triggers and actions to add to the canvas.
- Trigger node — the starting point of every workflow. There can only be one trigger per workflow. It’s the “what happened” that kicks everything off.
- Action nodes — the steps that follow the trigger. You can have as many as you need, in any order.
- Wait / delay nodes — pause the workflow for a specific amount of time (or until a condition is met) before continuing to the next step.
- Condition / branch nodes — split the workflow into different paths based on a yes/no question (e.g., “did the contact reply to our SMS?”).
- Settings panel — click any node to open its configuration panel on the right. This is where you write message copy, choose recipients, set wait durations, and so on.
Common triggers
Section titled “Common triggers”Triggers are what start a workflow. When you create a workflow, your first task is picking the right trigger. The most useful ones:
- Form Submitted — fires when a contact fills out a specific form. Great for lead follow-up and onboarding sequences.
- Appointment Booked — fires when someone books on a calendar. Use it to send confirmation messages and prep reminders.
- Appointment Status Changed — fires when an appointment is confirmed, cancelled, or marked as no-show. Good for handling no-shows automatically.
- Tag Added — fires when a specific tag is applied to a contact (by a user, an import, or another workflow). Useful for triggering sequences based on status changes.
- Tag Removed — fires when a tag is stripped. Less common but useful for pausing sequences when someone converts.
- Inbound Message Received — fires when a contact sends you a message. Helpful for auto-replies or routing.
- Opportunity Status Changed — fires when a deal moves to a new stage. Great for post-sale sequences.
- Contact Created — fires when a new contact is added to your CRM, from any source.
- Birthday — fires on the contact’s birthday field date. Useful for simple delight automations.
Common actions
Section titled “Common actions”Actions are what your workflow does once the trigger fires. You can string together as many actions as you need:
- Send SMS — sends a text message from your connected phone number to the contact. You can personalize it with merge fields (contact name, appointment time, etc.).
- Send Email — sends an email to the contact using a template or custom copy you write directly in the node.
- Wait — pauses the workflow for a set amount of time: minutes, hours, or days. Essential for spacing out a multi-touch sequence.
- Wait Until — pauses until a specific date/time or until a condition becomes true (e.g., wait until 9 AM on the next business day before sending).
- Add Tag — applies a tag to the contact. Use this to flag that a contact has reached a certain point in your workflow.
- Remove Tag — strips a tag. Use this to exit a contact from a Smart List or stop another workflow from re-triggering.
- Create Task — creates a to-do item for a team member, linked to this contact. Great for flagging hot leads for a human to call.
- Assign to User — assigns the contact to a specific team member as their owner.
- Update Opportunity Stage — moves a deal in your pipeline to a different stage automatically.
- Add to Opportunity — creates a new opportunity for the contact in a specified pipeline and stage.
- Send Internal Notification — sends an email or SMS to a team member (not the contact) to alert them something happened.
- Add Note — appends a note to the contact record, which can be helpful for logging that an automation ran.
- Remove from Workflow — ends the workflow for this contact immediately. Useful in branches — if a contact meets a condition, exit the sequence; otherwise, continue.
- Go to Workflow — hands the contact off to another workflow. Keeps individual workflows focused and reusable.
Building your first workflow
Section titled “Building your first workflow”Let’s build a simple speed-to-lead follow-up: when someone submits a contact form, they get an immediate text, then an email 15 minutes later, then a task is created for your team to call them.
- From the left navigation, go to Automation (sometimes listed as Workflows).
- Click + New Workflow (or Create Workflow).
- Choose Start from Scratch — you’ll configure everything yourself.
- Click the Trigger node (or the Add Trigger prompt) to open the trigger selector.
- Choose Form Submitted from the list. In the trigger settings panel, select the specific form you want this workflow to respond to. Click Save Trigger.
- Below the trigger node, click the + button to add your first action.
- Choose Send SMS. Write your message — something warm and direct. Use the merge field picker to include the contact’s first name. Click Save Action.
- Click + again to add a Wait node. Set it to 15 minutes. Click Save.
- Click + again to add a Send Email action. Choose an email template or write the email directly. Set the subject line and body. Click Save Action.
- Click + again to add a Create Task action. Set the task title (e.g., “Call new lead — form submission”), assign it to the appropriate team member, and set the due date to 1 day from now (or whatever your standard follow-up window is). Click Save Action.
- Click Save on the workflow (top right), then review the full sequence on the canvas.
- When you’re ready, toggle the workflow status from Draft to Published (or click Activate).
The workflow is now live. Every future submission of that form will kick it off automatically.
High-value workflow recipes
Section titled “High-value workflow recipes”These are patterns that work well across most service businesses. Adapt the timing, copy, and specifics to fit your situation.
Speed-to-lead follow-up
Section titled “Speed-to-lead follow-up”Trigger: Form Submitted (your main lead form)
- Send SMS (immediately) — “Hey [First Name], thanks for reaching out! We’ll be in touch shortly. — [Your Company]”
- Send Email (immediately) — a warm confirmation with what to expect next
- Wait — 5 minutes
- Create Task — “Call new lead: [First Name] [Last Name]” assigned to your sales rep
- Wait — 1 day
- Send SMS (if no reply tagged) — a brief check-in: “Hi [First Name], just wanted to make sure you got our message. Any questions?”
Appointment reminder sequence
Section titled “Appointment reminder sequence”Trigger: Appointment Booked
- Send Email (immediately) — booking confirmation with all the details and calendar link
- Wait until — 48 hours before appointment time
- Send SMS — “Reminder: your appointment with [Business] is in 2 days. [Date] at [Time]. Reply CONFIRM to confirm or CANCEL to cancel.”
- Wait until — 2 hours before appointment time
- Send SMS — “See you soon! Your appointment is today at [Time]. [Address or Video Link].”
Missed-call text-back
Section titled “Missed-call text-back”Trigger: Inbound Call (Missed Call) — look for a missed call or call status trigger in your workflow triggers list.
- Wait — 1 minute (gives the caller a moment to leave a voicemail before you respond)
- Send SMS — “Hi, we just missed your call at [Business Name]. We’ll get back to you as soon as possible — or reply here if it’s quicker. What can we help you with?”
This one is simple and one of the highest-ROI automations you can set up. A missed call that gets a text back in under 60 seconds is almost always better received than a voicemail callback hours later.
Review request after a won deal
Section titled “Review request after a won deal”Trigger: Opportunity Status Changed → Stage: Closed Won (or whatever your “won” stage is named)
- Wait — 1 day (give the relationship a moment to breathe before asking)
- Send Email — a personal-feeling review request with a direct link to your Google Business Profile or preferred review platform
- Wait — 3 days
- Add Tag —
review-requested - (Optional) Send SMS — a light follow-up if they haven’t left a review yet
Long-term nurture sequence
Section titled “Long-term nurture sequence”Trigger: Tag Added → long-term-nurture (you or another workflow applies this tag to contacts who didn’t convert immediately)
- Send Email — a useful piece of content, no pitch (a tip, a checklist, an article)
- Wait — 2 weeks
- Send Email — a short case study or success story
- Wait — 2 weeks
- Send SMS — a check-in: “Hi [First Name], just circling back — has anything changed with your [situation they originally had]?”
- Wait — 1 month
- Send Email — a direct, low-pressure offer to reconnect
- Add Tag —
nurtured-6-week
Adjust the spacing to match your sales cycle. Some businesses run 90-day or 6-month nurture tracks.
Testing a workflow before you publish
Section titled “Testing a workflow before you publish”Never publish a workflow straight to live contacts without testing it first. Here’s how:
- While the workflow is still in Draft, look for a Test Workflow or Add Test Contact button (location varies by your version, but it’s typically near the publish controls or in the toolbar).
- Select yourself or a test contact to run through the workflow.
- Trigger the workflow manually for that test contact (the test button usually handles this).
- Watch each step execute: check your test phone for the SMS, your inbox for the email, and the contact record for tags and tasks.
- Verify the timing between steps feels right — a wait node that says “1 day” is a long time to sit through in testing, so some builders let you preview without actually waiting.
- Fix anything that looks off, then click Save again before publishing.
Publishing and managing active workflows
Section titled “Publishing and managing active workflows”When a workflow looks right in testing:
- Click Save to make sure the latest version is stored.
- Toggle the workflow from Draft to Published (or click Activate). The exact control varies — look for a status toggle at the top of the workflow or a Publish button.
- Confirm the activation in any dialog that appears.
The workflow is now live. You can return to it any time to:
- Pause the workflow — stops new contacts from enrolling; contacts already inside continue their steps.
- Edit — put it back into draft, make changes, and republish.
- View enrollment stats — most workflow builders show how many contacts are enrolled, how many have completed each step, and how many are currently waiting.
What to watch out for
Section titled “What to watch out for”A few workflow best practices
Section titled “A few workflow best practices”Name workflows clearly. “Speed to Lead – Main Form” is better than “Workflow 1.” You’ll thank yourself when you have fifteen workflows and need to find the right one quickly.
Document your triggers. Keep a simple internal note (even a shared doc or a note in your CRM settings) that lists which tag or form triggers which workflow. Without this, it’s easy for two people to accidentally create conflicting automations.
Review workflows quarterly. Offers go stale, phone numbers change, team members move on. Block thirty minutes every quarter to open each active workflow and confirm the copy, contacts, and logic still make sense.
Use internal notifications generously in early workflows. Until you trust a workflow, add a Send Internal Notification step that alerts you every time it fires. Once you’re confident it’s working right, you can remove the notification to reduce noise.