Sites: Funnels, Websites & More
The Sites section is where your public-facing digital presence lives inside your CRM. From a single-page opt-in form to a full multi-page website to a members-only client portal, it’s all built and managed here.
This page walks through each tool in Sites — what it’s for, when to reach for it, and how to get started. Pick the tool that fits your goal; you don’t have to use all of them.
Funnels — focused pages built to convert
Section titled “Funnels — focused pages built to convert”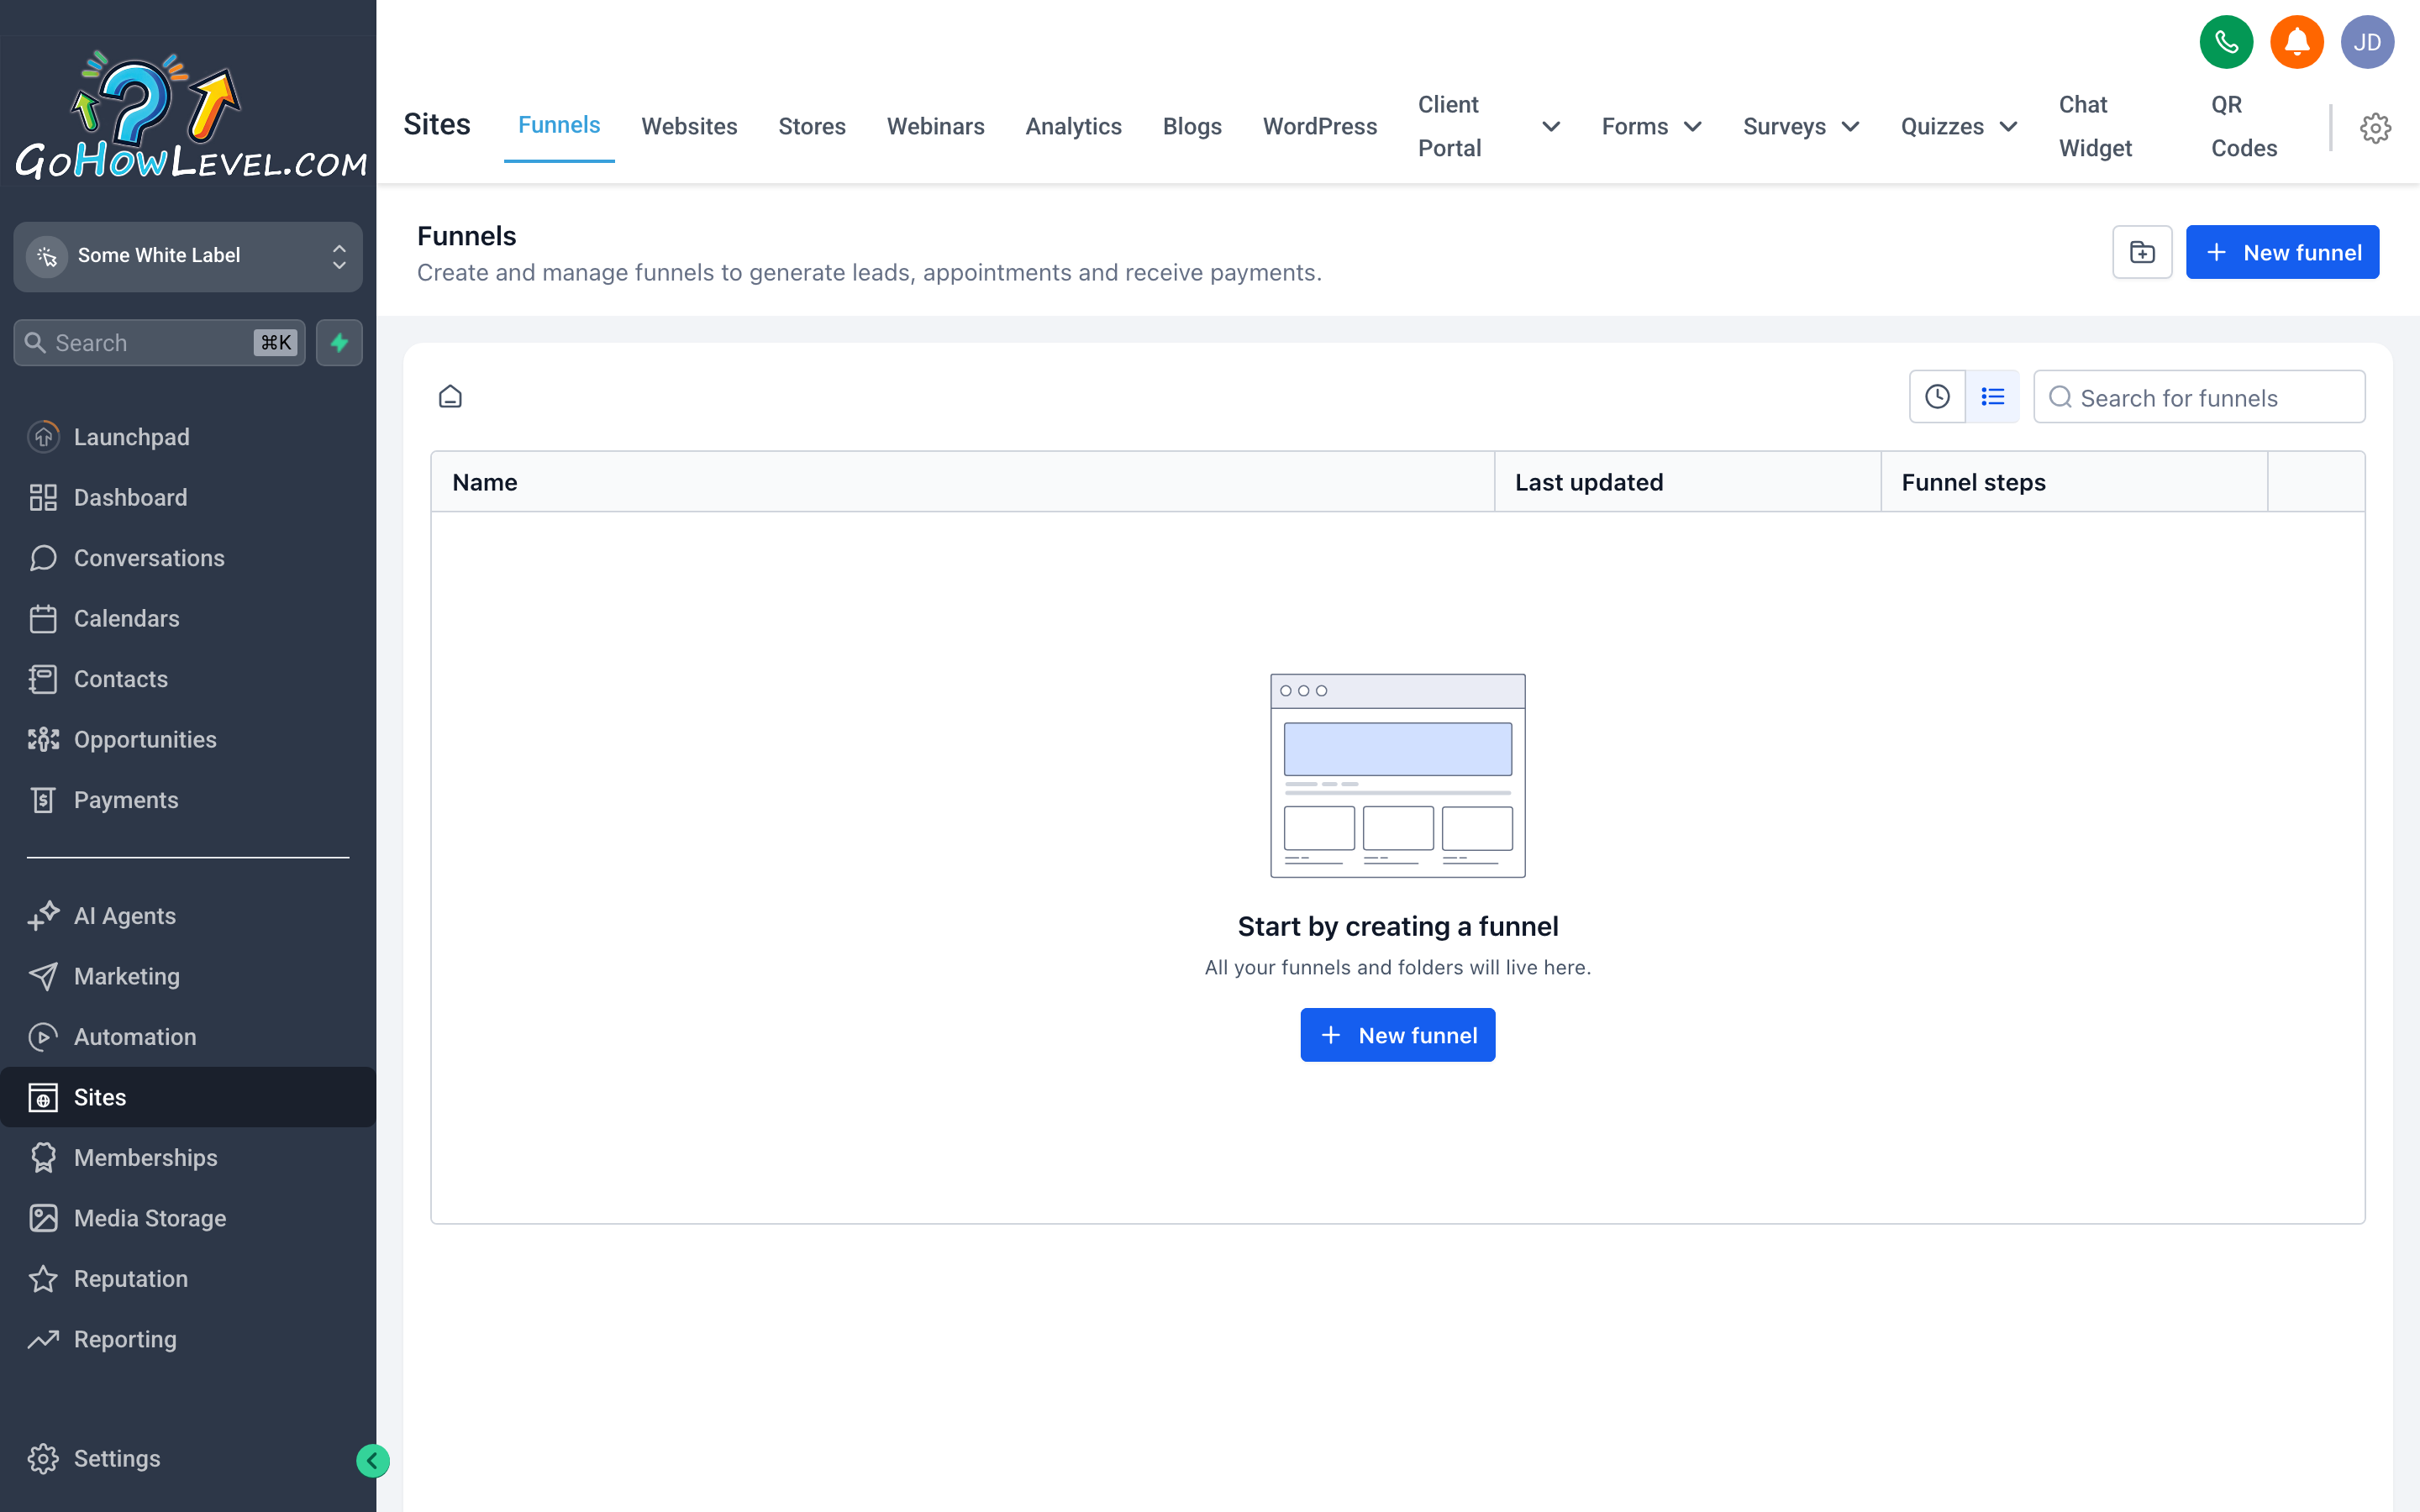
Funnels are built around a goal — lead capture, appointment booking, a product offer — and every page in the funnel moves the visitor toward that goal.
A funnel is a sequence of one or more pages designed to guide a visitor toward a specific action. Unlike a full website, a funnel strips away distractions: no navigation menu, no “About Us” link, no rabbit holes. The visitor either takes the action or they leave.
Use a funnel when you want to:
- Capture leads from an ad campaign with a targeted opt-in page
- Sell a specific product or service with a dedicated offer page and checkout
- Book appointments directly from a campaign without routing visitors through your main website
- Run a limited-time promotion with a standalone landing page
Funnels vs. Websites — the core difference
Section titled “Funnels vs. Websites — the core difference”| Funnel | Website | |
|---|---|---|
| Navigation | None (intentionally) | Full site nav |
| Pages | One to a few, linear | As many as you need |
| Goal | One specific conversion | Broad information + multiple entry points |
| Best for | Paid traffic, campaigns | Organic search, brand presence |
A single business often uses both: the website for general information and SEO, and funnels for paid campaigns and specific offers.
Building a funnel
Section titled “Building a funnel”- Go to Sites in the left navigation, then click Funnels.
- Click + New Funnel (or Create Funnel).
- Give your funnel a name (internal only — visitors won’t see this).
- Choose a template to start from, or start with a blank page.
- Set your Funnel Domain — this is the URL your funnel will live at. You can use a subdomain of your default domain, or connect a custom domain (see the tip at the bottom of this page).
- Click into the first Step (page) to open the drag-and-drop builder.
- Customize the layout, images, copy, and form using the builder sidebar — drag elements from the panel on the left onto the canvas.
- Add additional steps (e.g., a thank-you page, an upsell page) by clicking + Add Step within the funnel editor.
- When the page looks right, click Save and then Publish to make it live.
Websites — your full online home base
Section titled “Websites — your full online home base”
Websites give you a full multi-page presence with navigation — the right tool for your permanent brand home, service pages, and SEO traffic.
A Website in your CRM is a traditional, multi-page site with navigation, links between pages, and a structure built for exploration rather than a single conversion. It’s built with the same drag-and-drop builder as funnels, so the editing experience is familiar, but the intent is different: websites are for people who are browsing, learning about your business, and deciding whether to reach out.
Use a website when you want to:
- Give your business a permanent home on the web with an “About,” “Services,” and “Contact” structure
- Rank for search terms through multiple optimized pages
- House your blog (more on this below)
- Give existing customers a place to find information without an ad driving them there
Building a website
Section titled “Building a website”- In Sites, click Websites.
- Click + New Website (or Create Website).
- Choose a template or start from scratch.
- Set your site’s domain (see the custom domain tip at the bottom).
- Use the Pages panel to manage your page structure — add new pages, rename them, and set their URL slugs.
- Click any page to open the drag-and-drop editor and customize the content.
- Set your Header and Footer once — they apply across all pages automatically.
- When ready, use the Publish control to push the site live.
The page builder — a quick orientation
Section titled “The page builder — a quick orientation”Whether you’re editing a funnel or a website page, the builder works the same way:
- Elements panel (left sidebar) — drag sections, rows, columns, text, images, buttons, forms, videos, and more onto the canvas.
- Canvas (center) — your live preview of the page. Click any element to select and edit it.
- Settings panel (right sidebar) — configure the selected element: fonts, colors, padding, visibility, links, and so on.
- Undo / Redo — use the toolbar or standard keyboard shortcuts.
- Mobile preview — toggle between desktop and mobile views to make sure the page looks right on both.
Stores — sell products online
Section titled “Stores — sell products online”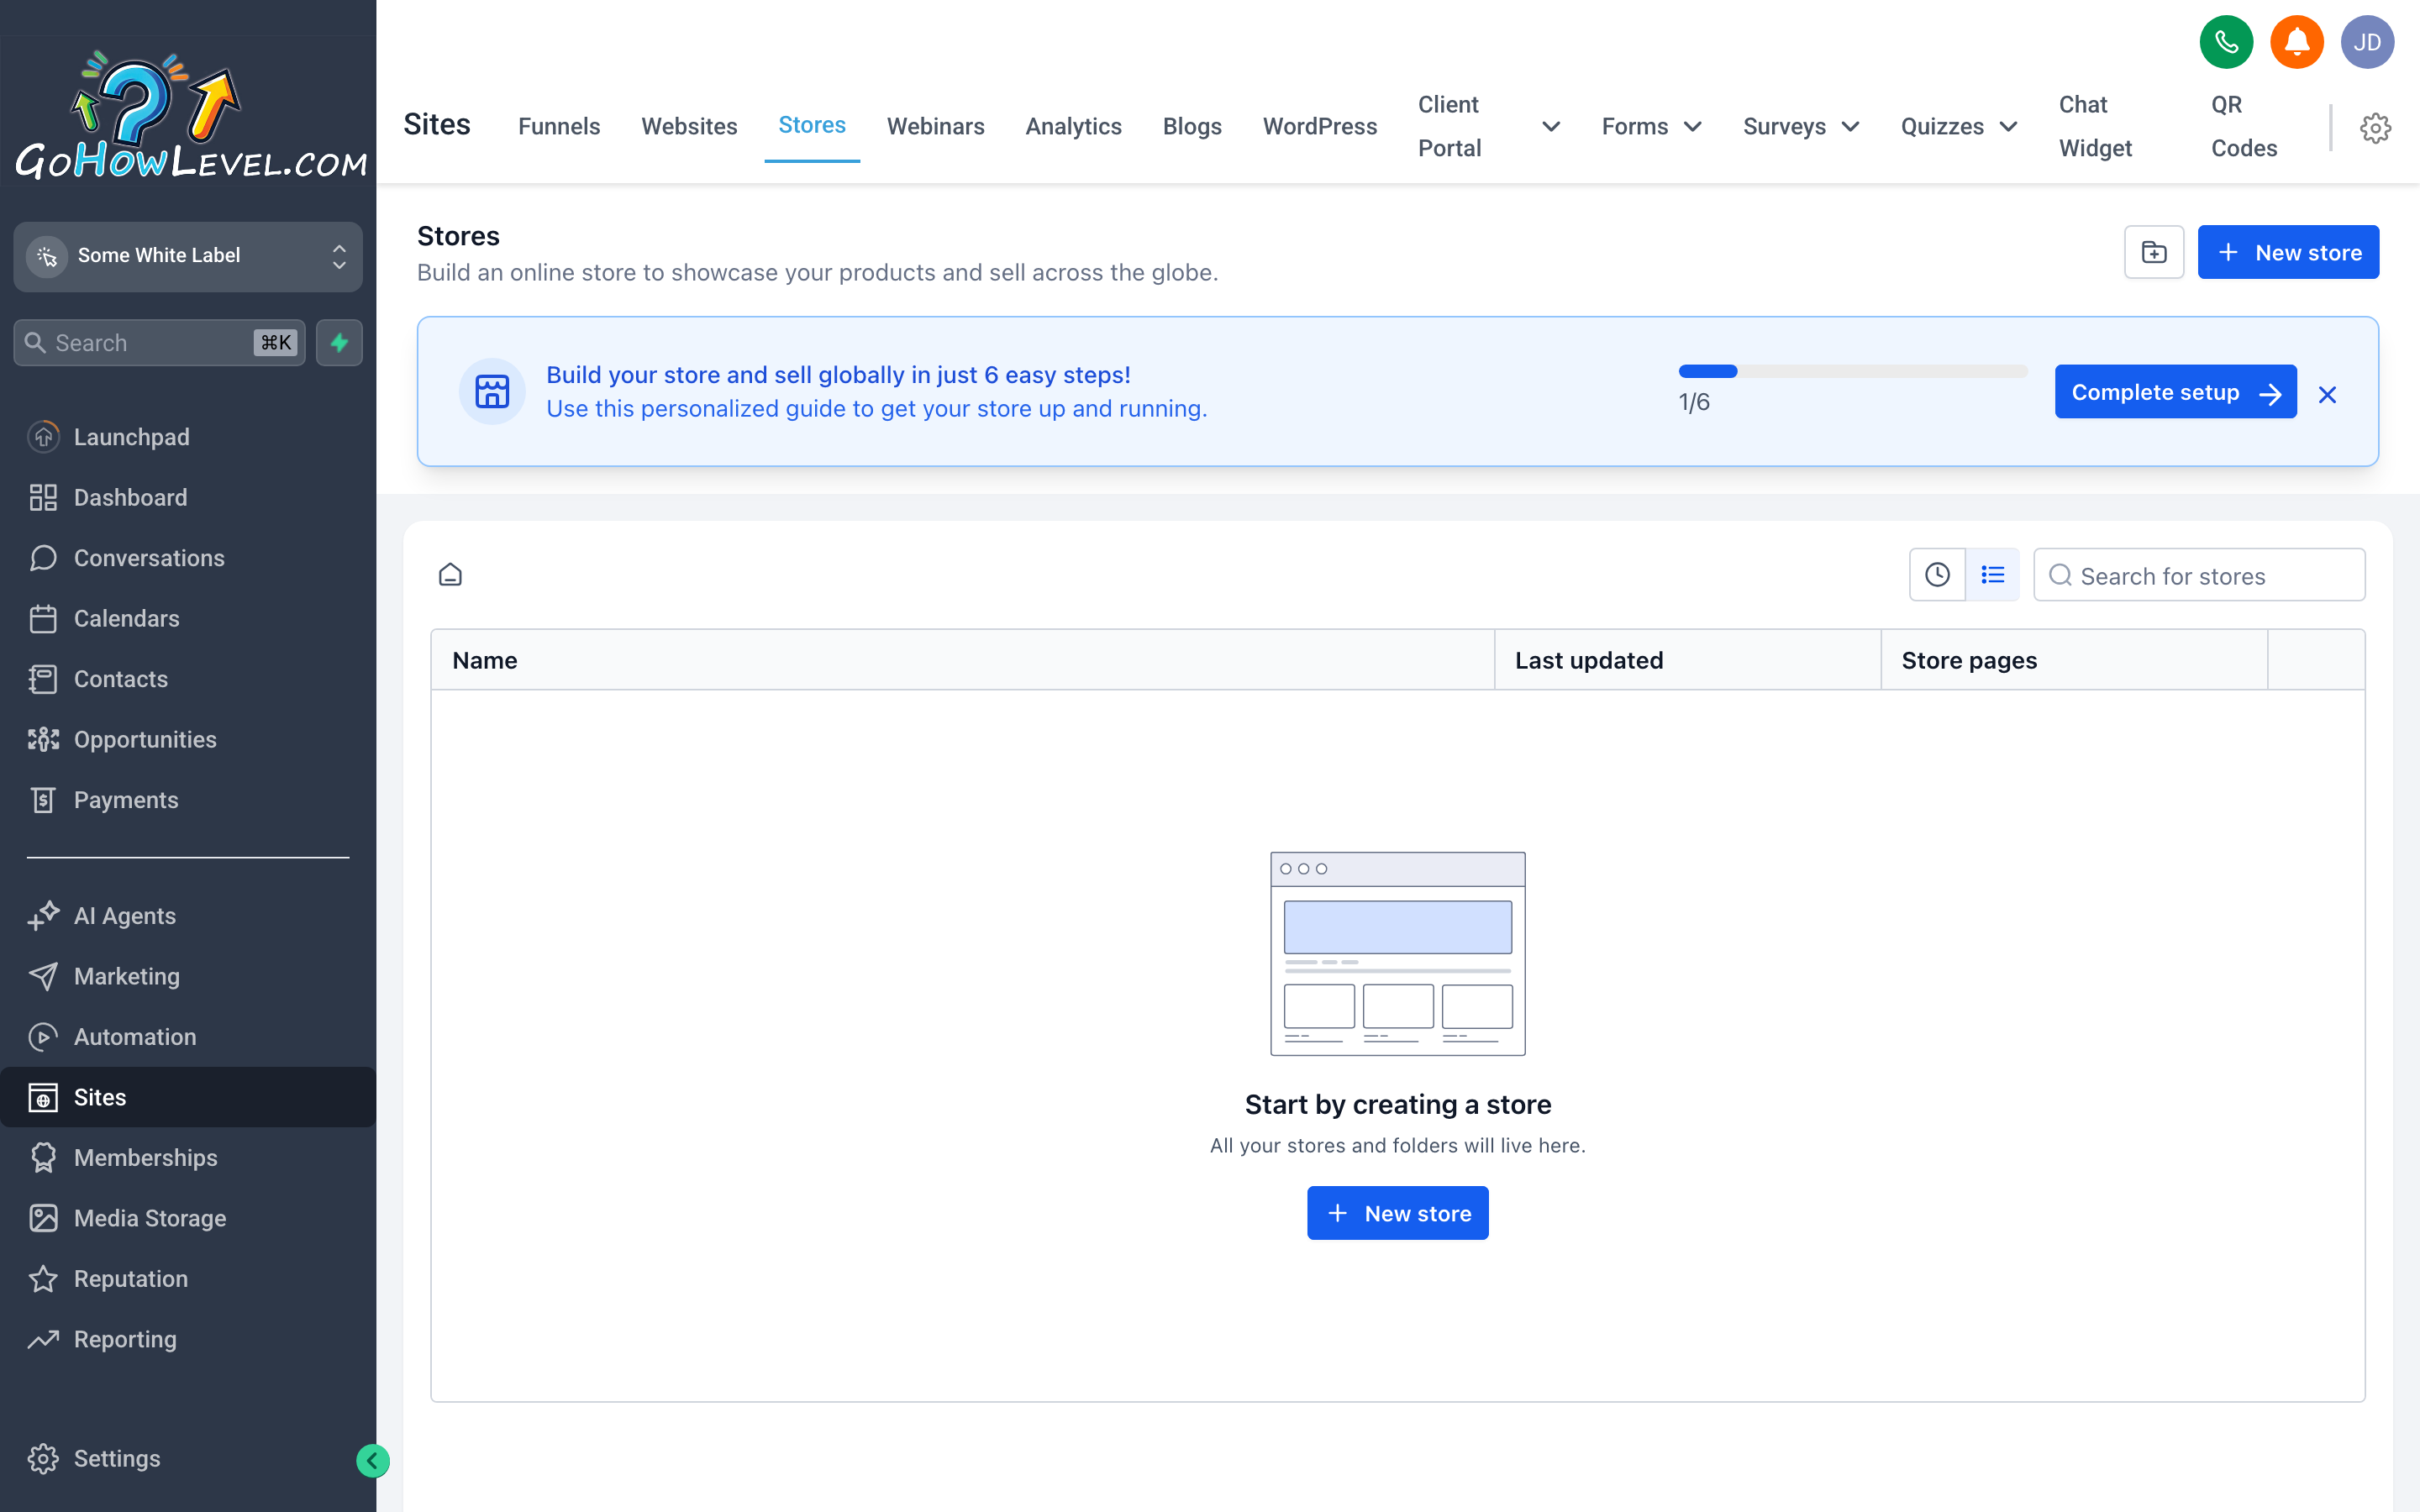
Stores let you sell physical or digital products directly from your CRM — no separate e-commerce platform required.
If you sell physical products, digital downloads, or service packages with a defined price, the Stores feature gives you a product catalog and checkout experience built directly into your CRM. Orders, customer records, and payment history all stay inside the same system you’re already using.
Use Stores when:
- You want to sell a fixed-price product or service package online
- You want order history tied to contact records without integrating a separate e-commerce tool
- You’re selling branded merchandise, digital guides, intake packages, or service add-ons
Getting started with a store
Section titled “Getting started with a store”- In Sites, click Stores (or Store).
- Click Create Store (you may need to create a store before adding products).
- Add your first product: click + Add Product, fill in the Product Name, Description, Price, and upload a product image.
- Configure inventory tracking if relevant to your product type.
- Set up payment settings under Settings → Payments if you haven’t already — your store needs a connected payment processor to take orders.
- Add the store or individual product pages to your website or funnel using the relevant builder elements.
- Publish and test the checkout flow end-to-end using a test transaction before promoting it to customers.
Client Portal — a login experience for your customers
Section titled “Client Portal — a login experience for your customers”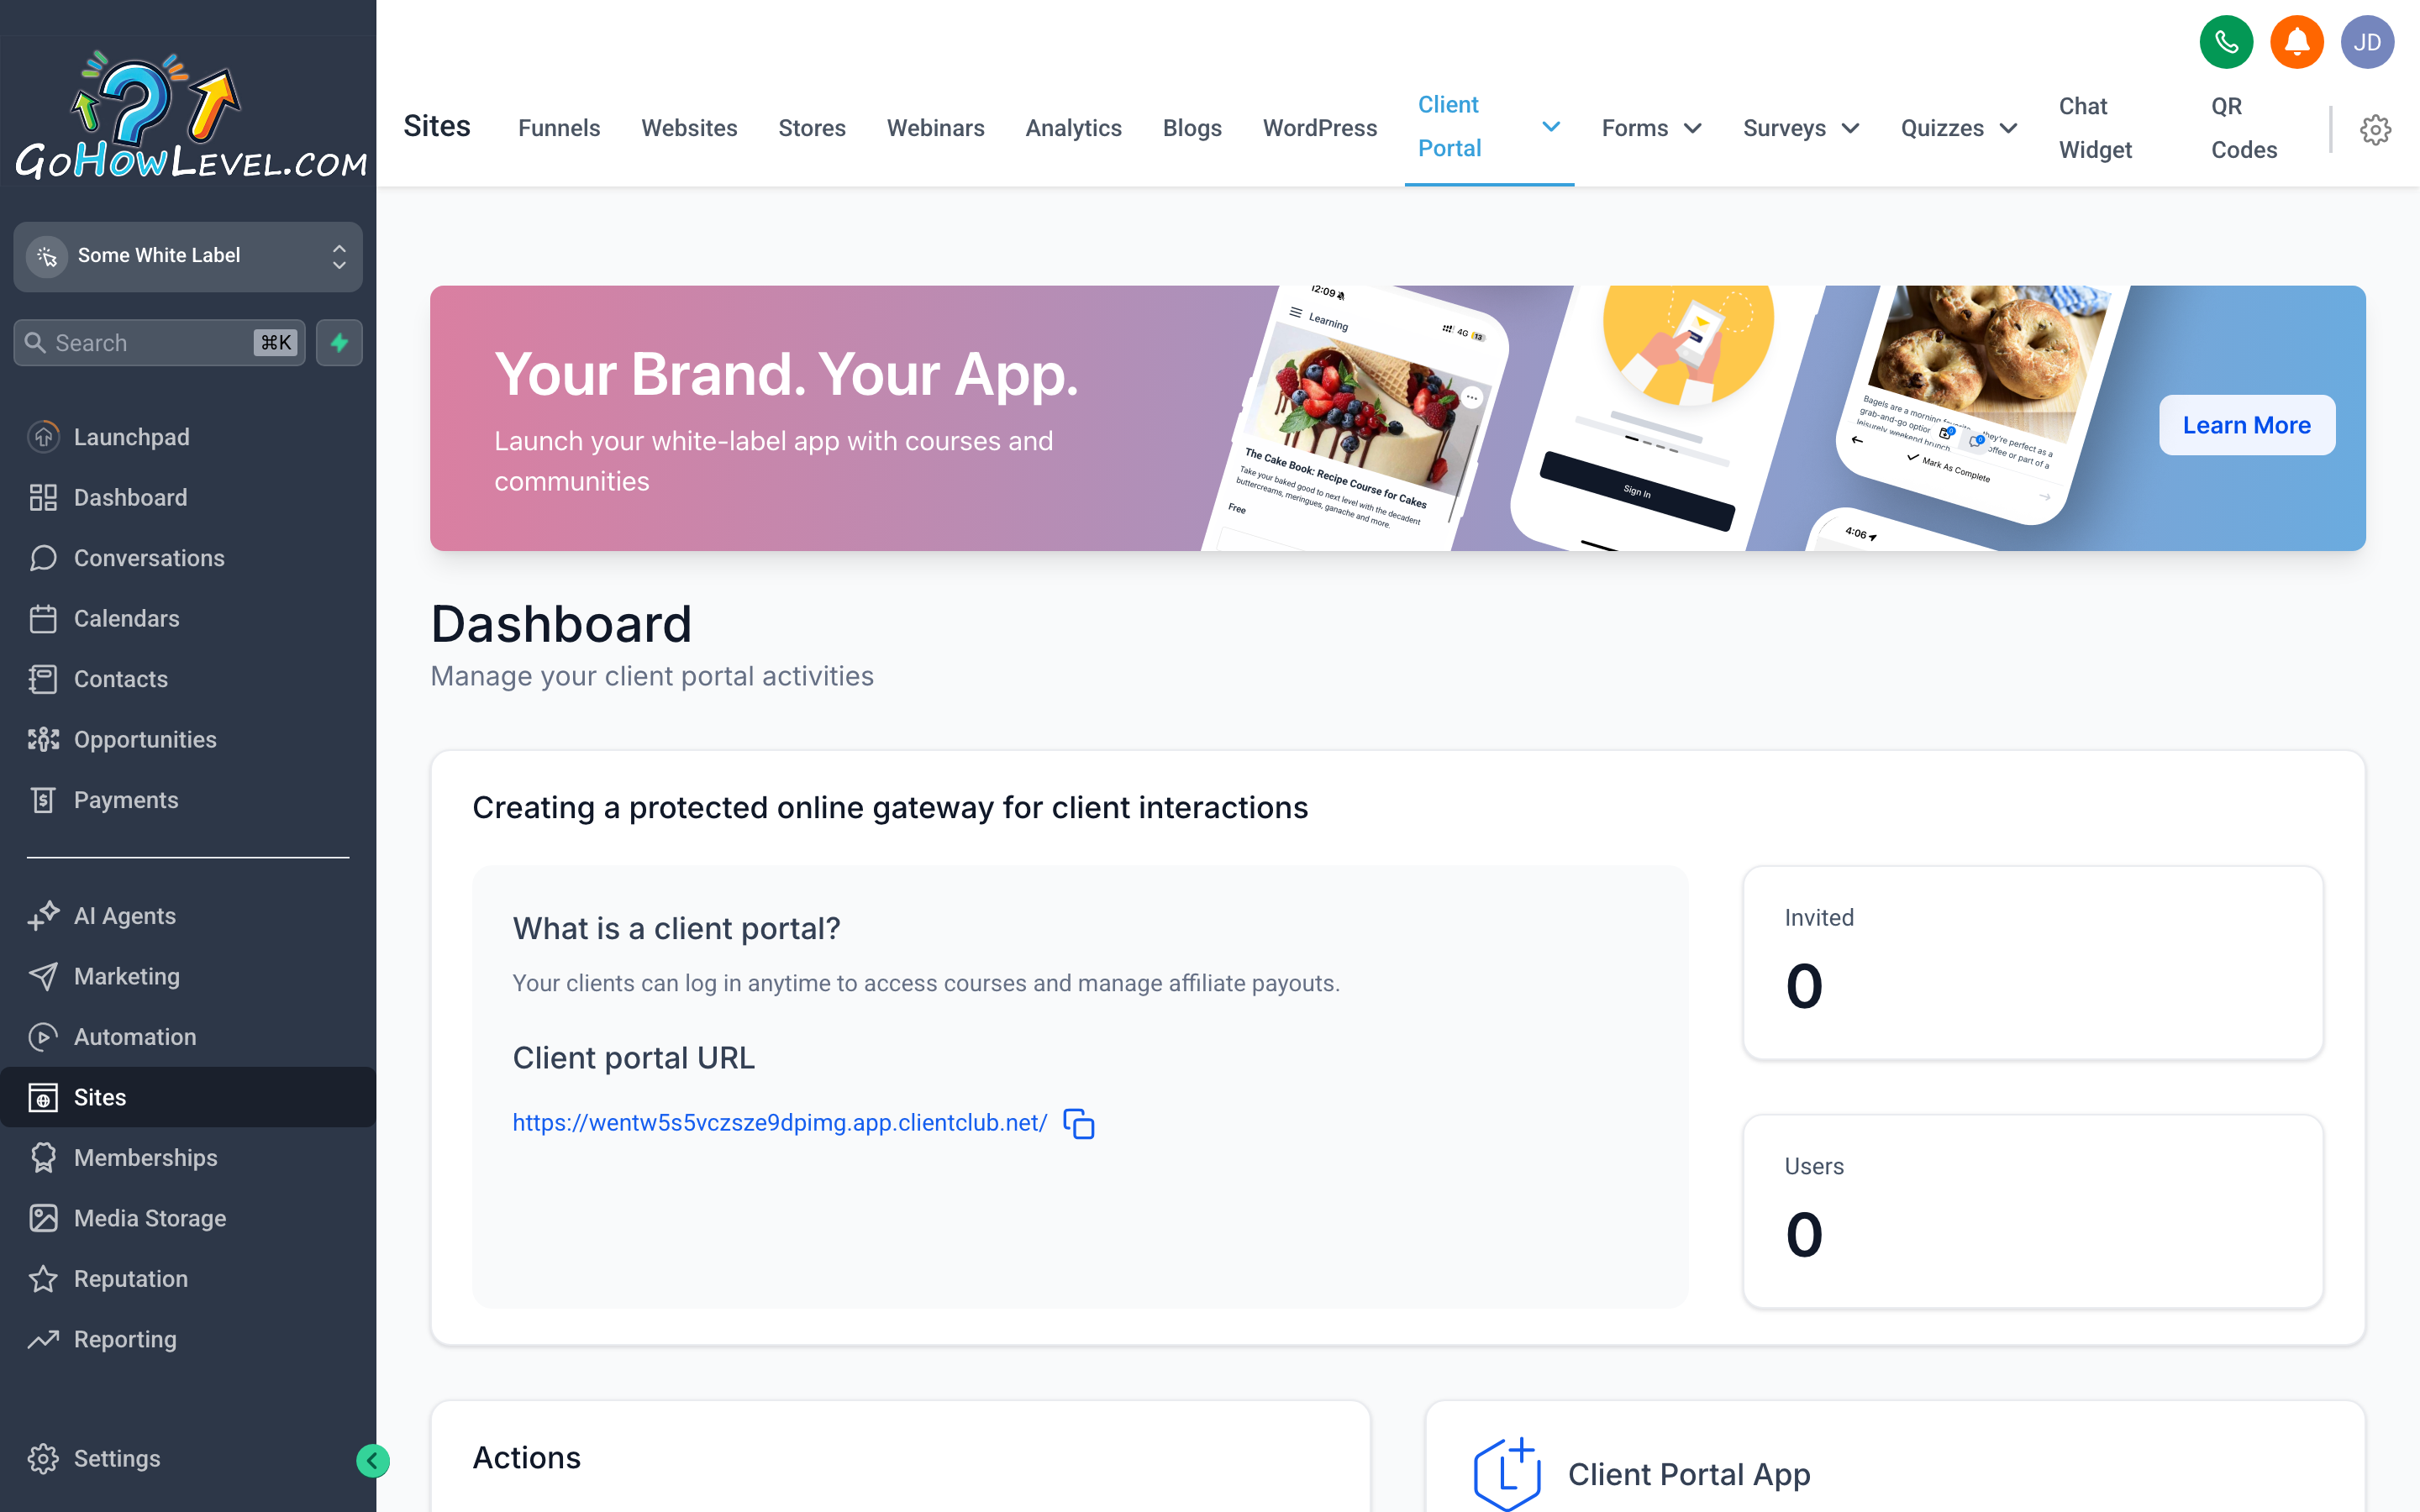
The Client Portal gives your customers their own private login where they can access content, courses, and documents you’ve shared with them.
The Client Portal is a branded, login-protected area where your clients can access whatever you’ve made available to them — online courses, onboarding materials, documents, community spaces, or membership content. Rather than emailing files back and forth or sending people to a separate platform, you give them a single place to log in and find everything.
Use the Client Portal when:
- You deliver online courses or training programs
- You have a membership or subscription product with gated content
- You want a professional-feeling post-purchase experience for your clients
- You want to replace a separate course platform or membership site
Setting up the Client Portal
Section titled “Setting up the Client Portal”- In Sites, click Client Portal.
- Configure your Branding — upload your logo and set the portal’s color scheme so it matches your business.
- Set the Domain for the portal — this can be a subdomain of your main domain (e.g.,
portal.yourdomain.com). - Create Offers or Products that control what content a logged-in user can see. Link these to your actual course modules or membership tiers.
- Use the Memberships or Courses section (accessible from the main navigation) to build the actual content — lessons, modules, videos, PDFs.
- Test the login flow by creating a test client login and walking through the experience yourself before onboarding real customers.
Chat Widget — capture leads on any site
Section titled “Chat Widget — capture leads on any site”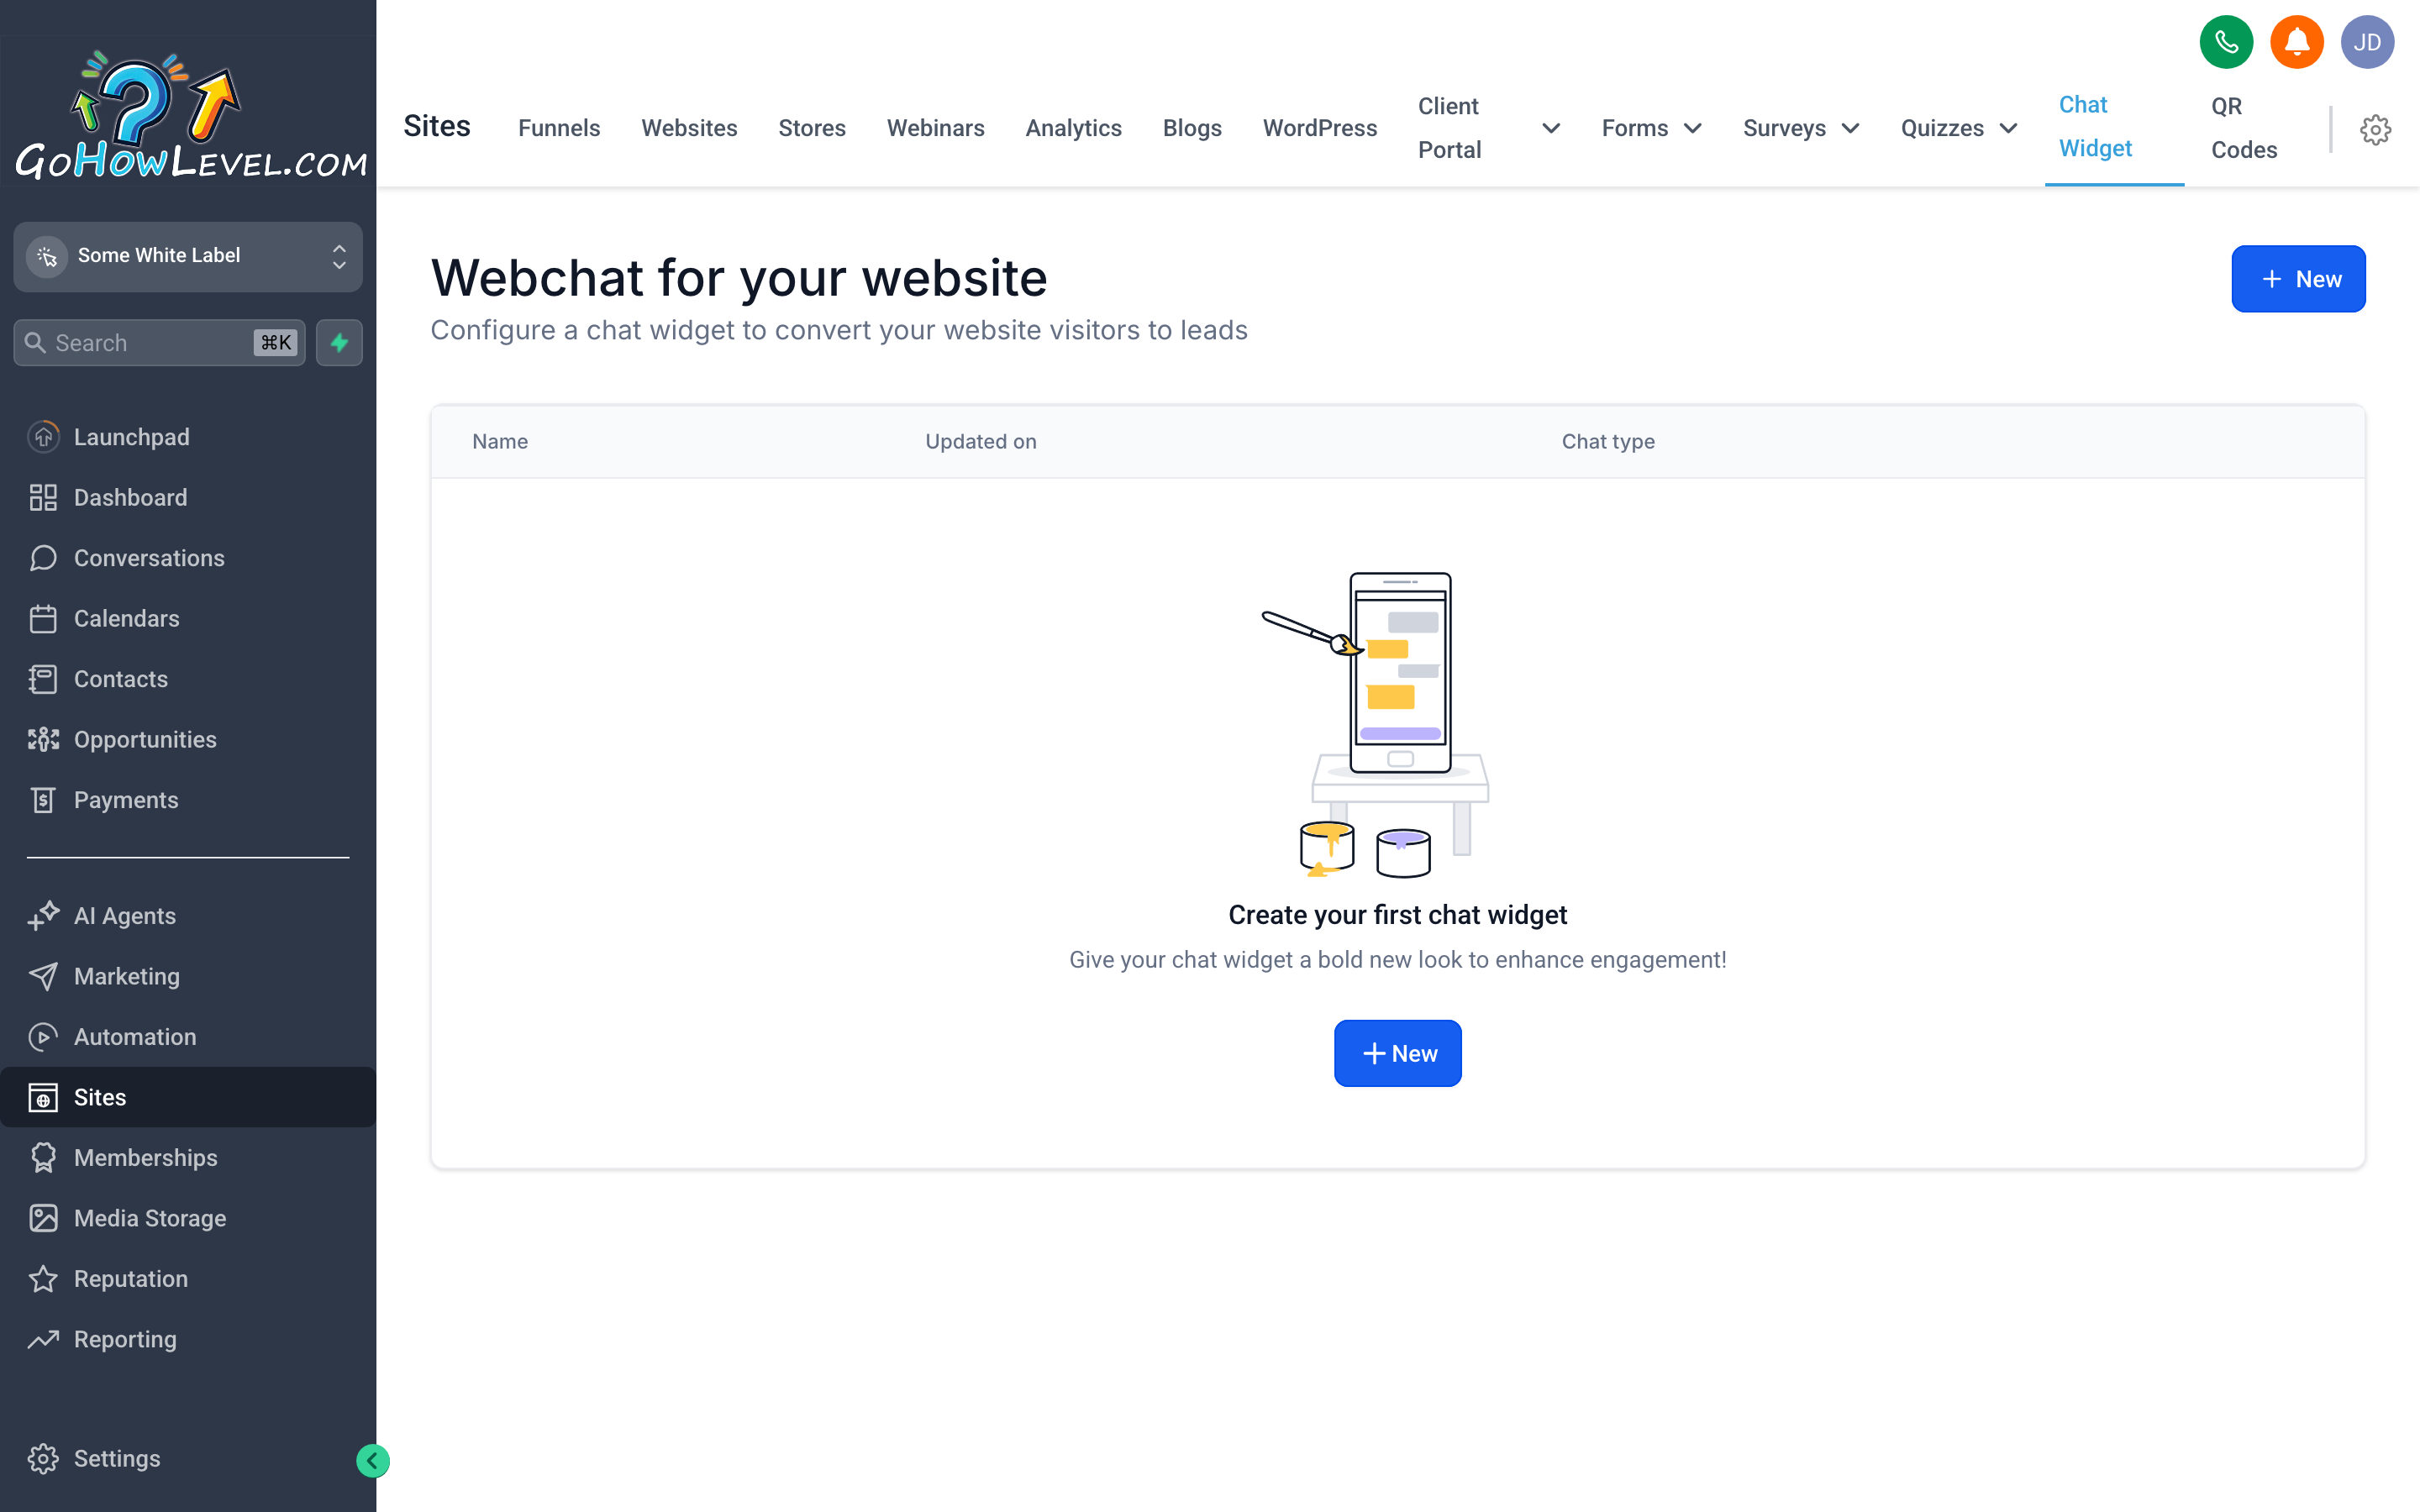
The Chat Widget sits in the corner of your website and turns passive visitors into active conversations — leads that might have left without contacting you can now reach you in seconds.
The Chat Widget is a small button and chat window that appears on your website (or any page you embed the code on) and lets visitors start a conversation with you directly. Messages come into your Conversations inbox in the CRM, so you can reply from a single place regardless of whether the message came from chat, SMS, email, or anywhere else.
Use the Chat Widget when:
- You want to capture leads who browse your site but don’t fill out a form
- You want to offer quick-answer support without a full live chat staffing requirement
- You want inbound site conversations in the same inbox as all your other messages
Setting up the Chat Widget
Section titled “Setting up the Chat Widget”- In Sites, click Chat Widget.
- Customize the appearance: choose your Widget Color, Icon style, and the Greeting Message visitors see when the widget opens.
- Set the widget to go to Live Chat (a human responds) or configure an automated response (a bot reply or immediate message to the contact) if no one is available.
- Optionally, require visitors to enter their Name and Email before starting a chat — this captures contact info even if the conversation is short.
- Click Get Code to copy the embed snippet.
- Paste the snippet into the
<head>or before the closing</body>tag of your website. If your site is built inside your CRM, look for a Header/Footer Scripts field in the website settings — paste it there. - Visit your site to confirm the widget appears and test a chat from the visitor side.
Blogs — build SEO presence with content
Section titled “Blogs — build SEO presence with content”
Blogs let you publish search-optimized articles directly from your CRM — no separate WordPress installation or content platform required.
The Blogs feature lets you write and publish articles that live on your website and help you rank in search results. A consistent blog does two things: it brings in organic traffic from people searching for topics related to your business, and it gives you something useful to share with your email list or social media audience.
Use Blogs when:
- You want to attract organic search traffic without relying entirely on paid ads
- You have expertise to share that your target customers are actively searching for
- You want a content hub on your website that you control
Setting up and writing your first blog post
Section titled “Setting up and writing your first blog post”- In Sites, click Blogs.
- If this is your first time, you may need to click Create Blog and set a Blog Name and URL slug (e.g.,
/blog). - Click + New Post (or Create Post).
- Add your Post Title — make it specific and search-friendly (think: what would someone type into Google to find this?).
- Write or paste your content in the editor. Use headings, short paragraphs, and images to make it readable.
- Set a Featured Image — this appears in post previews and social sharing.
- Fill in the SEO Settings: a meta title, meta description (ideally 150–160 characters), and relevant keywords.
- Assign a Category if you’re organizing content by topic.
- Click Publish when the post is ready to go live.
Connecting a custom domain
Section titled “Connecting a custom domain”Every tool in Sites — funnels, websites, the client portal, and blogs — works best when it’s on a domain you own rather than a generic platform subdomain.
If you need help with DNS records, your domain registrar’s support team can walk you through where to add them. Common registrars (GoDaddy, Namecheap, Cloudflare, Google Domains/Squarespace Domains) all have step-by-step guides for adding CNAME or A records.