Settings: Phone & Email
Phone Settings is where you purchase and manage the numbers your CRM uses to send texts and make calls — and where you handle the registration that keeps SMS deliverable.
Your CRM can send emails, SMS messages, and make calls on your behalf — but only if the communication channels are properly configured. Skipping setup here doesn’t just limit features; it actively hurts your ability to reach people. This page covers how to get your phone system working and how to connect a sending domain so your emails land in inboxes.
Phone System
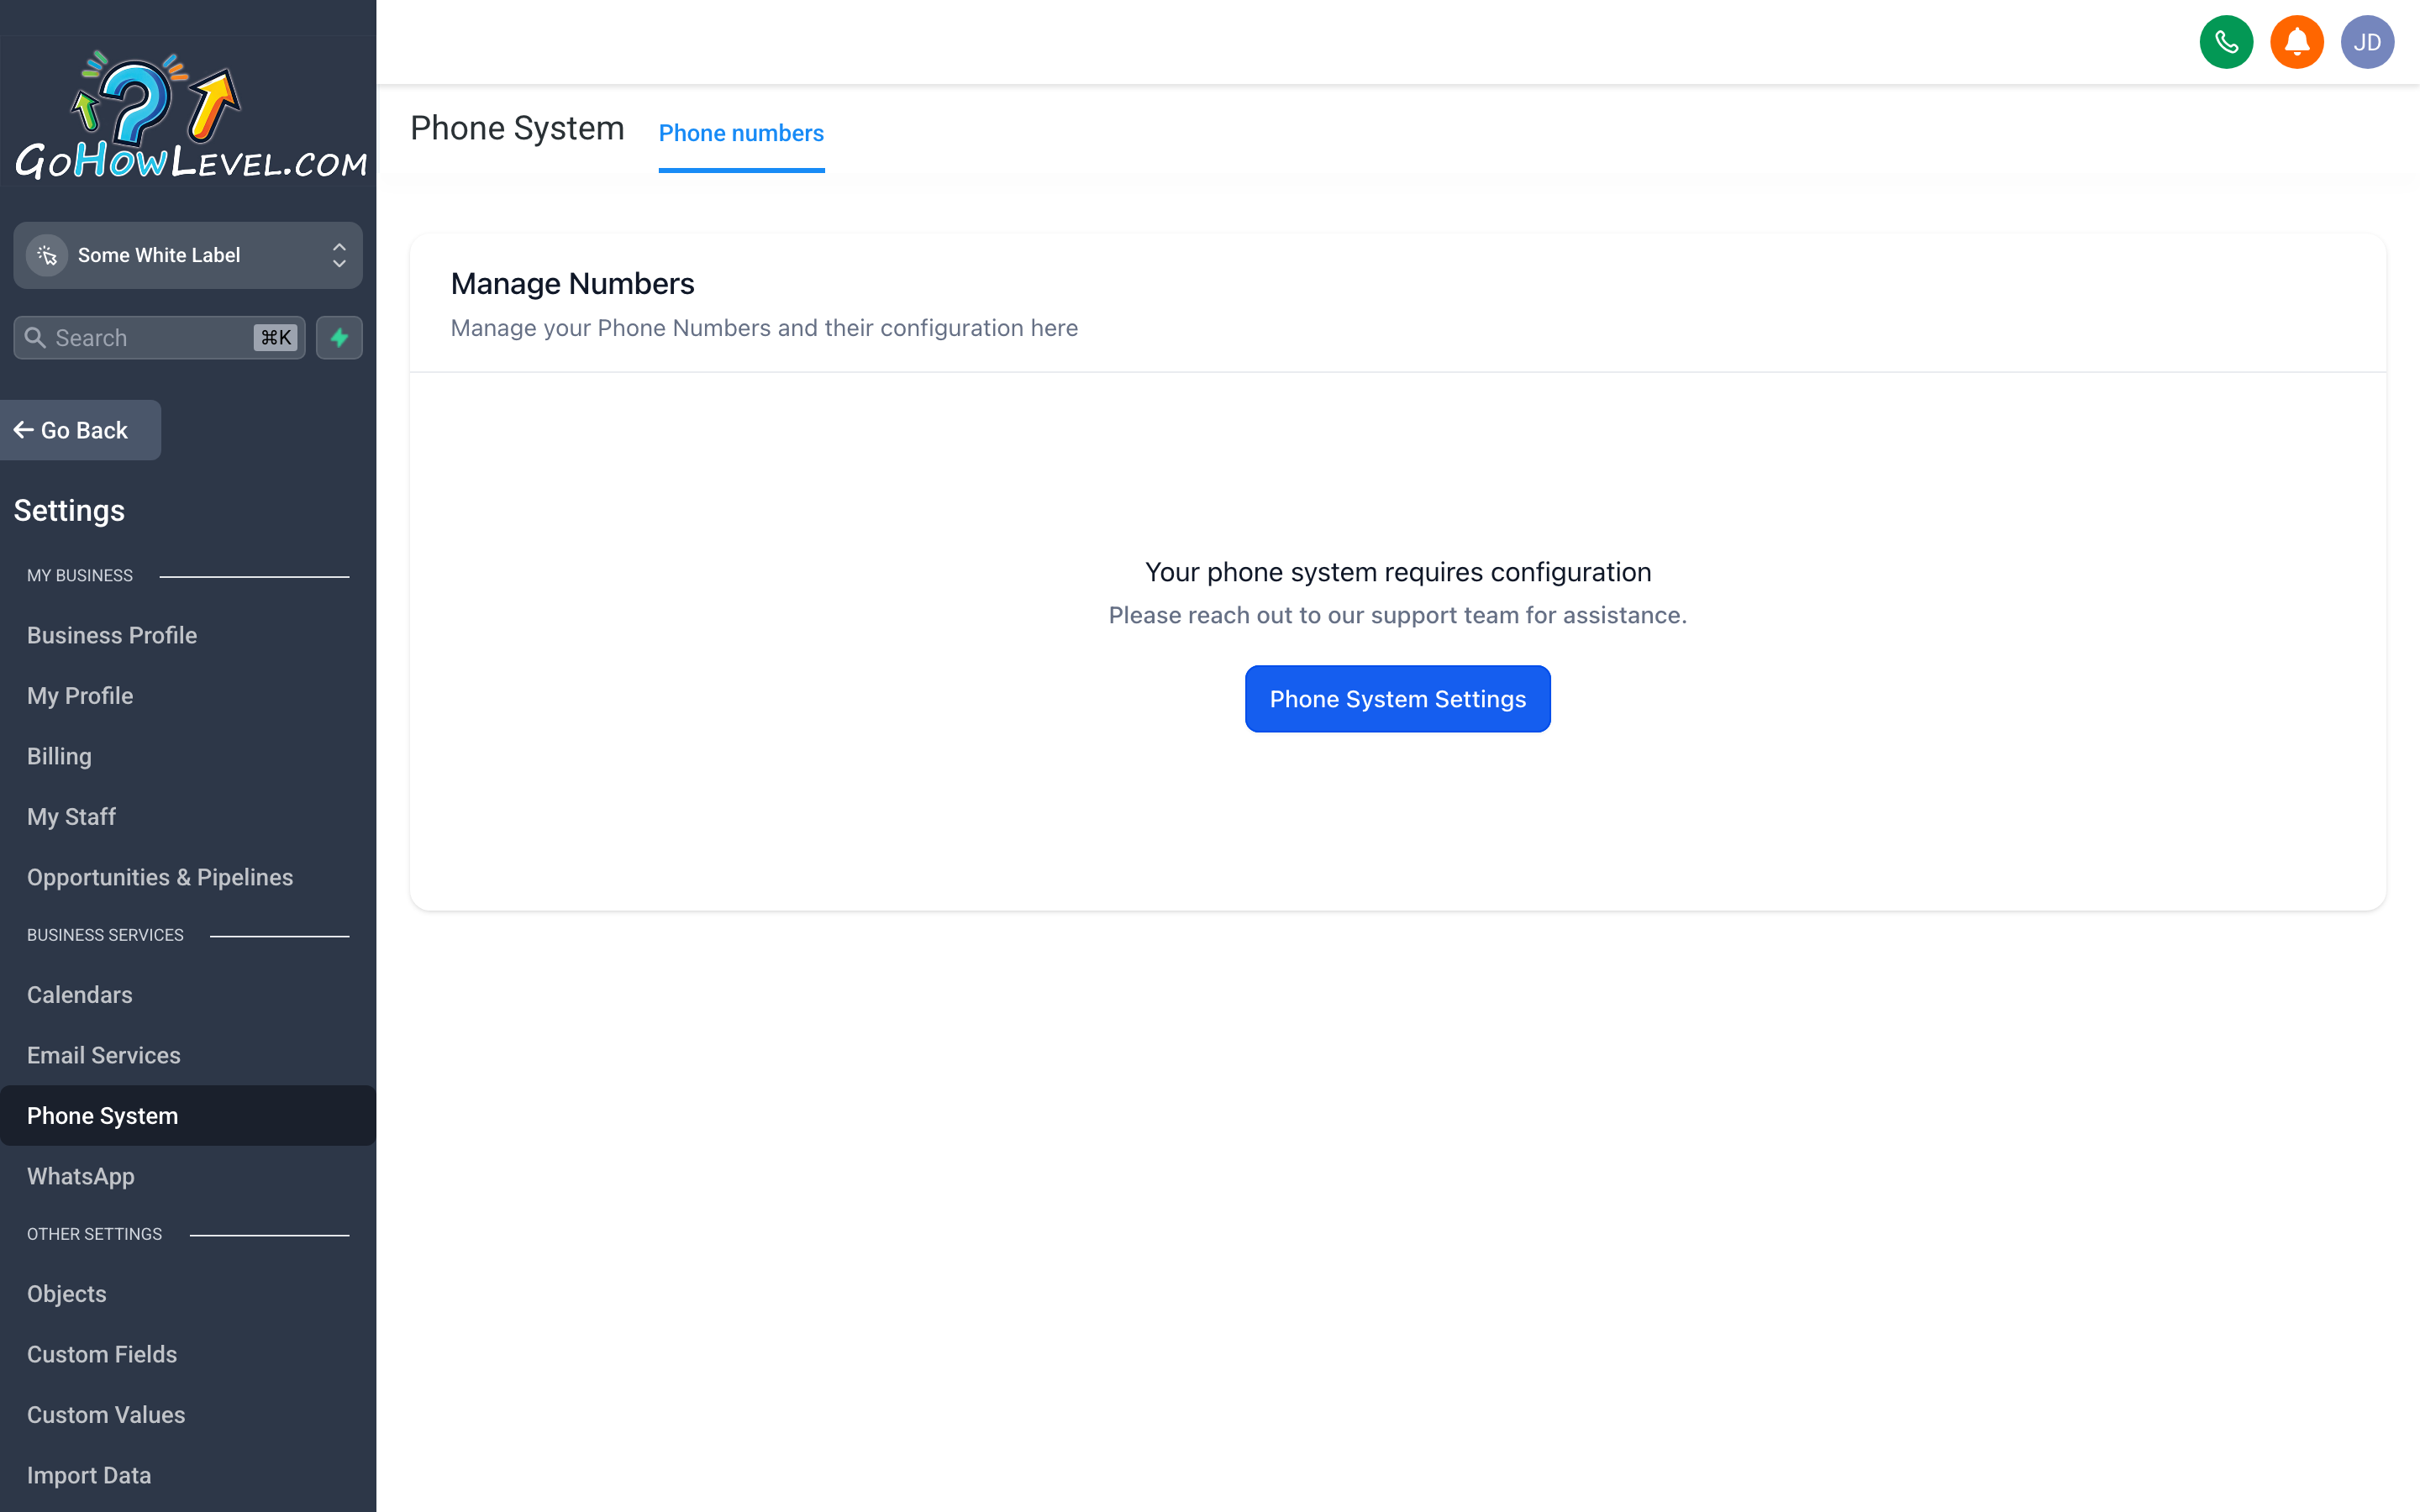
Section titled “Phone System”Go to Settings → Phone Numbers to manage the numbers connected to your account.
How phone numbers work here
Section titled “How phone numbers work here”Your CRM uses a pool of phone numbers to send SMS messages and handle calls. You purchase numbers through the platform, and they’re assigned to your account. From that point, outbound texts and calls can be made from those numbers, and inbound calls or replies come back to them.
A single number can handle both SMS and voice, or you can dedicate separate numbers to each if your volume warrants it.
Buying a phone number
Section titled “Buying a phone number”- Click Buy Number (or Add Number) at the top of the Phone Numbers page.
- Enter a preferred area code or search by city/region to find a number your clients will recognize as local.
- Filter by capability — make sure SMS is checked if you plan to send text messages, and Voice if you need call handling.
- Select the number you want and click Buy.
- The number appears in your list, ready to assign.
Assigning numbers
Section titled “Assigning numbers”Once purchased, a number can be assigned to specific users, used as your account-level default, or dedicated to a particular workflow or campaign. Use the assignment dropdown next to each number in your list.
Call settings
Section titled “Call settings”Under Settings → Phone → Call & Voicemail, configure:
- Voicemail Greeting — Record or upload the message callers hear when you don’t pick up.
- Call Recording — Enable recording for inbound and/or outbound calls if your business needs it. Check local laws about call recording consent before enabling.
- Call Forwarding — Route inbound calls to a physical phone number if you need calls to ring on a real line, not just inside the CRM.
- Whisper Message — A brief message that plays to your team member before connecting a call (e.g., “Incoming lead from your Facebook ad”).
A2P 10DLC: What it is and why it matters
Section titled “A2P 10DLC: What it is and why it matters”If you plan to send any text messages — follow-ups, appointment reminders, marketing campaigns — you need to understand A2P 10DLC registration before you send a single SMS.
The short version
Section titled “The short version”A2P stands for Application-to-Person. 10DLC refers to 10-digit long codes — standard local phone numbers. The mobile carriers (AT&T, T-Mobile, Verizon, and others) now require every business sending texts through software like your CRM to register their brand and messaging use cases with a central registry.
Unregistered numbers get filtered or blocked. Not throttled — blocked. Your messages don’t reach anyone, and you won’t always know it’s happening.
What registration involves
Section titled “What registration involves”- Brand Registration — You submit basic information about your business: legal name, EIN (Tax ID), website, and business type. This verifies you’re a real, legitimate organization.
- Campaign Registration — You describe how you intend to use SMS: appointment reminders, lead follow-up, marketing promotions, etc. Each use case is a separate “campaign” in the registry.
- Carrier Review — Carriers review the submission. This typically takes a few business days to a few weeks depending on the use case.
Once approved, your numbers are authorized to send SMS at normal delivery rates.
How to register
Section titled “How to register”Go to Settings → Phone → A2P Registration (sometimes listed as LC Phone System Trust Center or Compliance). Follow the step-by-step form inside your CRM — it walks you through brand registration first, then campaign registration.
What to have ready
Section titled “What to have ready”- Your Legal Business Name exactly as it appears on your EIN/tax documents
- Your EIN (Employer Identification Number) — if you’re a sole proprietor without an EIN, you’ll need your SSN instead
- Your business website URL — must be a real, publicly accessible website
- A brief description of how you use SMS (keep it accurate and specific)
Email Services
Section titled “Email Services”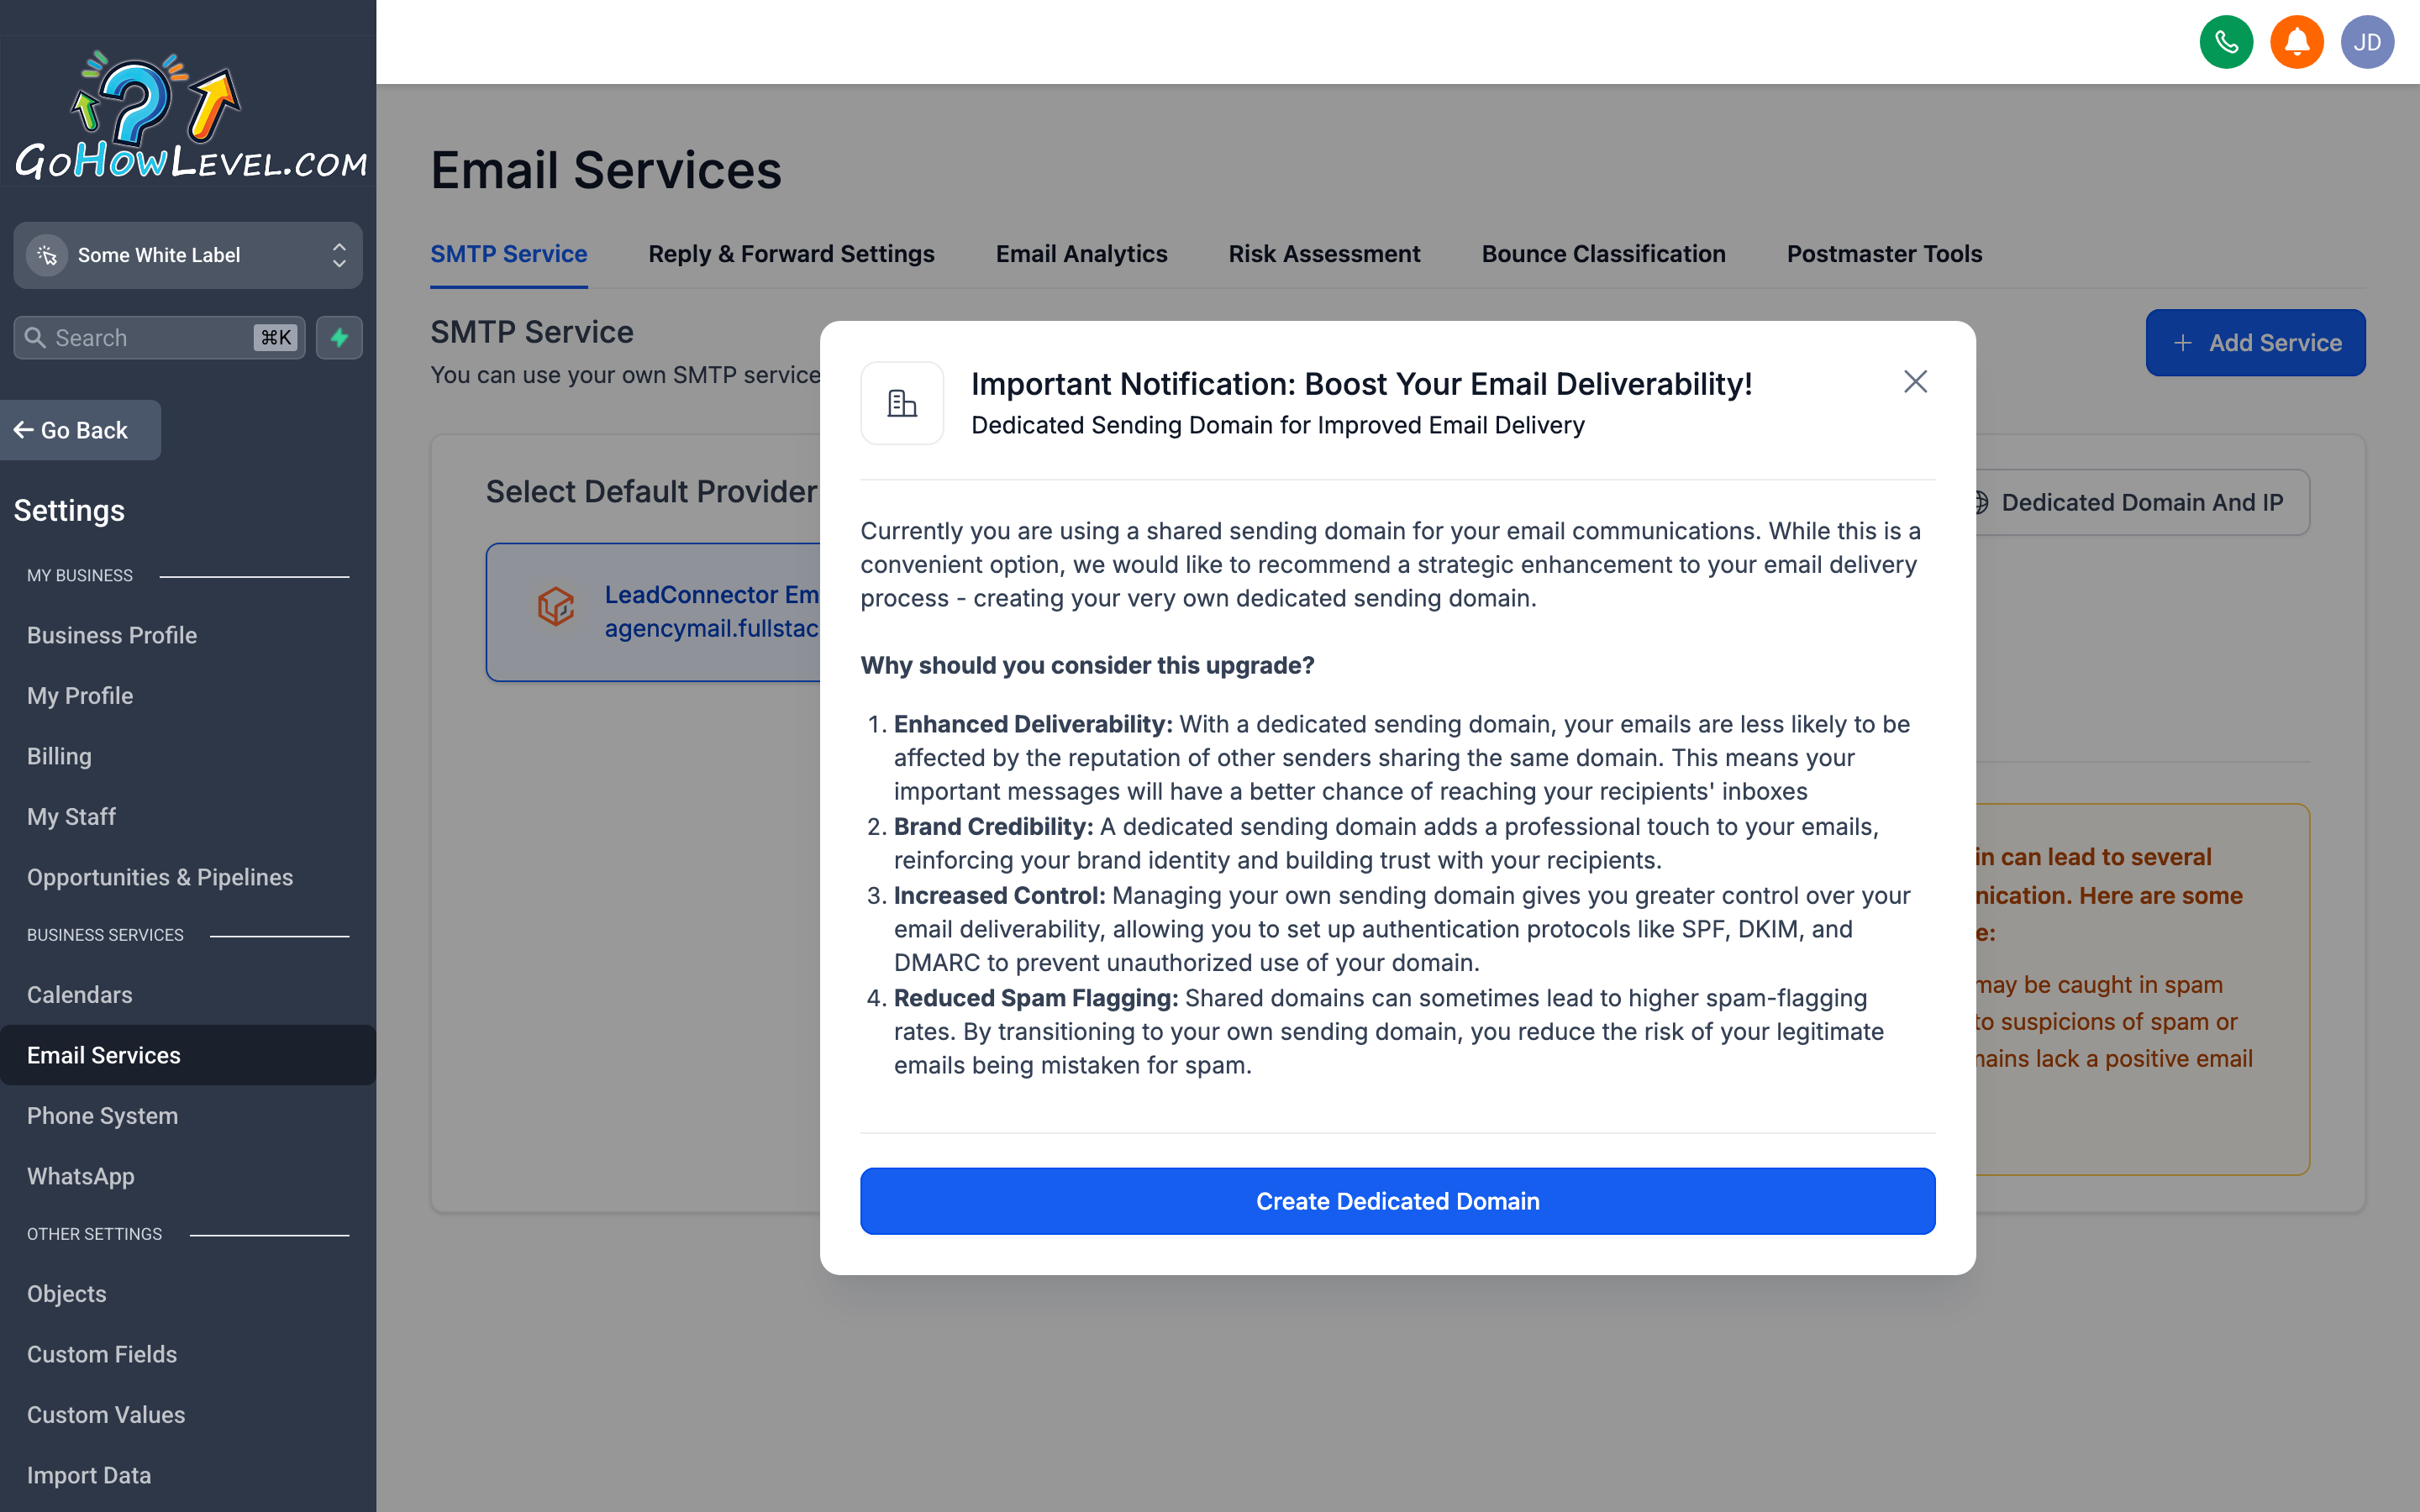
Email Settings is where you connect a real sending domain so that your CRM’s outgoing emails appear to come from you — not from a generic platform address — and pass the spam filters that protect inboxes.
Go to Settings → Email Services to configure how outbound emails are sent.
Why this matters
Section titled “Why this matters”When your CRM sends an email to a contact, it has to send it from somewhere. Out of the box, it uses a shared platform domain. That works for testing, but for real business use it creates two problems:
- Deliverability — Shared domains have mixed reputations from other users. Your emails are more likely to land in spam.
- Branding — Your clients receive emails from a domain they don’t recognize, which erodes trust.
Connecting your own sending domain solves both. Your emails go out from you@yourdomain.com (or a subdomain like mail.yourdomain.com), and they carry your reputation.
Connecting a sending domain
Section titled “Connecting a sending domain”- In Settings → Email Services, click Add Sending Domain (or Connect Domain).
- Enter the domain or subdomain you want to send from (e.g.,
mail.yourbusiness.com). - The platform generates a set of DNS records you need to add to your domain registrar (GoDaddy, Namecheap, Cloudflare, etc.). These are typically:
- One or more CNAME records
- A TXT record for DKIM
- Log in to your domain registrar, navigate to DNS Settings, and add each record exactly as shown.
- Return to the Email Services page and click Verify. DNS changes can take a few minutes to a few hours to propagate.
- Once verified, the domain shows a green checkmark and is ready to use.
SPF and DKIM in plain language
Section titled “SPF and DKIM in plain language”These two standards are what inbox providers like Gmail and Outlook use to verify that an email claiming to be from your domain was actually sent by an authorized system. Without them, your emails are treated as potentially forged.
-
SPF (Sender Policy Framework) — A DNS record that says “these are the mail servers allowed to send email on behalf of this domain.” When your CRM sends an email from your domain, the receiving server checks this record. If your CRM’s sending infrastructure is listed, the email passes. If not, it fails — and it’s either rejected or marked as spam.
-
DKIM (DomainKeys Identified Mail) — A digital signature attached to every outgoing email. The receiving server uses a public key stored in your DNS to verify the signature. This proves the email wasn’t tampered with in transit and that it really came from your system.
When you add the DNS records provided by the platform, you’re setting up both SPF and DKIM simultaneously. The platform handles the cryptographic side; you just need to paste the records into your registrar.
Connecting via SMTP (advanced)
Section titled “Connecting via SMTP (advanced)”If you already have an email sending service you prefer (SendGrid, Mailgun, Postmark, etc.), you can connect it via SMTP instead of using the platform’s built-in sending. Click Connect SMTP and enter the host, port, username, and password from your sending provider.
SMTP is a good choice if:
- You have existing sending infrastructure and reputation you want to preserve
- You need detailed per-email analytics that your current email provider offers
- Your sending volume is large enough to warrant a dedicated provider relationship
Setting your From name and From address
Section titled “Setting your From name and From address”Once your domain is connected, go to Settings → Email Services → From Email to set the default sender name and address that contacts will see in their inbox. This can be overridden per-campaign, but a solid default (like your business name and a real reply-to address) means you won’t have to think about it every time.