Marketing
The Marketing hub puts every outbound channel in one place — from social scheduling to affiliate tracking, you won’t need to jump between tools.
Marketing inside your CRM is not a bolt-on. Every tool here connects to the same contact records, pipelines, and automations you already use — so a click on a trigger link can start a workflow, a campaign can be built from a saved template, and your affiliate payouts tie directly to real deals. This page walks through each marketing area, shows you how to get started, and highlights where the most useful time-savers live.
Social Planner
Section titled “Social Planner”
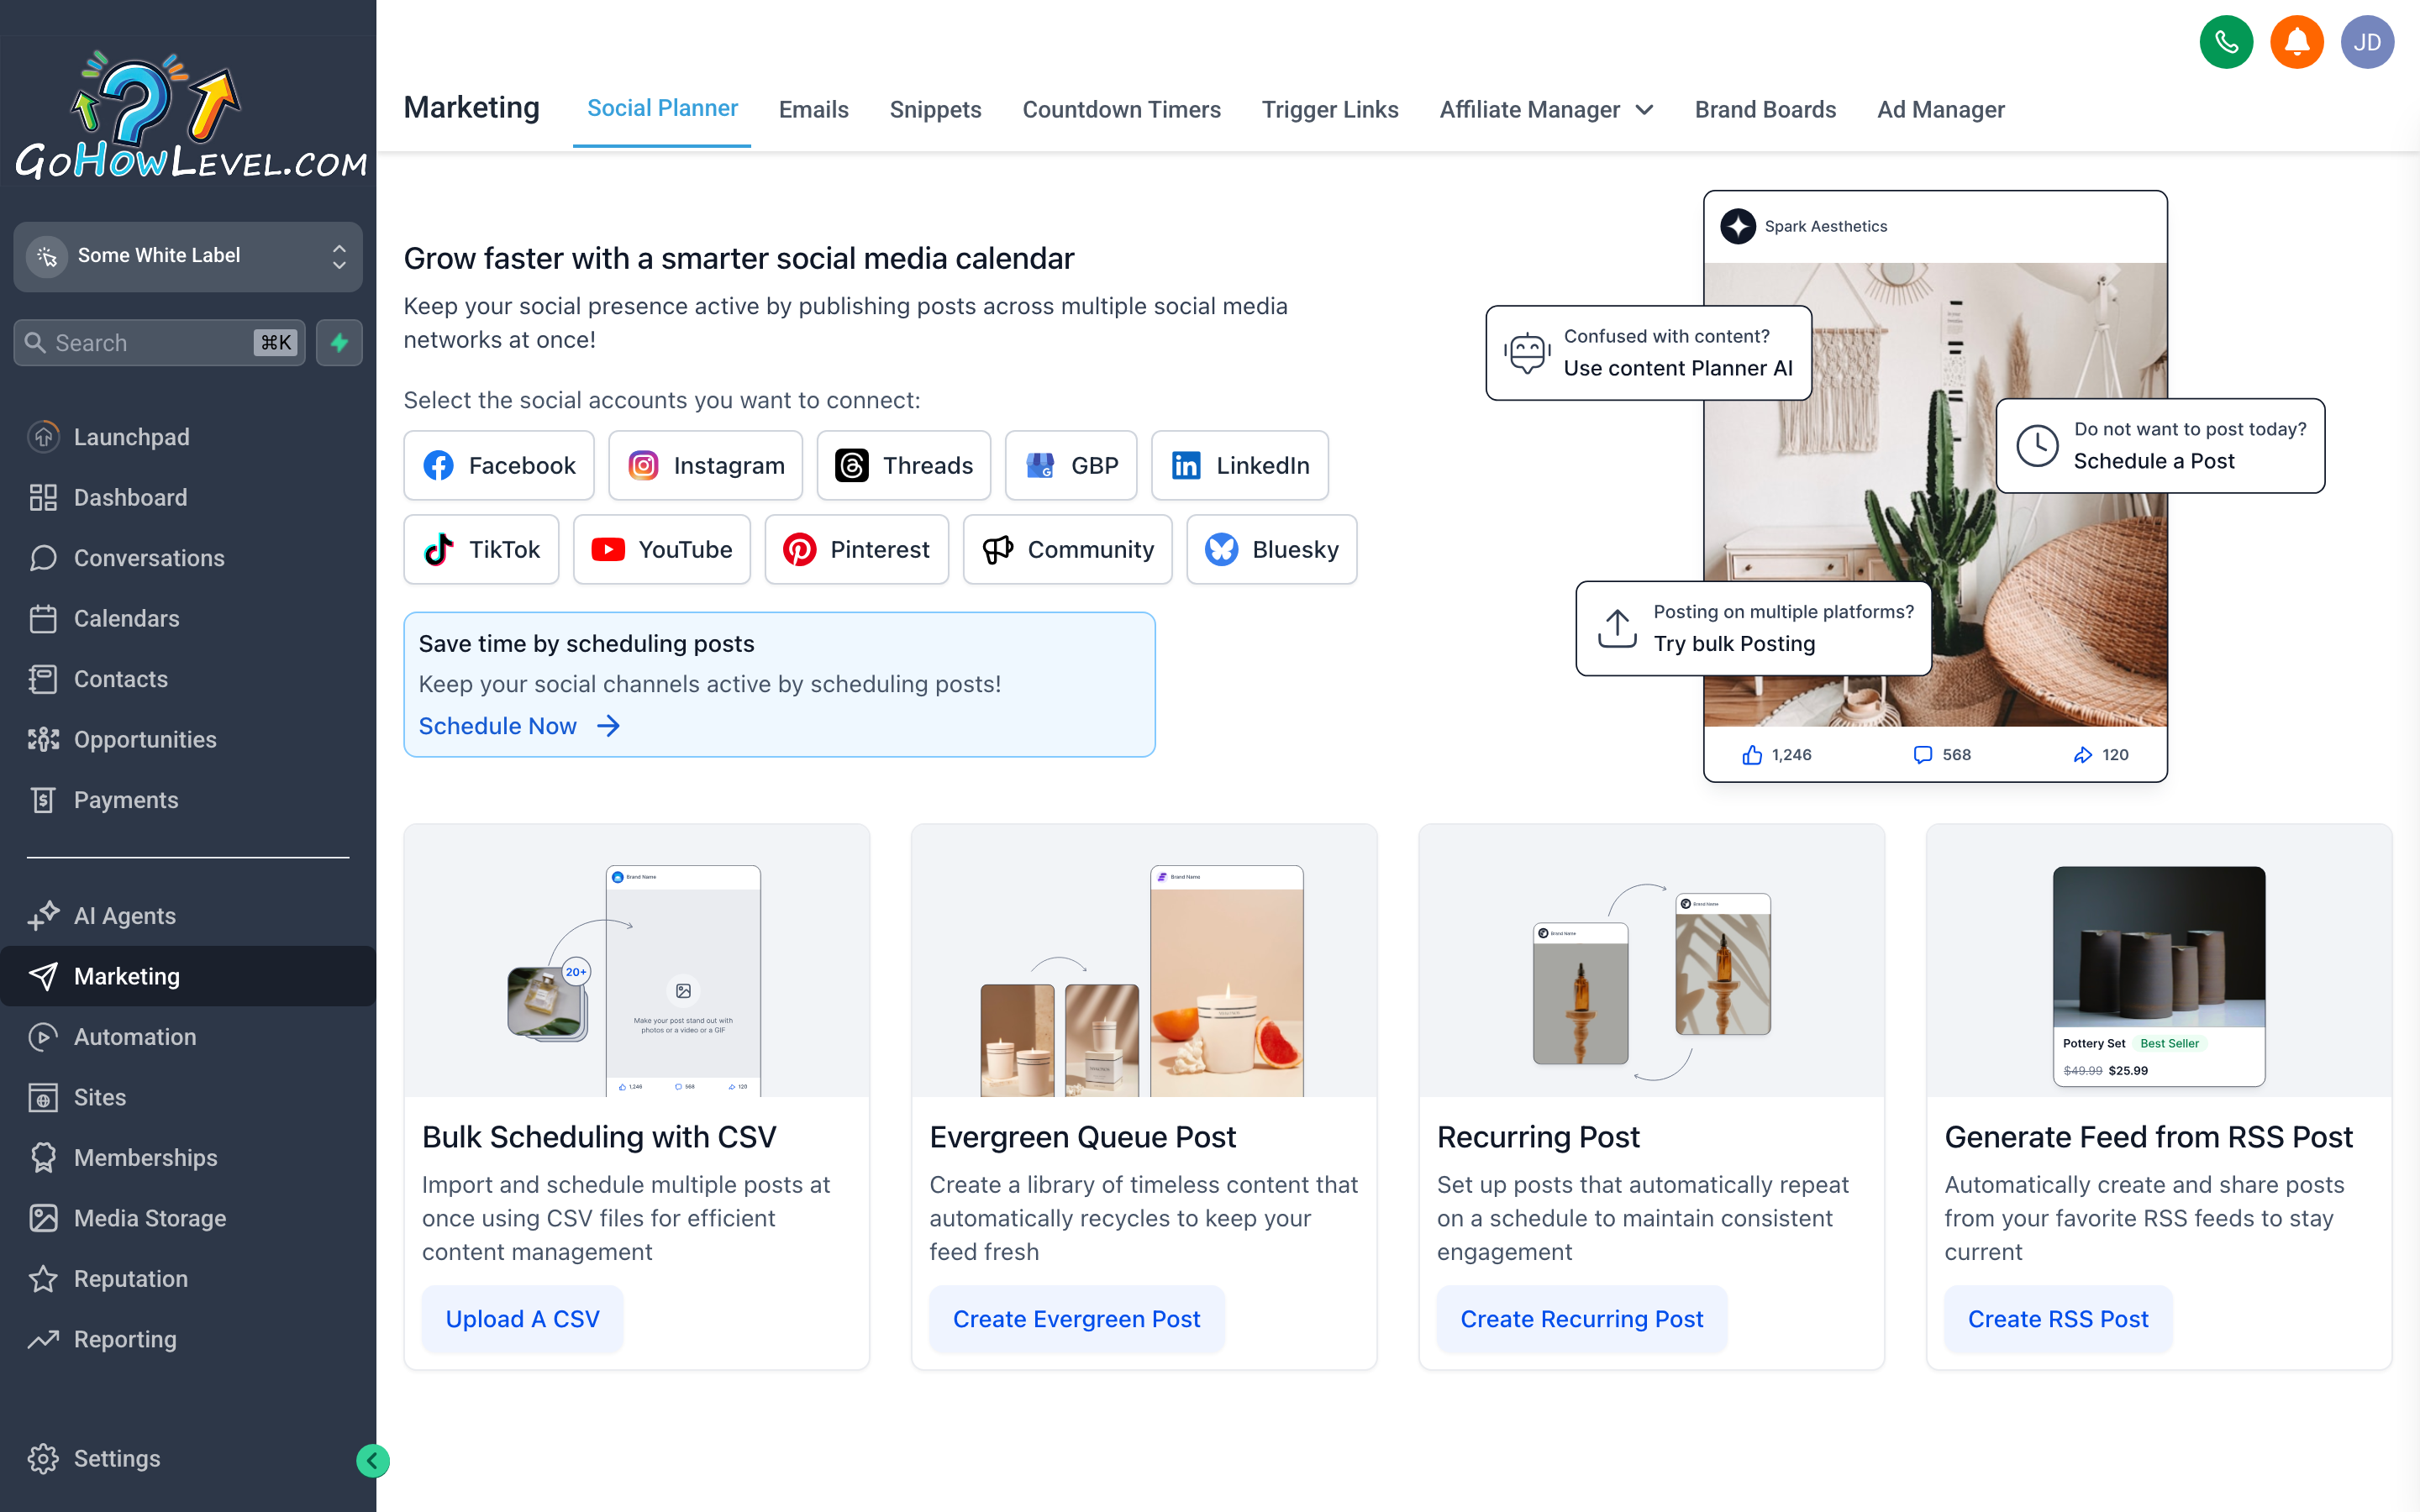
The Social Planner calendar gives you a bird’s-eye view of every post in the queue — color-coded by platform, with draft and published states clearly visible.
The Social Planner lets you write, schedule, and publish posts across your connected social accounts without leaving your CRM. It supports Facebook Pages, Instagram Business accounts, Google Business Profile, LinkedIn, and others depending on your plan.
Connect your social accounts
Section titled “Connect your social accounts”Before you can schedule anything, you need to link at least one account.
- Navigate to Marketing → Social Planner.
- Click + Connect Account in the top-right corner.
- Choose the platform (Facebook, Instagram, LinkedIn, Google Business, etc.).
- Follow the OAuth prompts to authorize access — you’ll be redirected back automatically once done.
- Repeat for each account you want to manage.
Schedule a post
Section titled “Schedule a post”- Click the + New Post button (or click a date on the calendar).
- Select which connected account(s) to post to — you can post to multiple accounts simultaneously.
- Write your caption in the text editor. Use the emoji picker and character counter to stay within platform limits.
- Attach images or video by clicking Add Media. Assets upload directly, or you can pull from your Media Storage library.
- Toggle on Schedule and pick your date and time — the scheduler respects the time zone set in your account settings.
- Click Schedule Post to add it to the queue.
Use the content queue
Section titled “Use the content queue”The Queue view (toggle from Calendar to List) shows every scheduled and published post in reverse-chronological order. You can drag to reorder drafts, duplicate a high-performing post to reuse it, or bulk-delete posts you no longer need.
Email Campaigns
Section titled “Email Campaigns”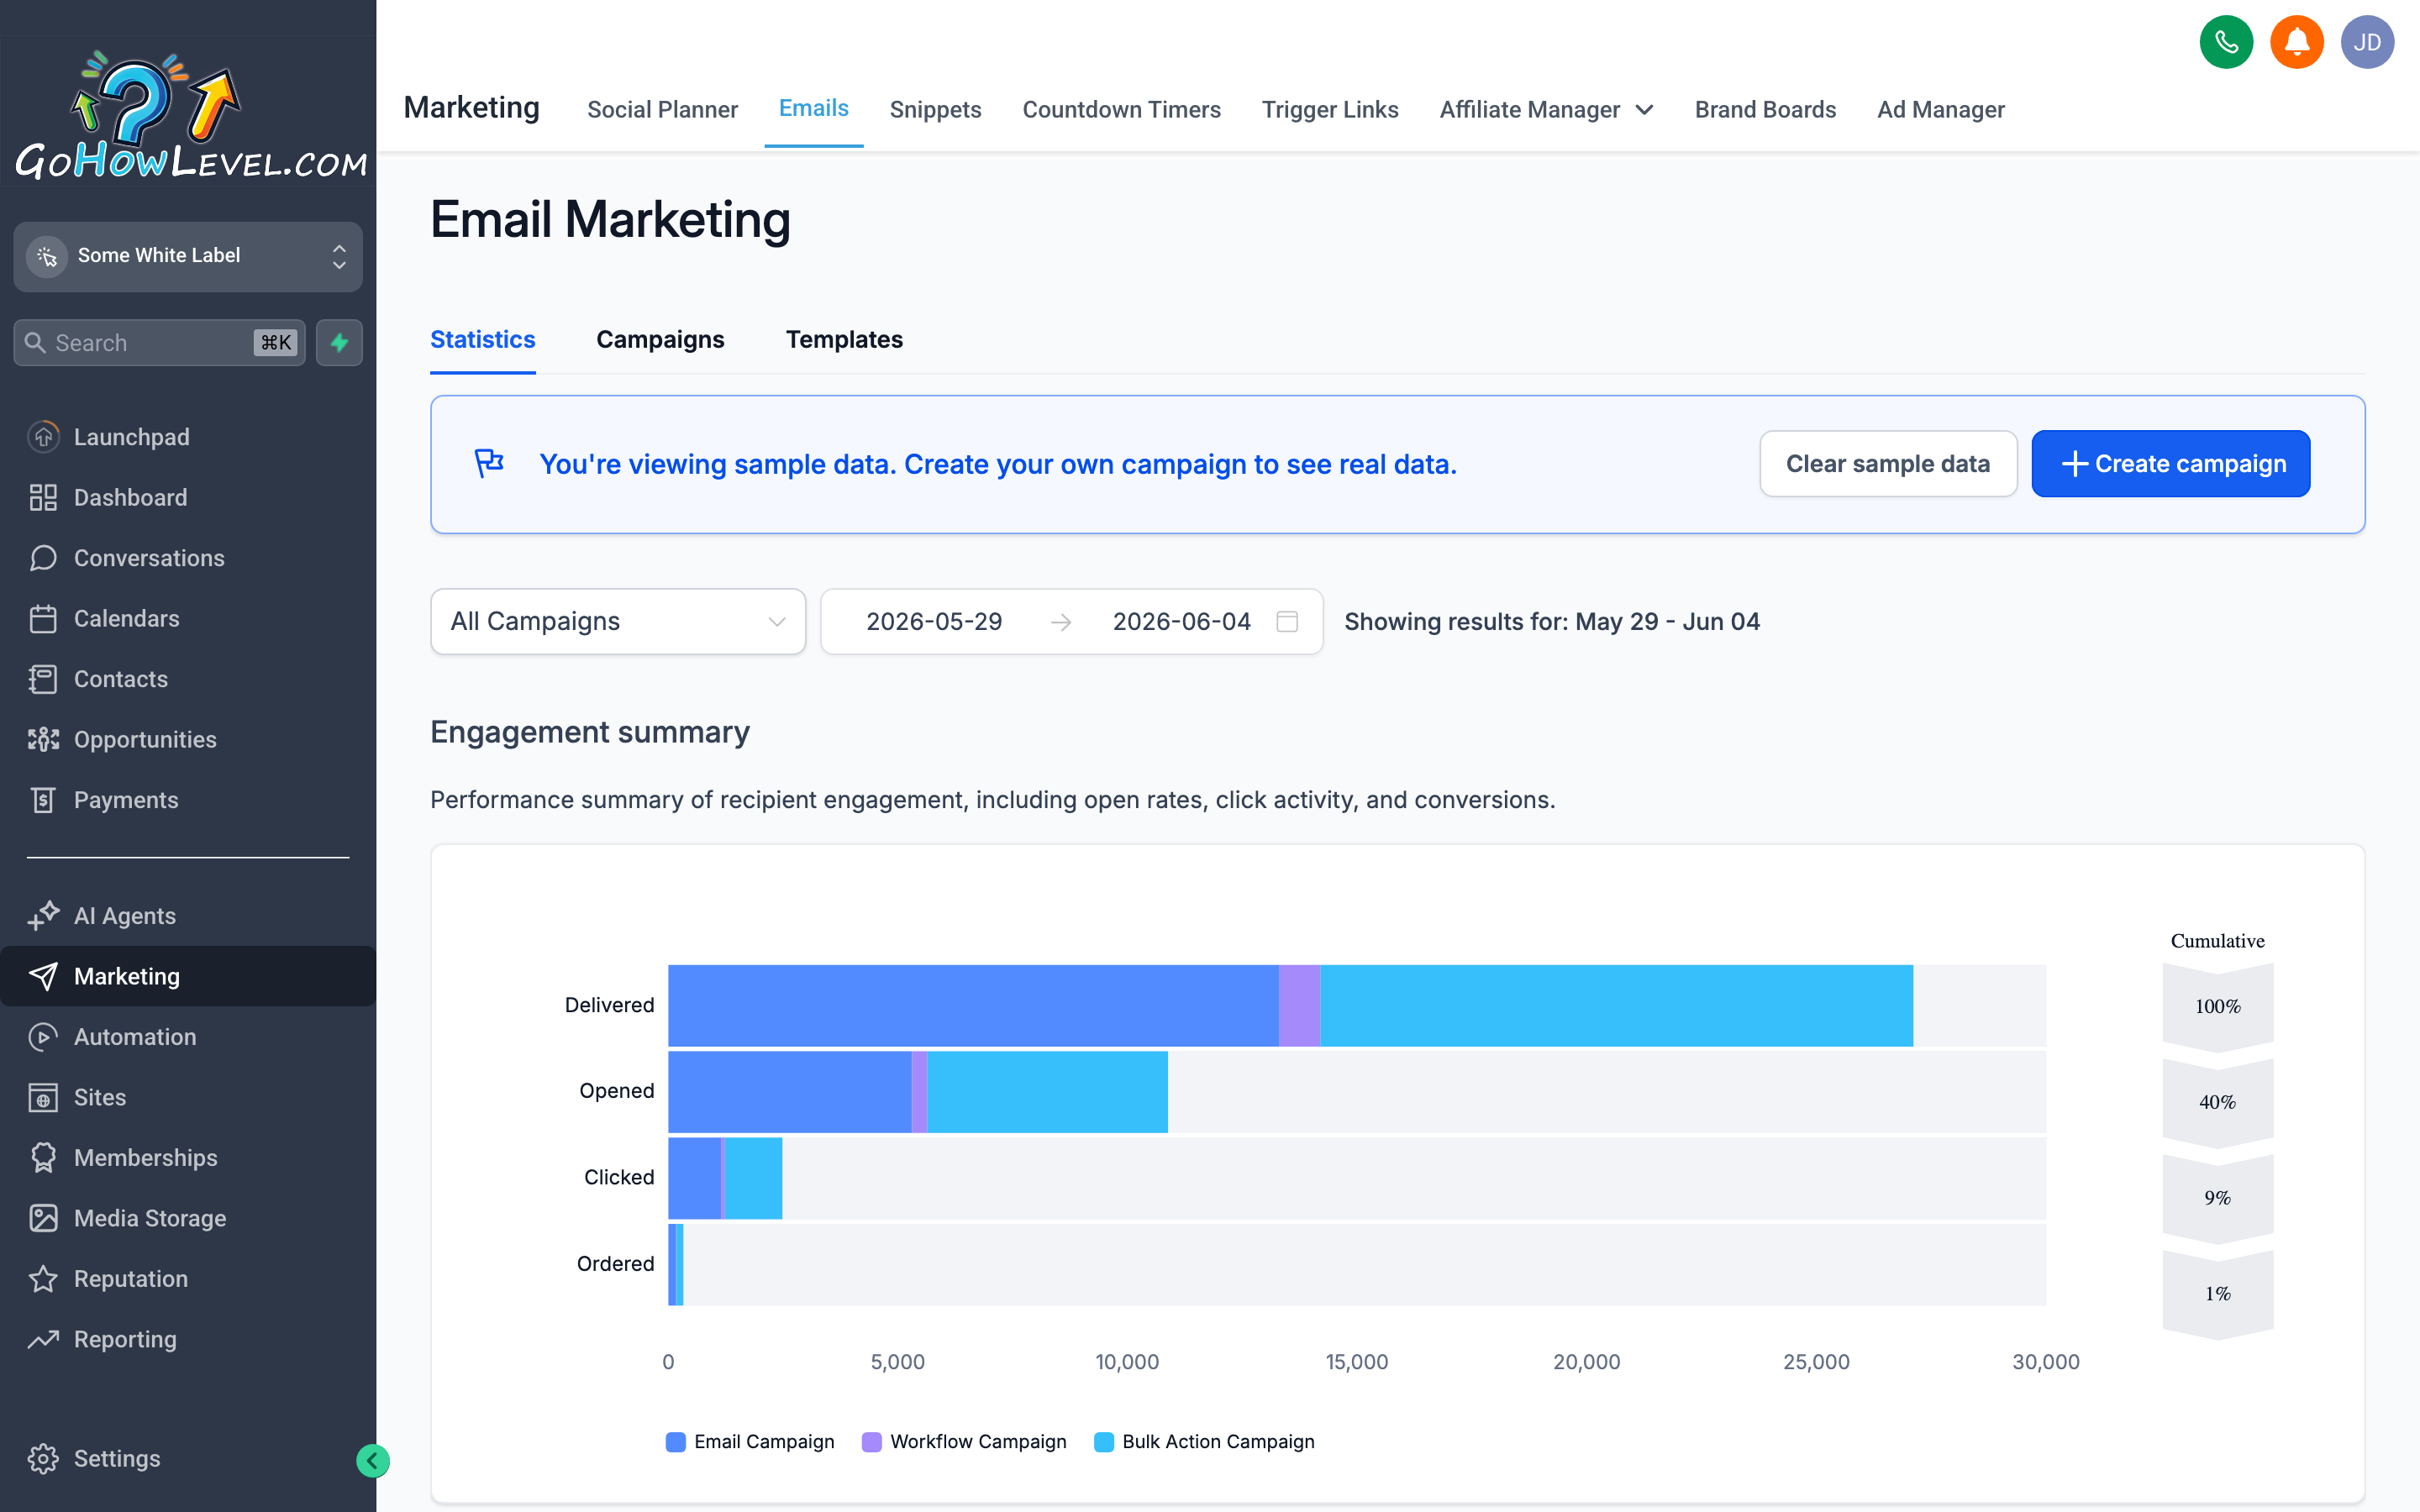
The Campaigns list shows every broadcast at a glance — open rate, click rate, and send status so you can spot what’s working without drilling into each one.
Email Campaigns is where you send one-time broadcasts to a list or segment of contacts. It is distinct from workflow emails (which fire based on triggers) — campaigns are scheduled or immediate sends to a defined audience.
Create a new campaign
Section titled “Create a new campaign”- Go to Marketing → Email Campaigns → + New Campaign.
- Give the campaign a clear internal name (contacts never see this).
- Under Recipients, choose your audience:
- Contact list — send to all contacts in a saved list.
- Segment — filter by tags, custom fields, pipeline stage, or any combination.
- Click Continue to open the email builder.
Build the email
Section titled “Build the email”The drag-and-drop email builder works the same as the template editor. You can:
- Start from scratch with a blank canvas.
- Choose a saved Template (see the Templates section below) to pre-fill the design.
- Use Snippets (reusable content blocks) for footers, headers, or repeated sections.
Set your Subject line, Preview text (the short line that shows in the inbox before the email is opened), and From name / From address in the settings panel on the right.
Schedule or send
Section titled “Schedule or send”- Send Now — queues the campaign for immediate delivery.
- Schedule — pick a future date and time; useful for sending at peak open-rate windows (typically Tuesday–Thursday mornings).
Read your stats
Section titled “Read your stats”After sending, click any campaign to see its Stats panel:
- Delivered — messages that reached an inbox (not bounced or filtered).
- Open rate — percentage of delivered messages that were opened.
- Click rate — percentage of delivered messages with at least one link click.
- Unsubscribes / Complaints — watch these closely; a spike signals a targeting or content problem.
Templates & Snippets
Section titled “Templates & Snippets”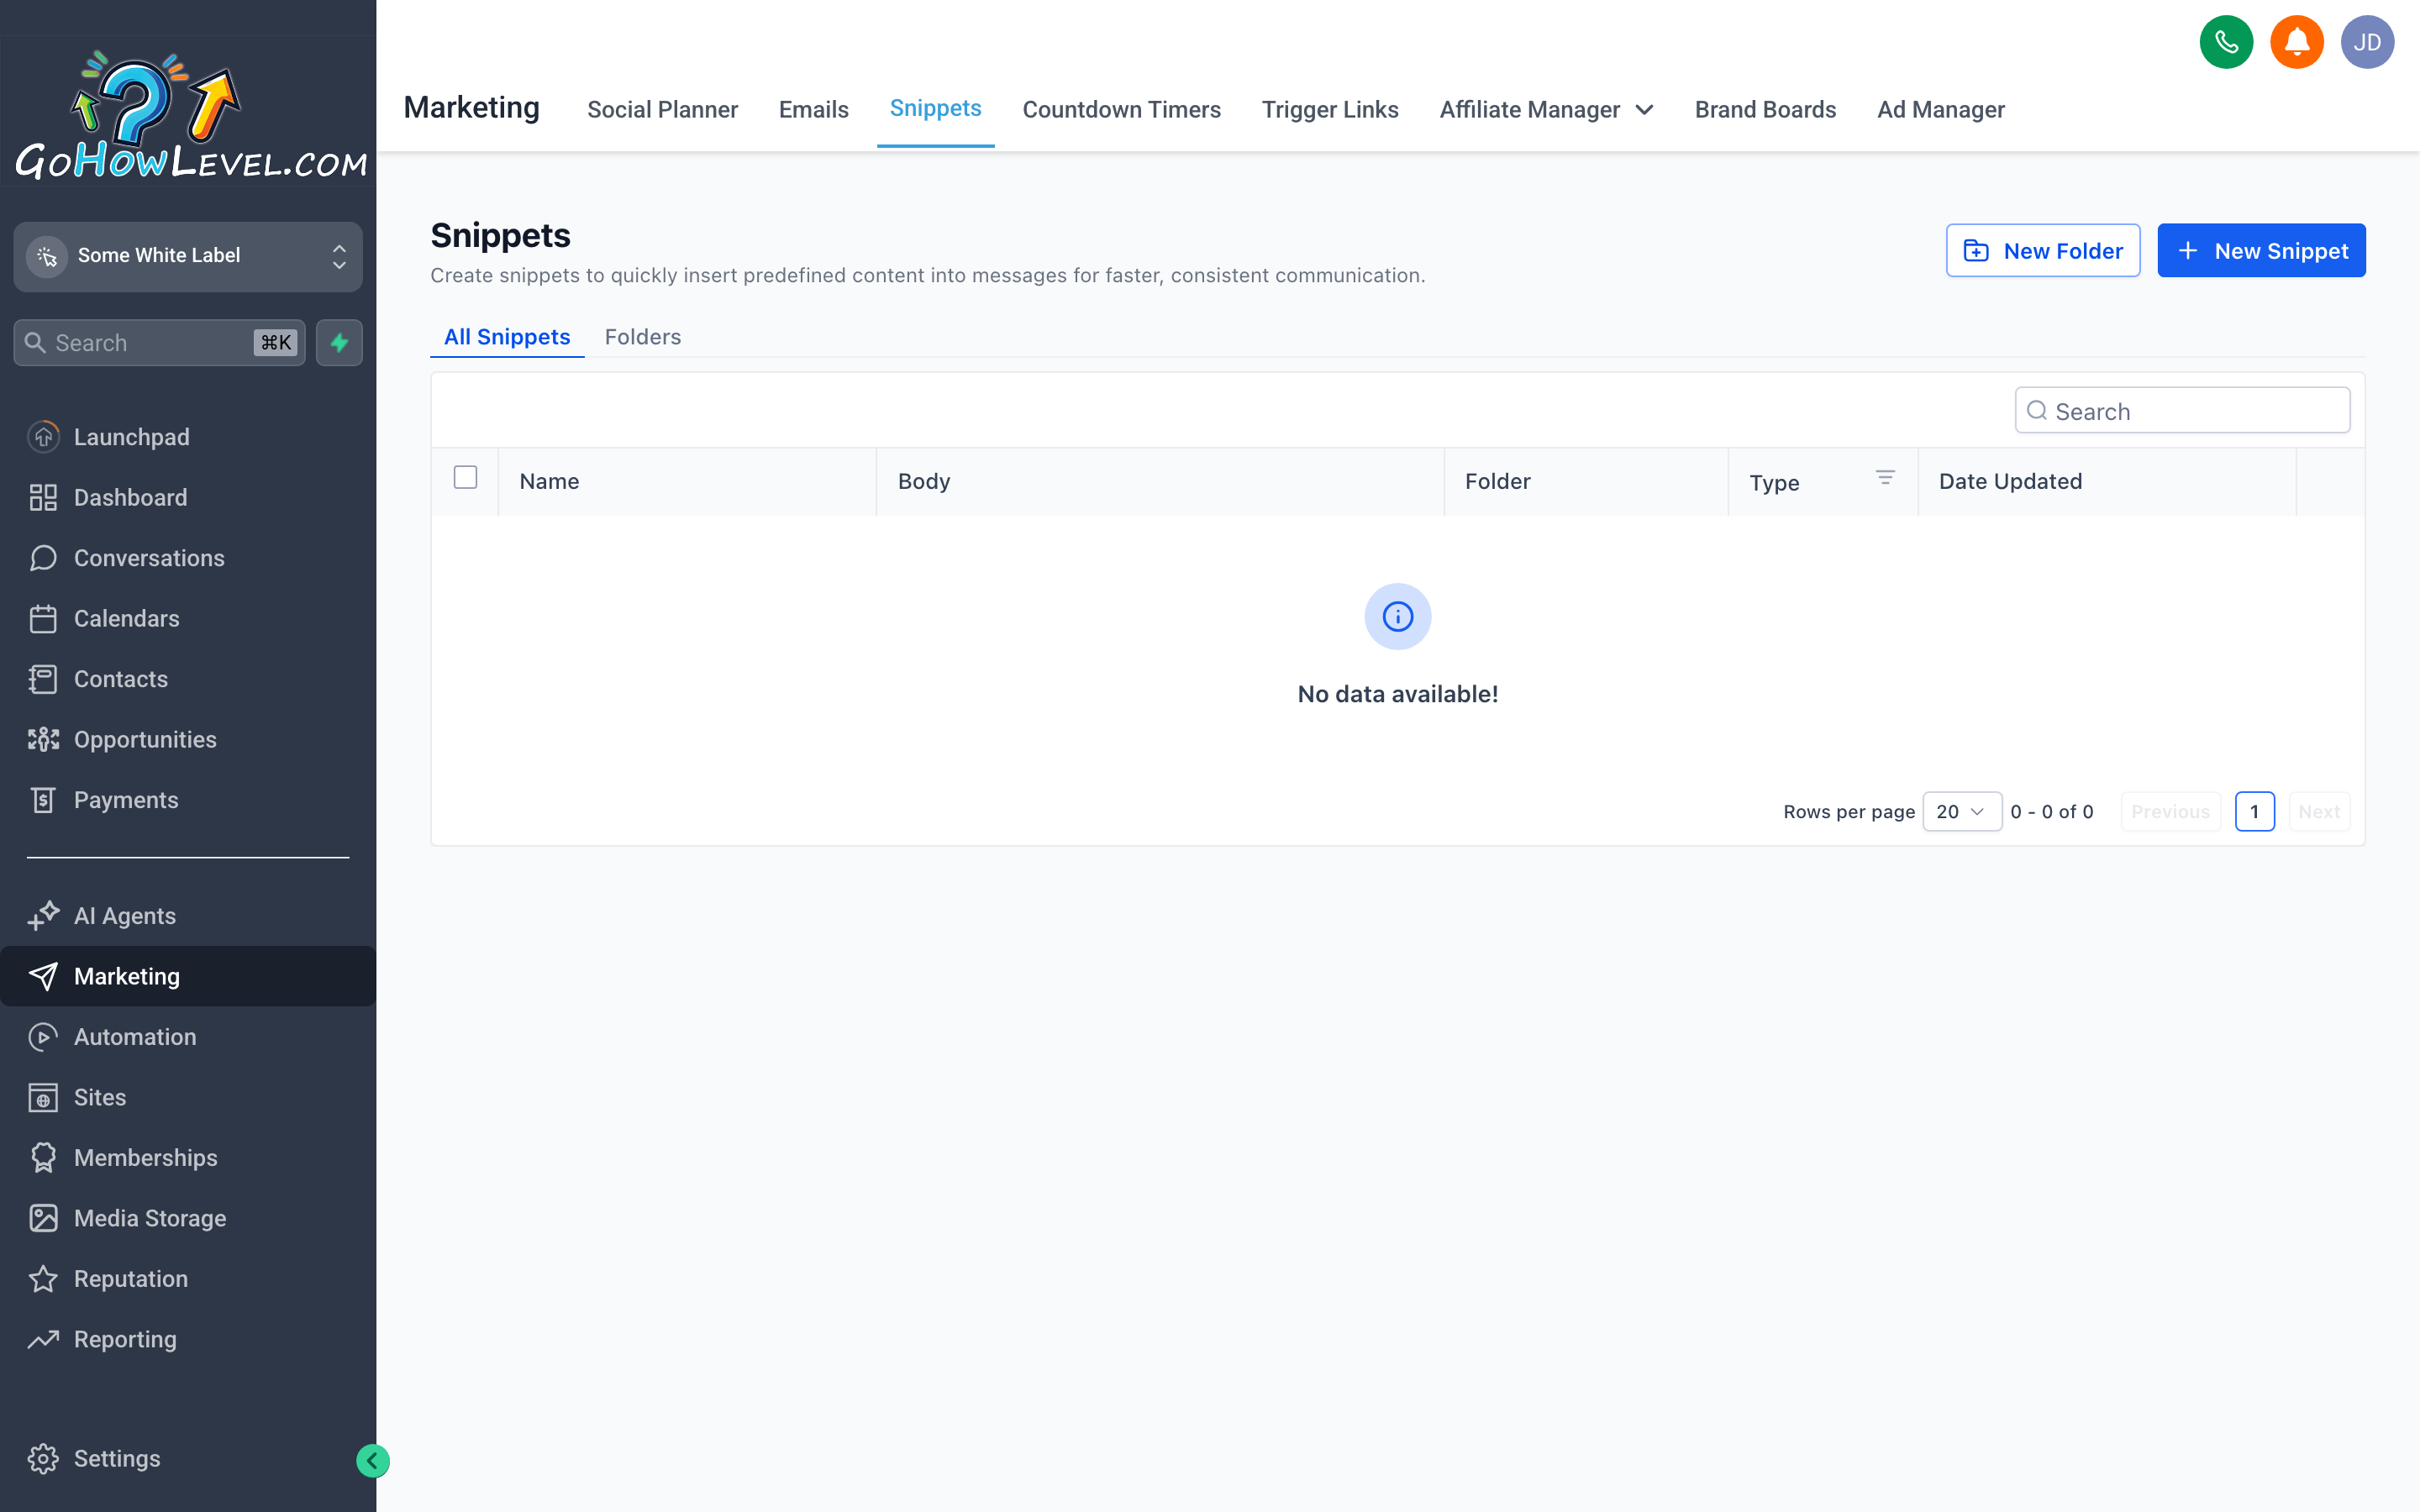
Templates are the building blocks of consistent communication — design once, reuse everywhere, and never start from a blank canvas again.
Templates are reusable designs for emails and SMS messages. Snippets are smaller reusable content blocks (like a signature, disclaimer, or promo banner) that you drop into any template or campaign. Together they save time and keep every message on-brand.
Create an email template
Section titled “Create an email template”- Go to Marketing → Templates → + New Template.
- Select Email as the type.
- Name the template something descriptive (e.g.,
Welcome Email — New Lead,Monthly Newsletter Base). - Build your design in the drag-and-drop editor — add rows, columns, images, buttons, and text blocks.
- Use merge tags (the
{}icon in the toolbar) to insert personalization fields like first name, company, or any custom field. - Click Save Template.
Create an SMS template
Section titled “Create an SMS template”- Go to Marketing → Templates → + New Template → SMS.
- Write the message body (keep it under 160 characters for a single segment).
- Add merge tags and a short link if needed.
- Save.
Create a snippet
Section titled “Create a snippet”- Inside the email builder, highlight the content block you want to save.
- Click Save as Snippet in the toolbar.
- Give it a name (e.g.,
Footer — Legal Disclaimer).
From then on, any template or campaign builder can pull in that snippet from the Snippets panel — changes to the snippet don’t retroactively update already-sent emails, but they update every draft and future use.
Trigger Links
Section titled “Trigger Links”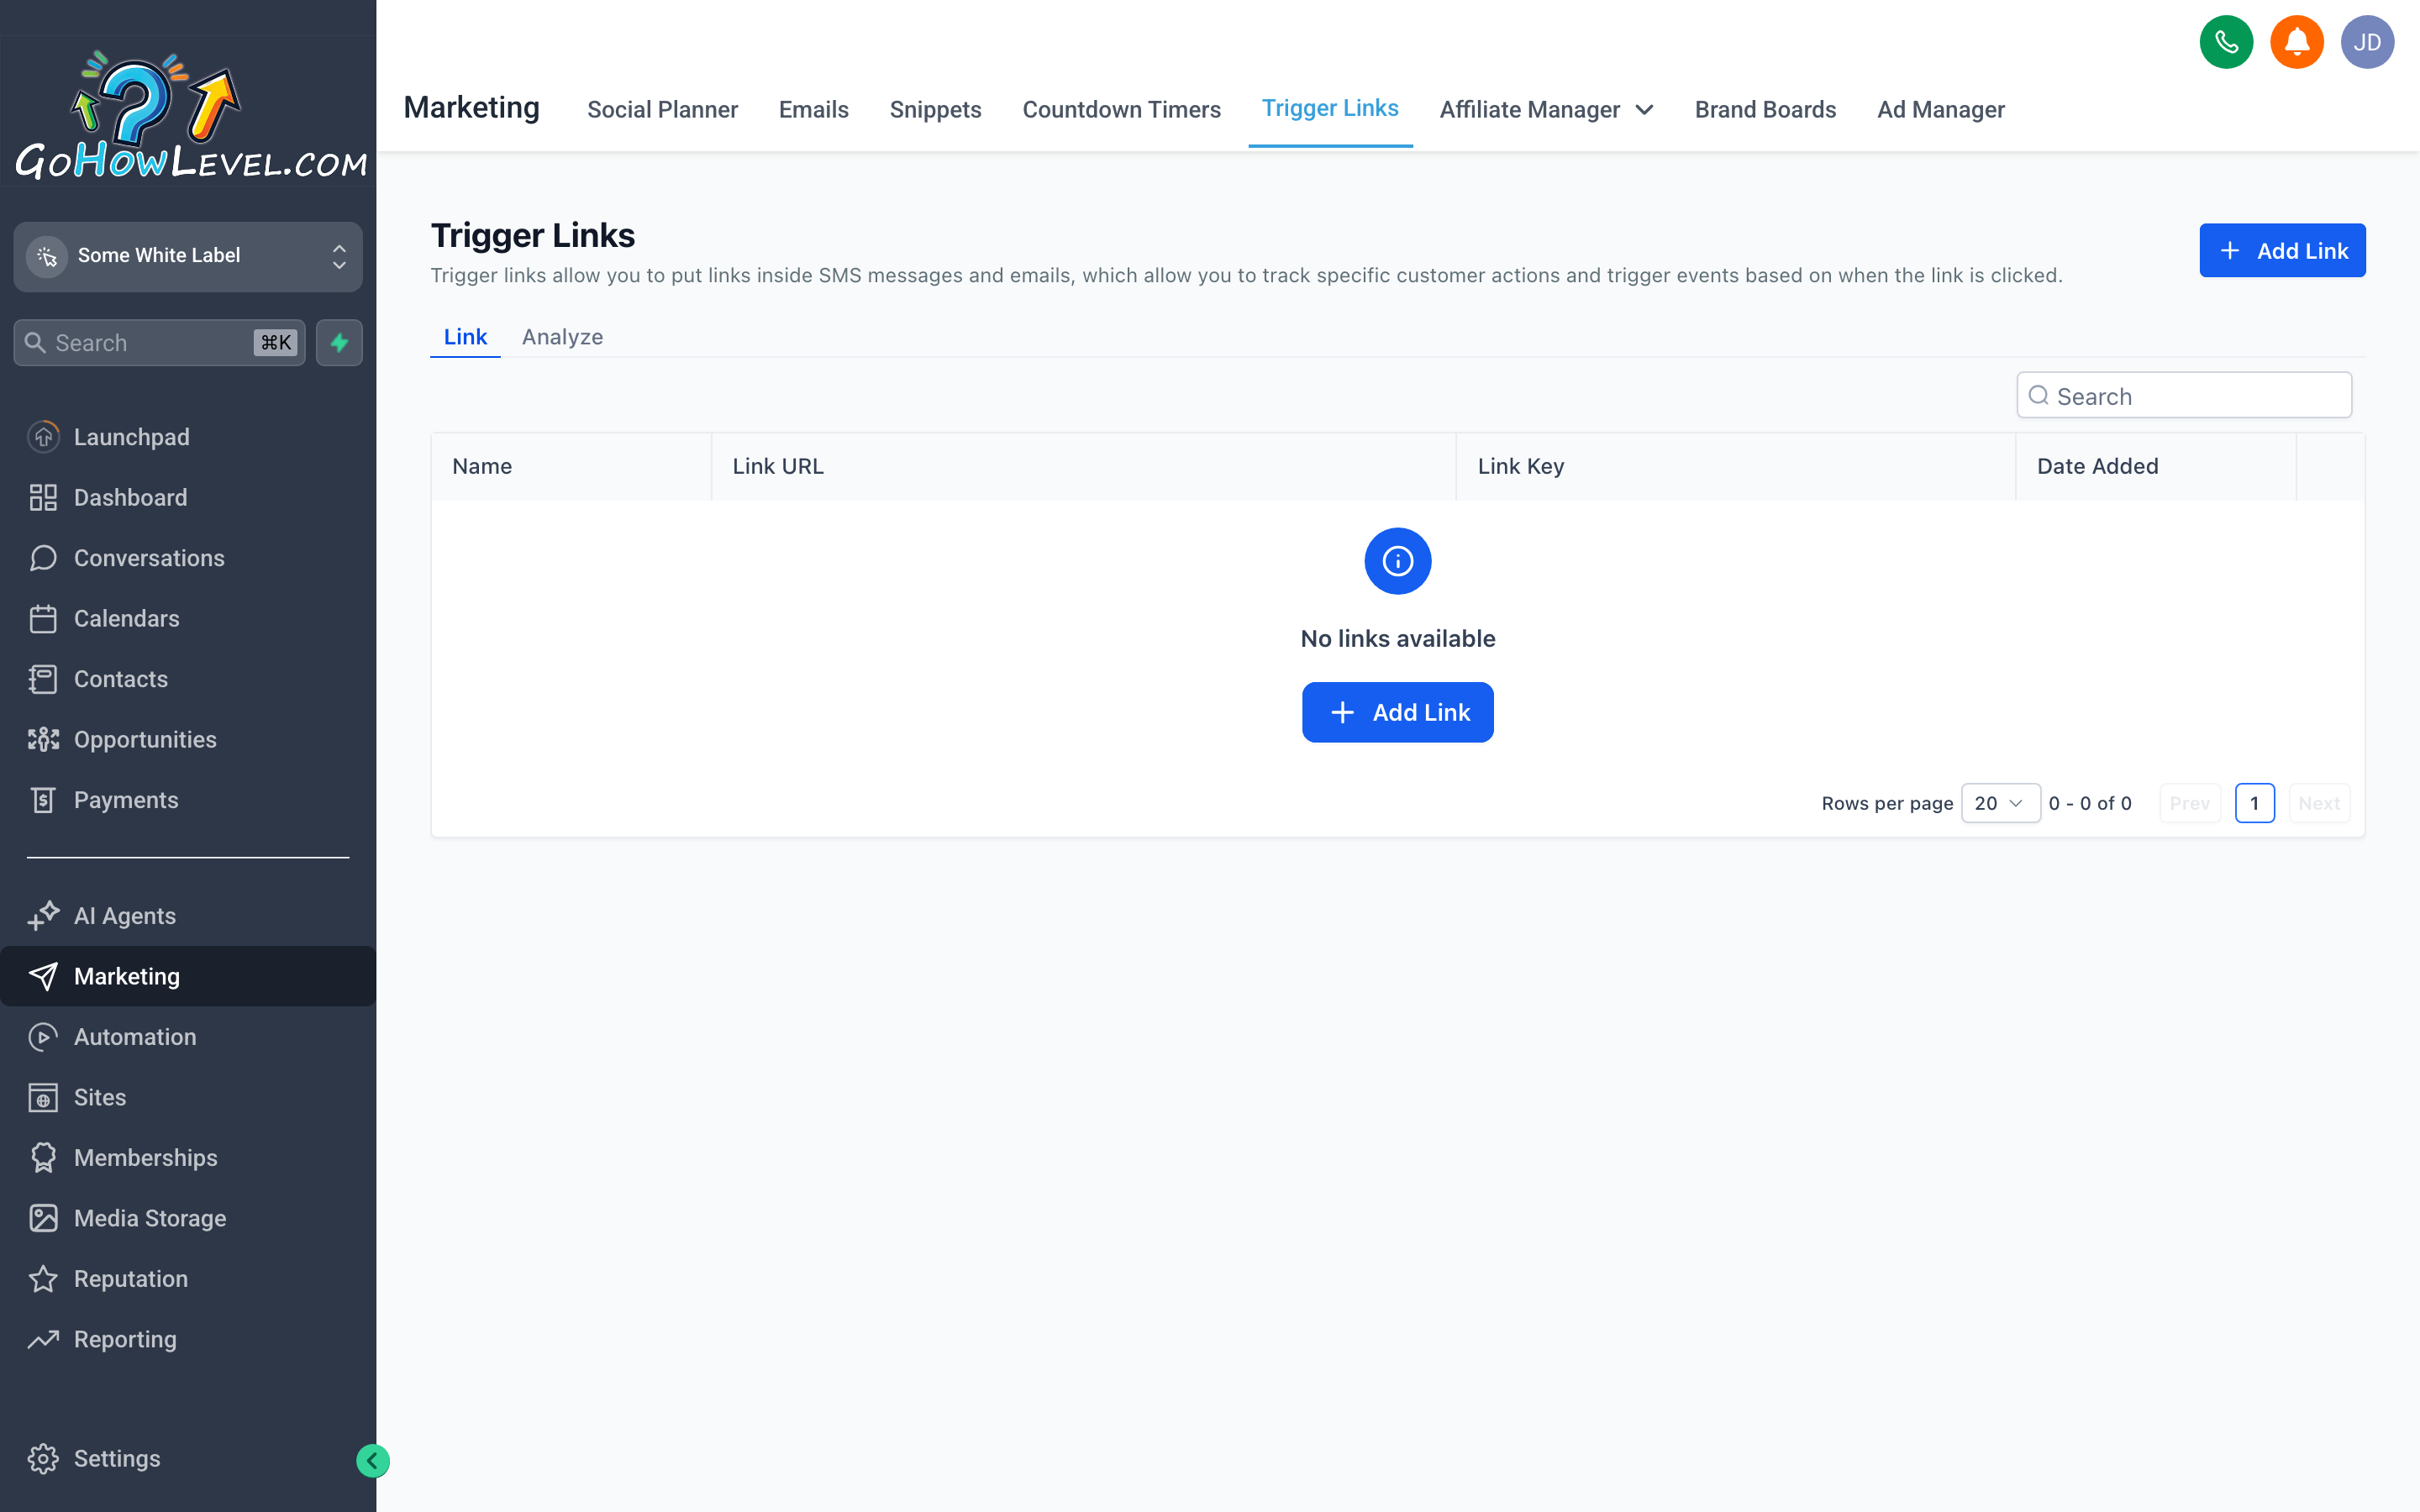
Trigger links let you turn a click into an automated action — each link in the list shows exactly how many contacts have clicked it, making follow-up targeting easy.
A Trigger Link is a special trackable URL. When a contact clicks it, your CRM records the click against that contact’s record and can optionally fire a workflow. This lets you do things like:
- Send a follow-up sequence only to people who clicked your pricing page link in a campaign.
- Tag a contact as
interested-in-Xthe moment they click. - Move a contact to a new pipeline stage based on which offer they engaged with.
Create a trigger link
Section titled “Create a trigger link”- Go to Marketing → Trigger Links → + Add Trigger Link.
- Enter the Destination URL — this is the actual page the contact lands on.
- Give the link a name (internal use only).
- Click Save.
Your CRM generates a unique short URL. Use that URL anywhere you’d use a regular link — email campaigns, SMS messages, workflow emails, or even social posts.
Connect a trigger link to a workflow
Section titled “Connect a trigger link to a workflow”- Open the workflow where you want to react to the click.
- Add or edit a Trigger node and select Trigger Link Clicked.
- Choose the trigger link by name.
- Add actions after it — for example, add a tag, send a follow-up SMS, or notify a team member.
Affiliate Manager
Section titled “Affiliate Manager”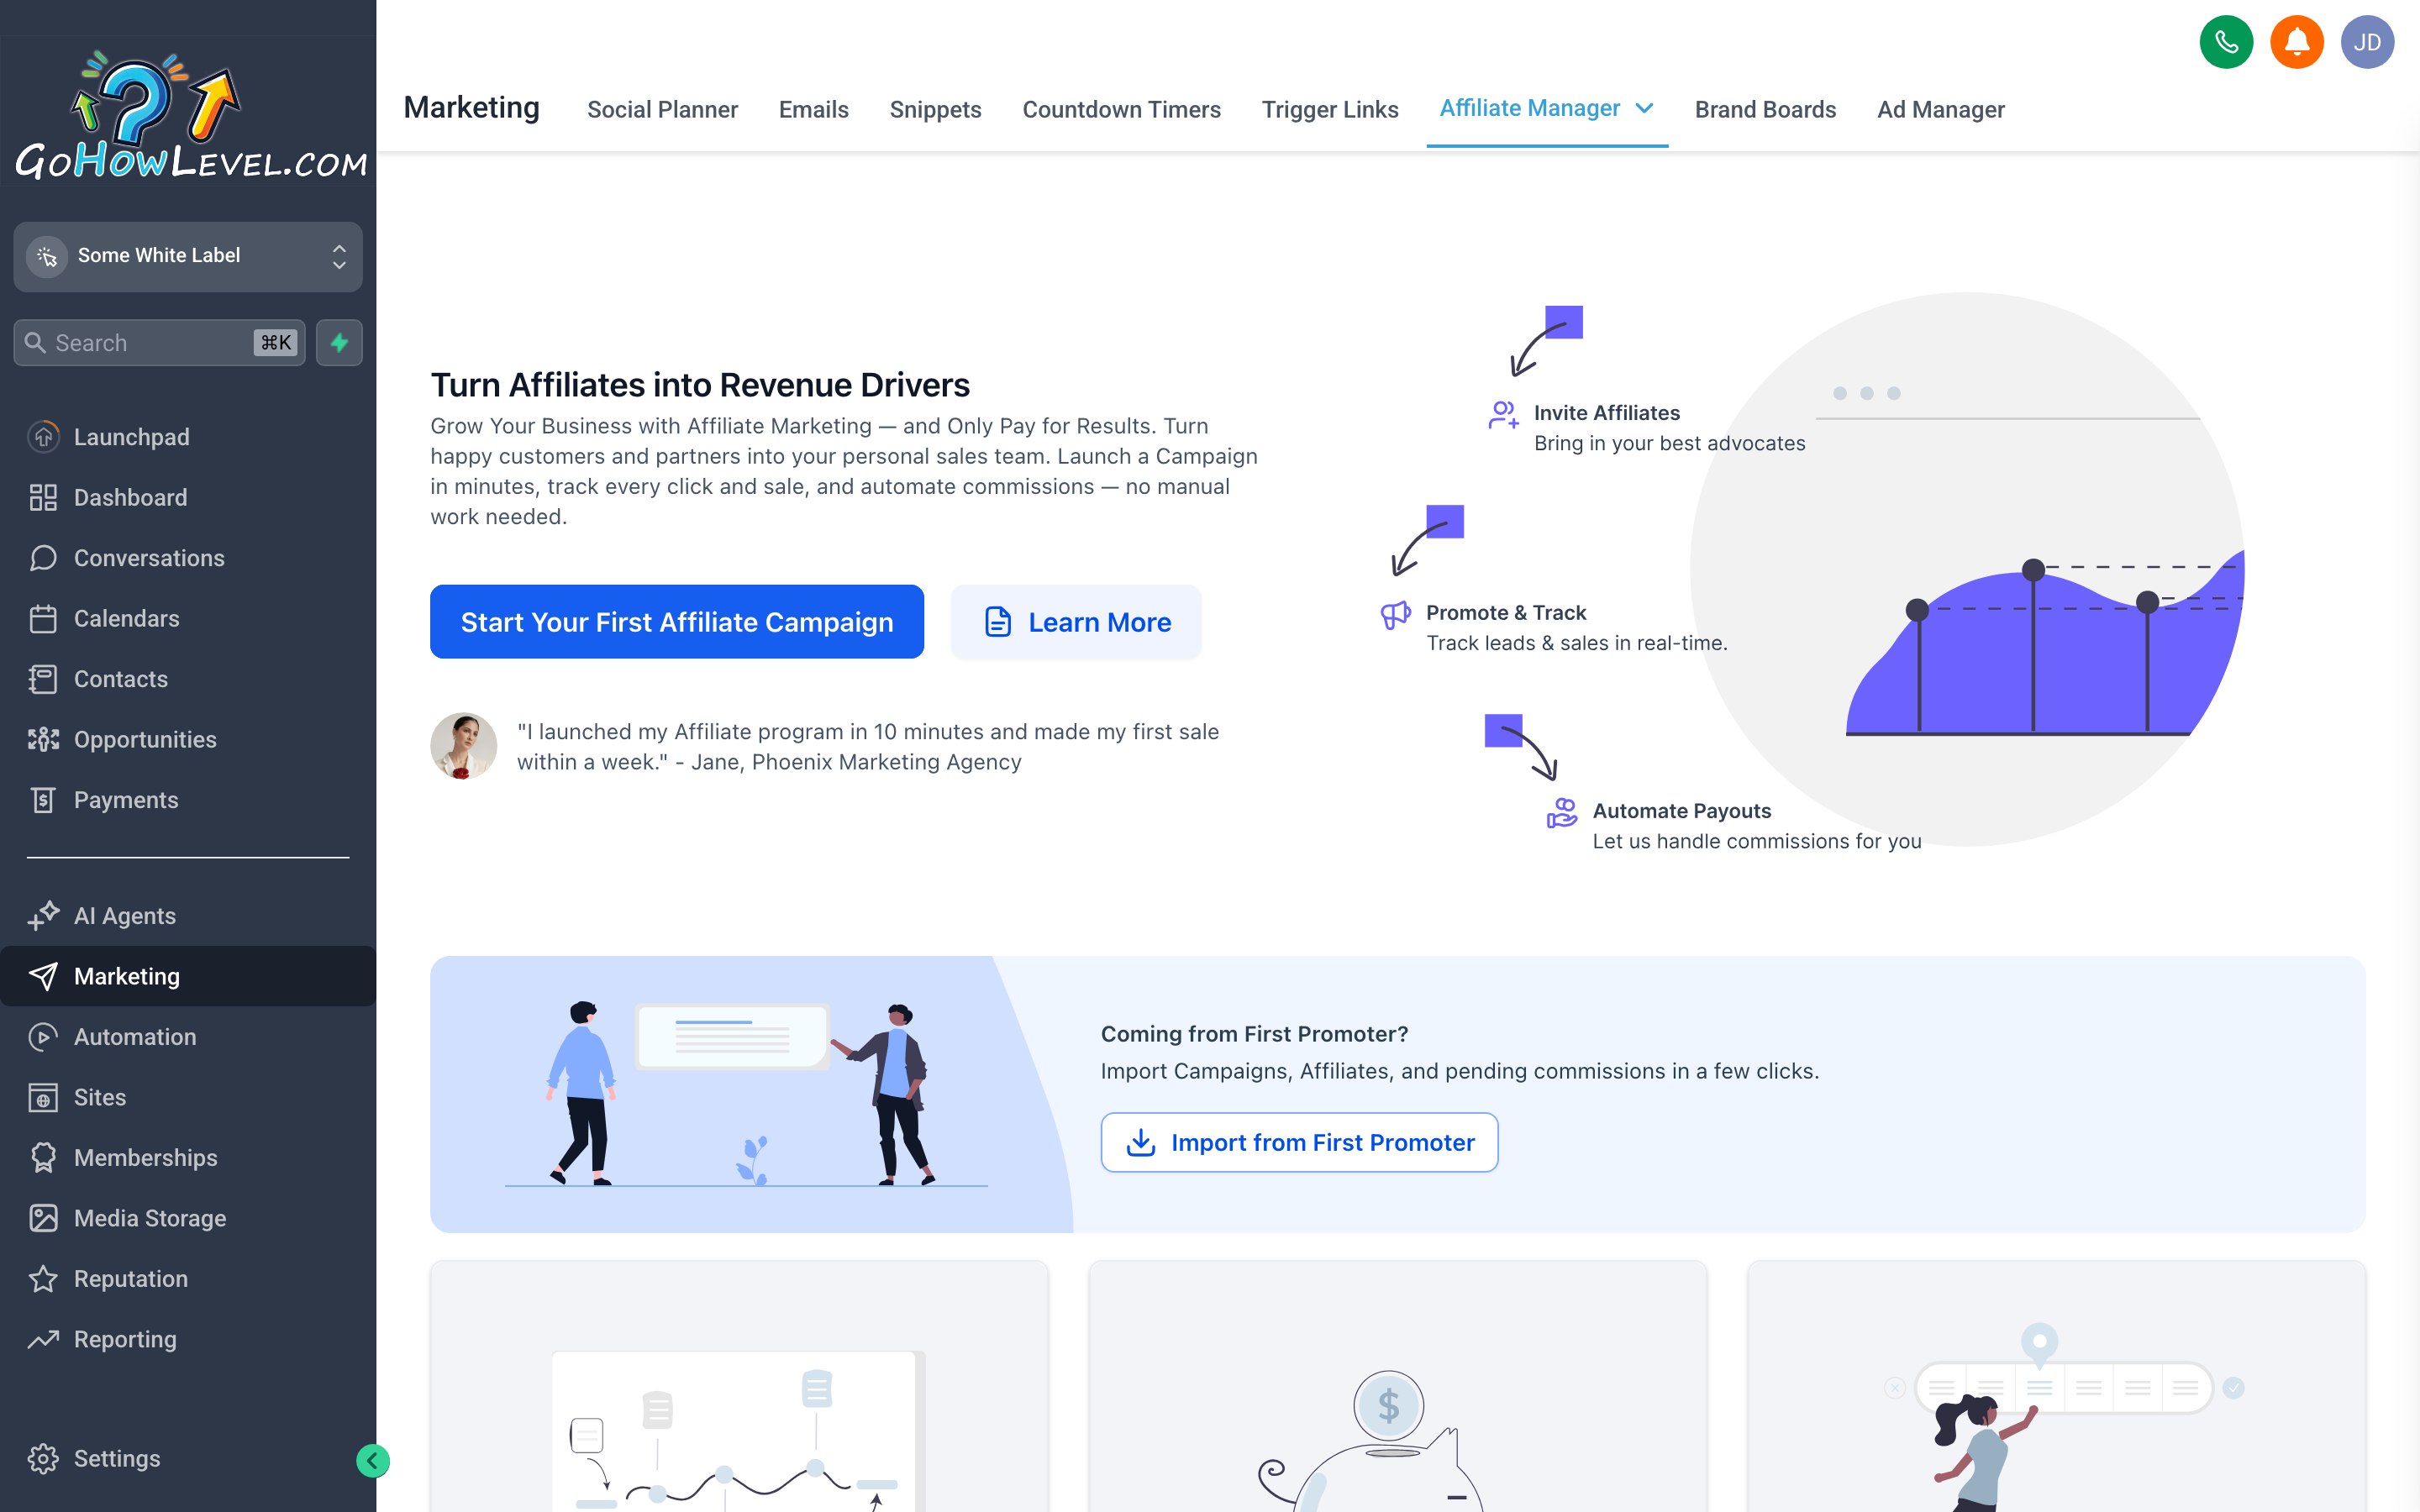
The Affiliate Manager handles your entire referral program in one view — from issuing unique links to tracking which affiliates are driving real revenue.
The Affiliate Manager lets you run a referral or partner program directly inside your CRM. You define the commission structure, invite affiliates, and the system tracks every referral, conversion, and payout automatically.
Set up your affiliate program
Section titled “Set up your affiliate program”- Go to Marketing → Affiliate Manager.
- Click Settings (gear icon) to configure:
- Commission type — flat rate per conversion, or a percentage of sale value.
- Cookie duration — how long after clicking a referral link the affiliate gets credit for a conversion.
- Payout threshold — the minimum balance before a payout is processed.
- Save your settings.
Add affiliates
Section titled “Add affiliates”- Click + Add Affiliate.
- Enter the affiliate’s name and email address.
- Your CRM generates a unique referral link for that affiliate.
- Send the affiliate their link — they share it anywhere (social, email, their own site).
Track performance
Section titled “Track performance”Each affiliate’s card in the manager shows:
- Clicks — how many times their referral link was visited.
- Conversions — how many of those clicks resulted in the action you defined (purchase, signup, form fill, etc.).
- Commission earned — the running total they’ve accrued.
- Payout status — pending, approved, or paid.
Process payouts
Section titled “Process payouts”- In the affiliate’s record, click Payouts.
- Review pending commissions and approve the ones you’re ready to pay.
- Mark as paid once the transfer is complete.
Brand Boards
Section titled “Brand Boards”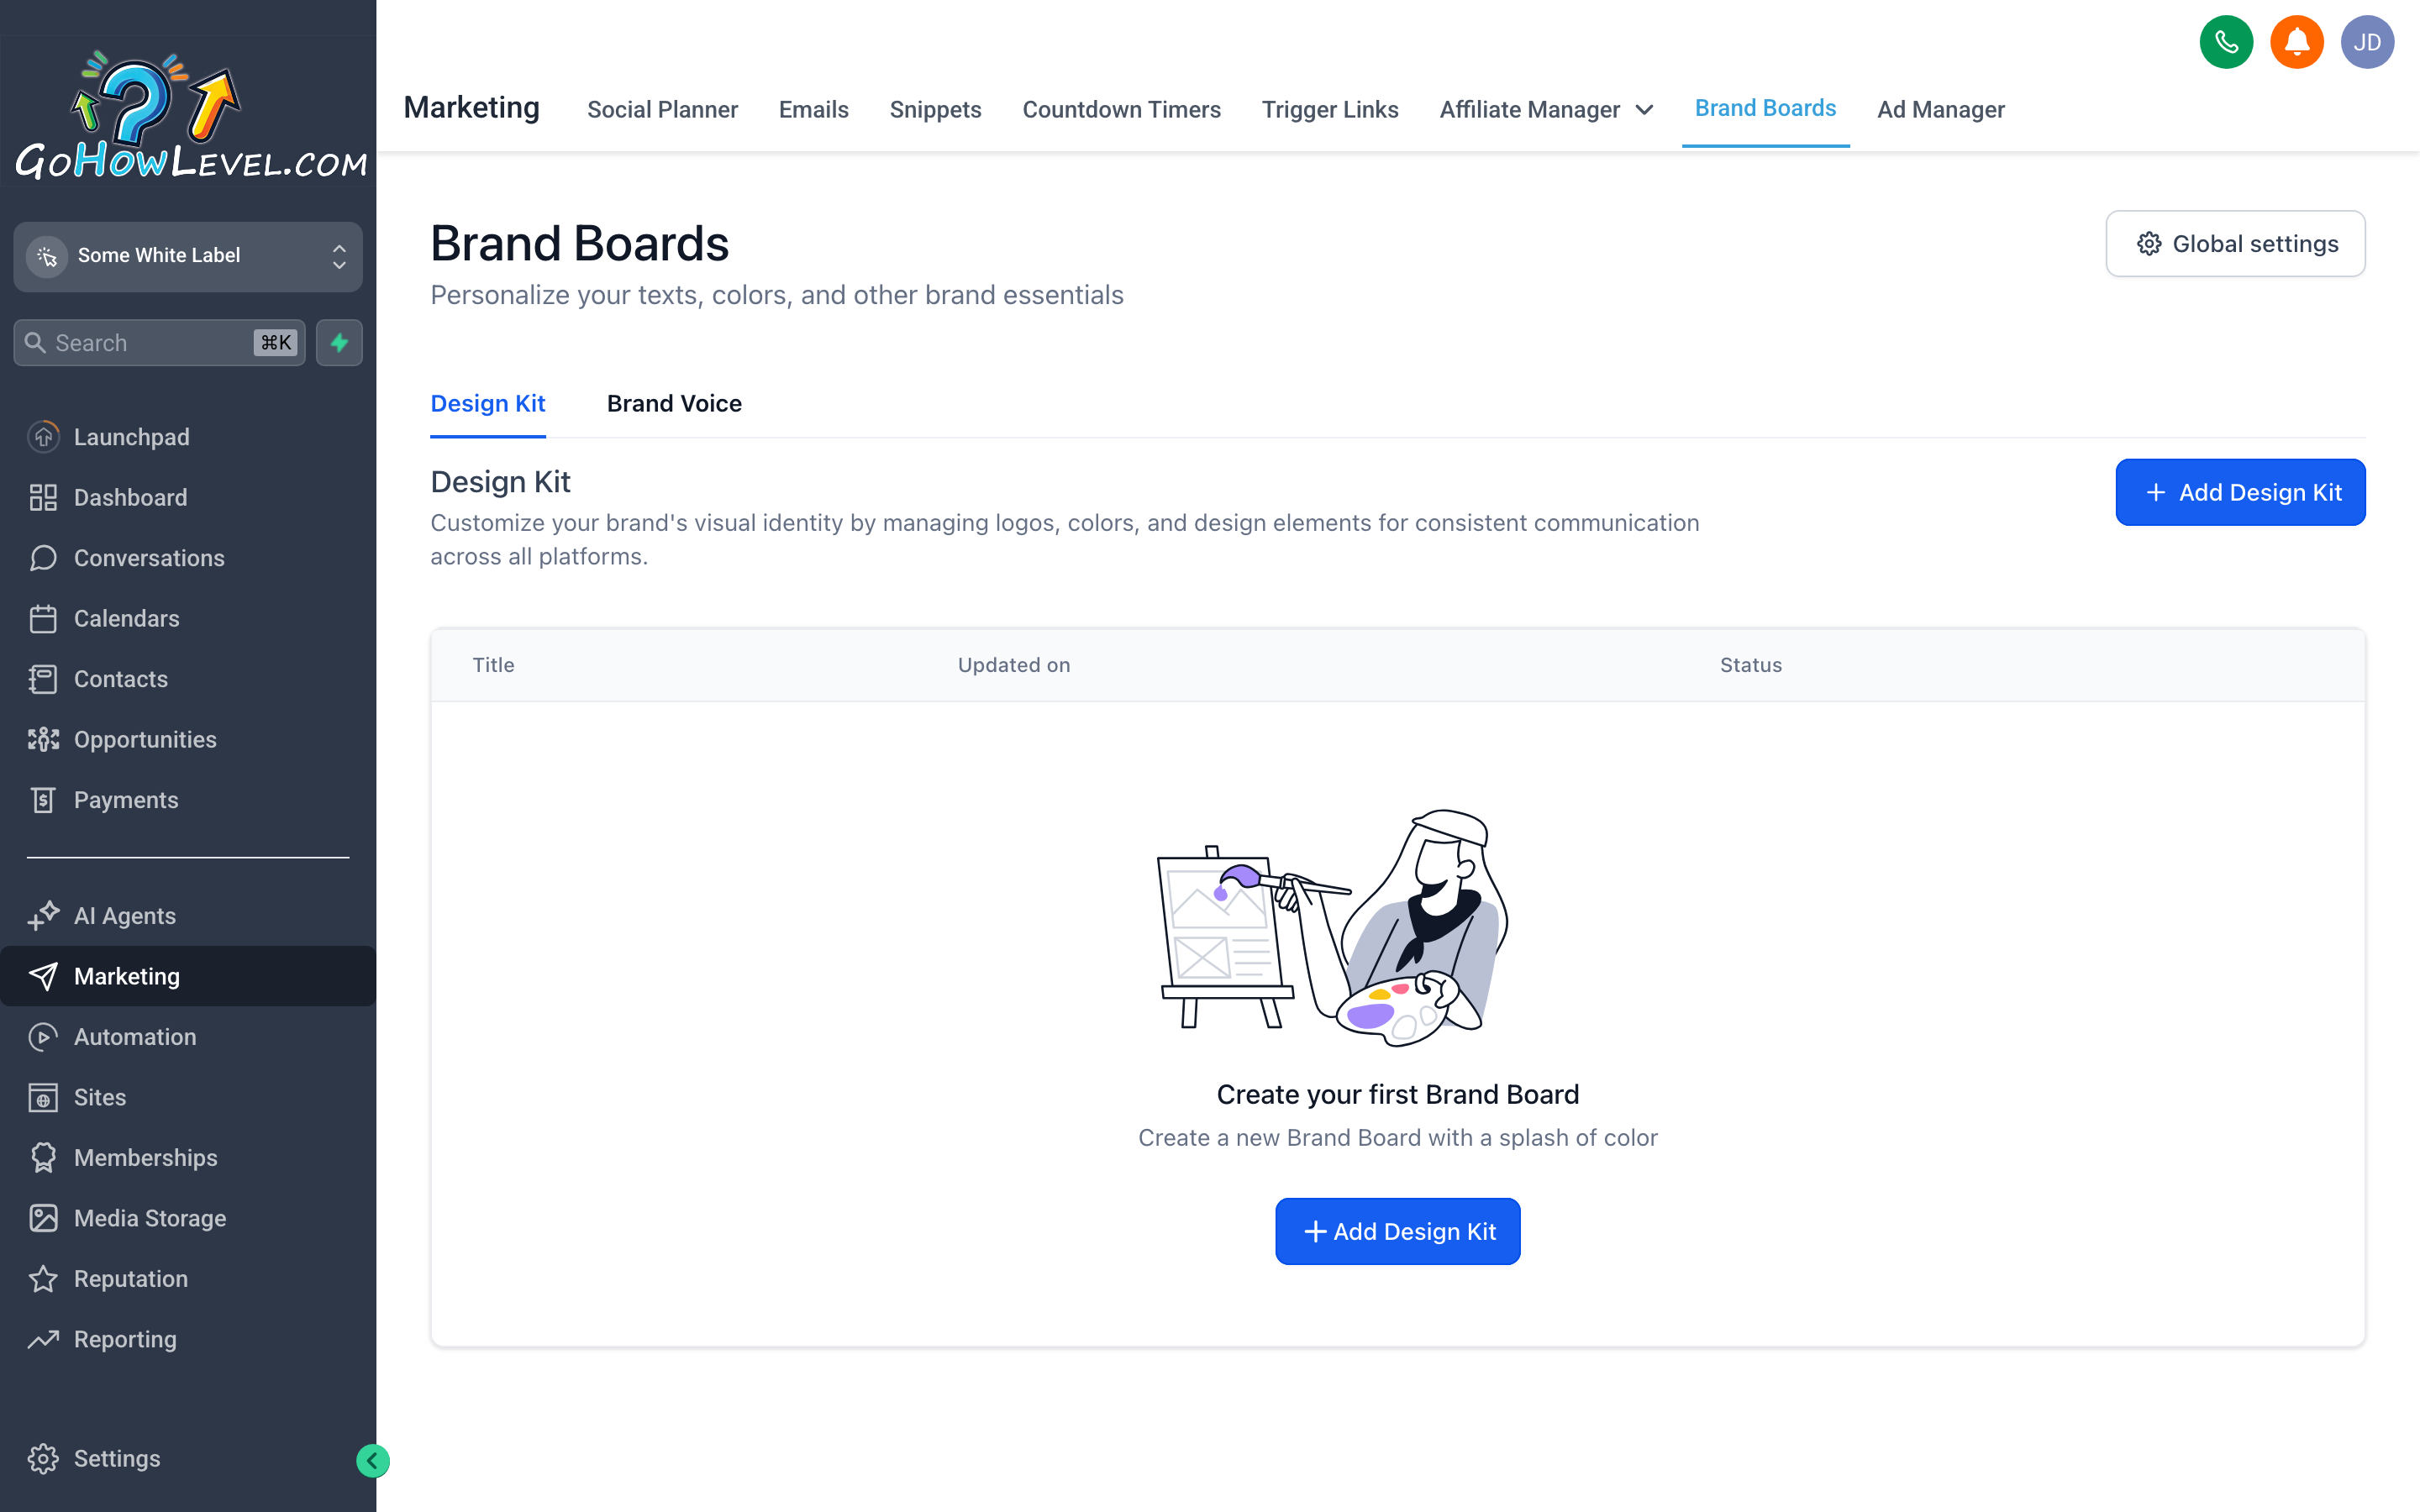
Brand Boards store your visual identity in one place — select a board when building a funnel or email and your colors, fonts, and logo snap into place automatically.
Brand Boards are saved collections of your brand’s visual identity elements: colors, fonts, and logos. When you’re building an email, a funnel page, or any designed asset, you can apply a Brand Board to lock in consistent styling without manually entering hex codes every time.
Create a brand board
Section titled “Create a brand board”- Go to Marketing → Brand Boards → + New Brand Board.
- Name the board (e.g., your business name, or the client’s name if you manage multiple brands).
- Add your Primary and Secondary colors using the hex color picker or by entering codes directly.
- Upload your logo files — include both a full-color version and a white/reverse version for dark backgrounds.
- Select your font pairings from the available options.
- Click Save Brand Board.
Apply a brand board
Section titled “Apply a brand board”In any design builder (funnel editor, email builder, website editor), look for the Brand panel or Brand Board option in the settings sidebar. Select your board and the builder applies your colors and fonts globally across that asset.