Media Storage
The media library is your CRM’s central file cabinet — everything you upload here is available in every builder, so you never need to re-upload the same image twice.
Every image, video, PDF, or file you use in your CRM lives in Media Storage. Instead of uploading assets separately in each funnel, email, or course, you upload once and reuse everywhere. That means consistent assets across your marketing, no duplicate files eating up storage, and no hunting through your desktop to find the right logo. This page covers everything you need to know to keep your media library organized and working for you.
Navigating the media library
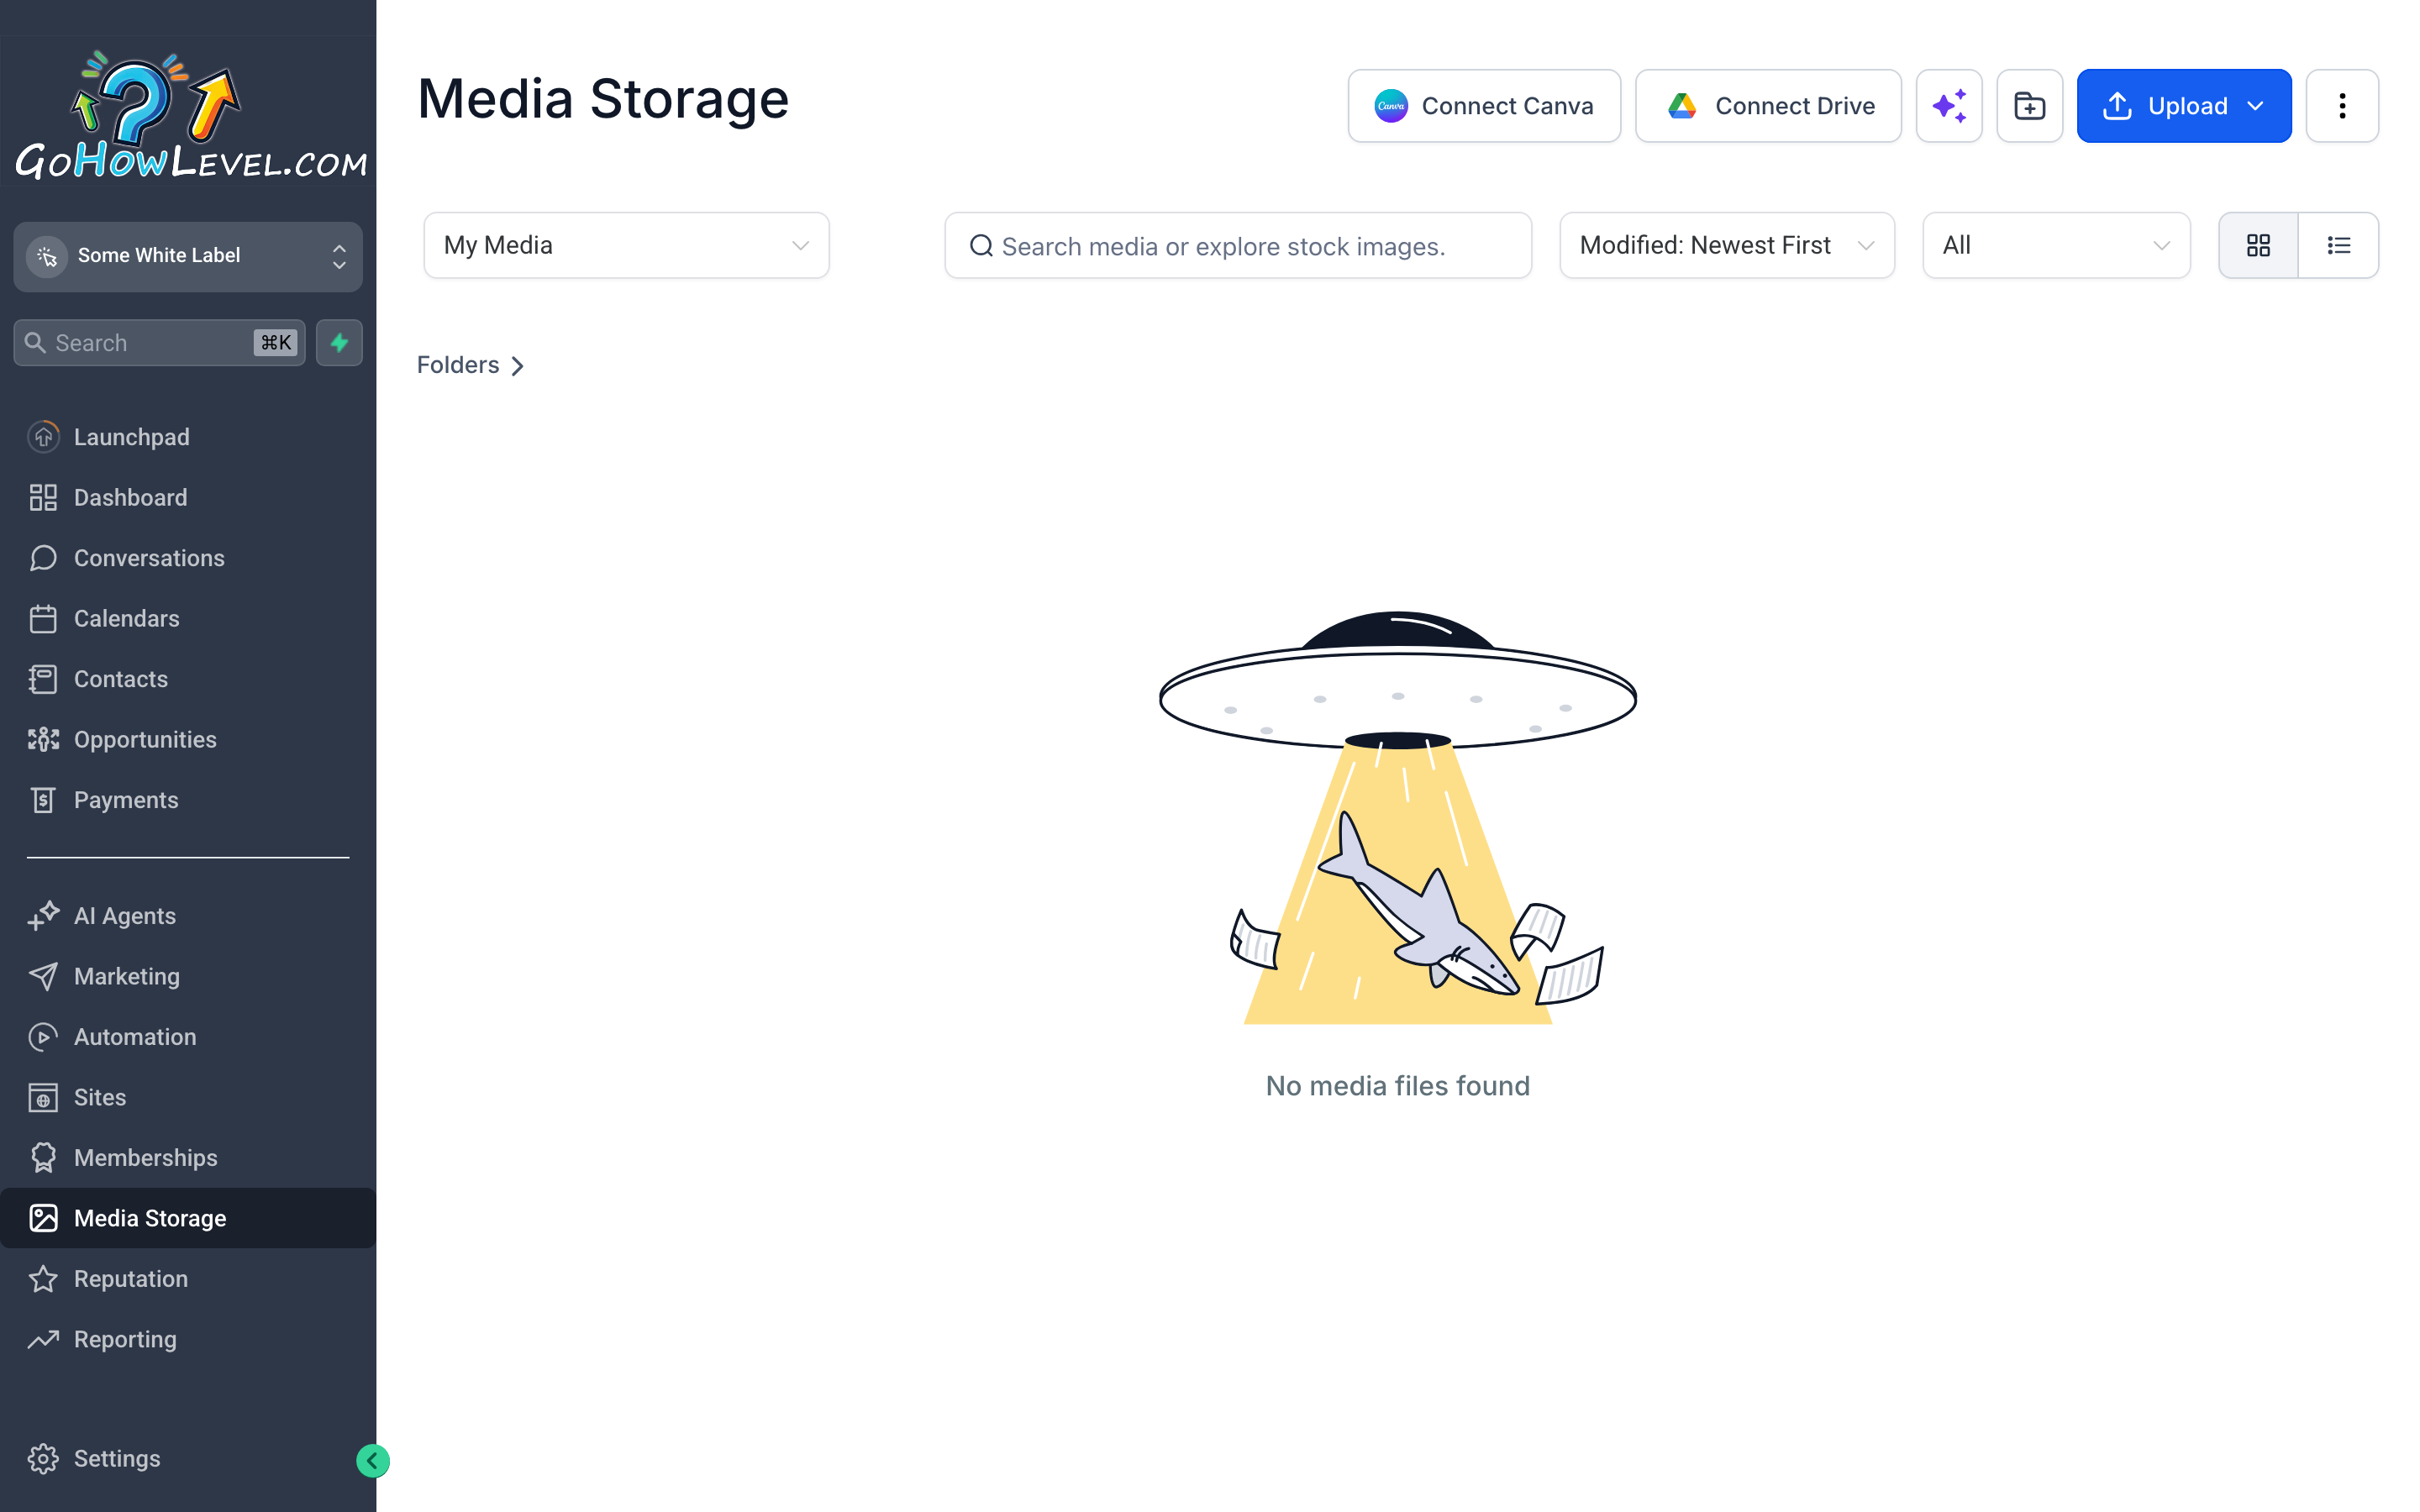
Section titled “Navigating the media library”Go to Media Storage from the left navigation bar (it may appear under a Content or Settings section depending on your layout). The library opens to a grid view of your uploaded assets.
The main controls at the top of the library are:
- Search bar — find any file by name. Search is instant and matches partial names.
- Filter by type — narrow the view to images only, videos only, or documents.
- Sort options — sort by name, upload date, or file size.
- View toggle — switch between grid view (thumbnails) and list view (names and metadata).
- + Upload button — add new files from your computer.
Uploading files
Section titled “Uploading files”Upload from your computer
Section titled “Upload from your computer”- Click + Upload in the top-right corner of the library.
- A file picker opens. Select one or multiple files.
- Files upload in the background — a progress indicator appears for each one.
- Once the upload completes, thumbnails appear in the library grid.
Supported file types
Section titled “Supported file types”| Type | Common formats |
|---|---|
| Images | JPG, JPEG, PNG, GIF, WebP, SVG |
| Videos | MP4, MOV, AVI, MKV |
| Documents | |
| Other | ZIP, CSV (varies by plan) |
Organizing with folders
Section titled “Organizing with folders”A flat library of hundreds of files becomes hard to navigate quickly. Folders keep things manageable.
Create a folder
Section titled “Create a folder”- Click + New Folder (usually near the upload button or accessible from a right-click menu).
- Name the folder clearly — good names describe the project or content type, not just “New Folder 2.”
- Examples:
Campaign Assets — Spring 2025,Client Logo Files,Course Thumbnails,Email Headers.
- Examples:
- Click Create.
Move files into folders
Section titled “Move files into folders”- Select one or more files by clicking them (hold Shift for a range selection).
- Right-click the selection and choose Move to Folder, then pick the destination.
- Alternatively, drag and drop files directly onto a folder in the left-panel folder tree.
Rename or delete a folder
Section titled “Rename or delete a folder”Right-click any folder to access Rename and Delete options. Deleting a folder does not automatically delete its contents — files move back to the root library unless you explicitly delete them first.
Reusing assets across your CRM
Section titled “Reusing assets across your CRM”The real value of a central library is that every builder pulls from the same source. You don’t maintain separate image libraries for funnels, emails, and courses.
In the funnel and website editor
Section titled “In the funnel and website editor”- Click any image element on the canvas.
- In the element settings panel, click Replace Image or the image picker icon.
- A mini version of your media library opens in a modal — browse, search, and select.
- The image updates on the canvas immediately.
In the email builder
Section titled “In the email builder”- Add an Image block to your email layout.
- Click Choose Image in the block settings.
- Your media library opens — select any uploaded file.
- For inline images in text blocks, use the image insert option in the rich-text toolbar.
In courses and lessons
Section titled “In courses and lessons”- Inside a lesson, click Add Media or the image/file insert button.
- Select Media Library (as opposed to uploading a new file).
- Browse and select the asset.
File management best practices
Section titled “File management best practices”Naming conventions
Section titled “Naming conventions”Consistent naming makes search useful. A few approaches that work well:
- Descriptive and specific:
summit-realty-logo-white-2024.pngbeatslogo-final-v3.png. - Project prefix:
spring-campaign-hero.jpg,spring-campaign-feature-image.jpg— all assets for a project sort together. - Date suffix for versioned files:
email-header-jan2025.jpgso you know which is current without opening each one.
Clean up regularly
Section titled “Clean up regularly”Set a reminder once a quarter to review the library. Look for:
- Duplicate files (same image uploaded multiple times under different names).
- Assets from completed campaigns that are no longer needed.
- Oversized files that could be compressed to save storage.
Keep source files elsewhere
Section titled “Keep source files elsewhere”Your CRM’s media library is for deployed assets, not for archiving original source files. Keep your raw Photoshop files, uncompressed video exports, and brand asset master files in a dedicated storage solution (Google Drive, Dropbox, etc.). The library should hold production-ready, optimized files.